Who is this for? #
Directors who want to give recurring members expanded permissions to assist with day-to-day operations. Common examples include student librarians, booster officers, or parent volunteers who help manage the program.
What is a helper? #
Helpers are members who stay with the organization year to year and never graduate. Unlike students, helpers are not part of a graduating class. They typically have expanded permissions to assist with tasks like managing inventory, sending emails, or tracking finances.
Each helper has a title (e.g., "Student Librarian"), an email address, and one or more permissions that control what they can access in Presto.
Helpers page #
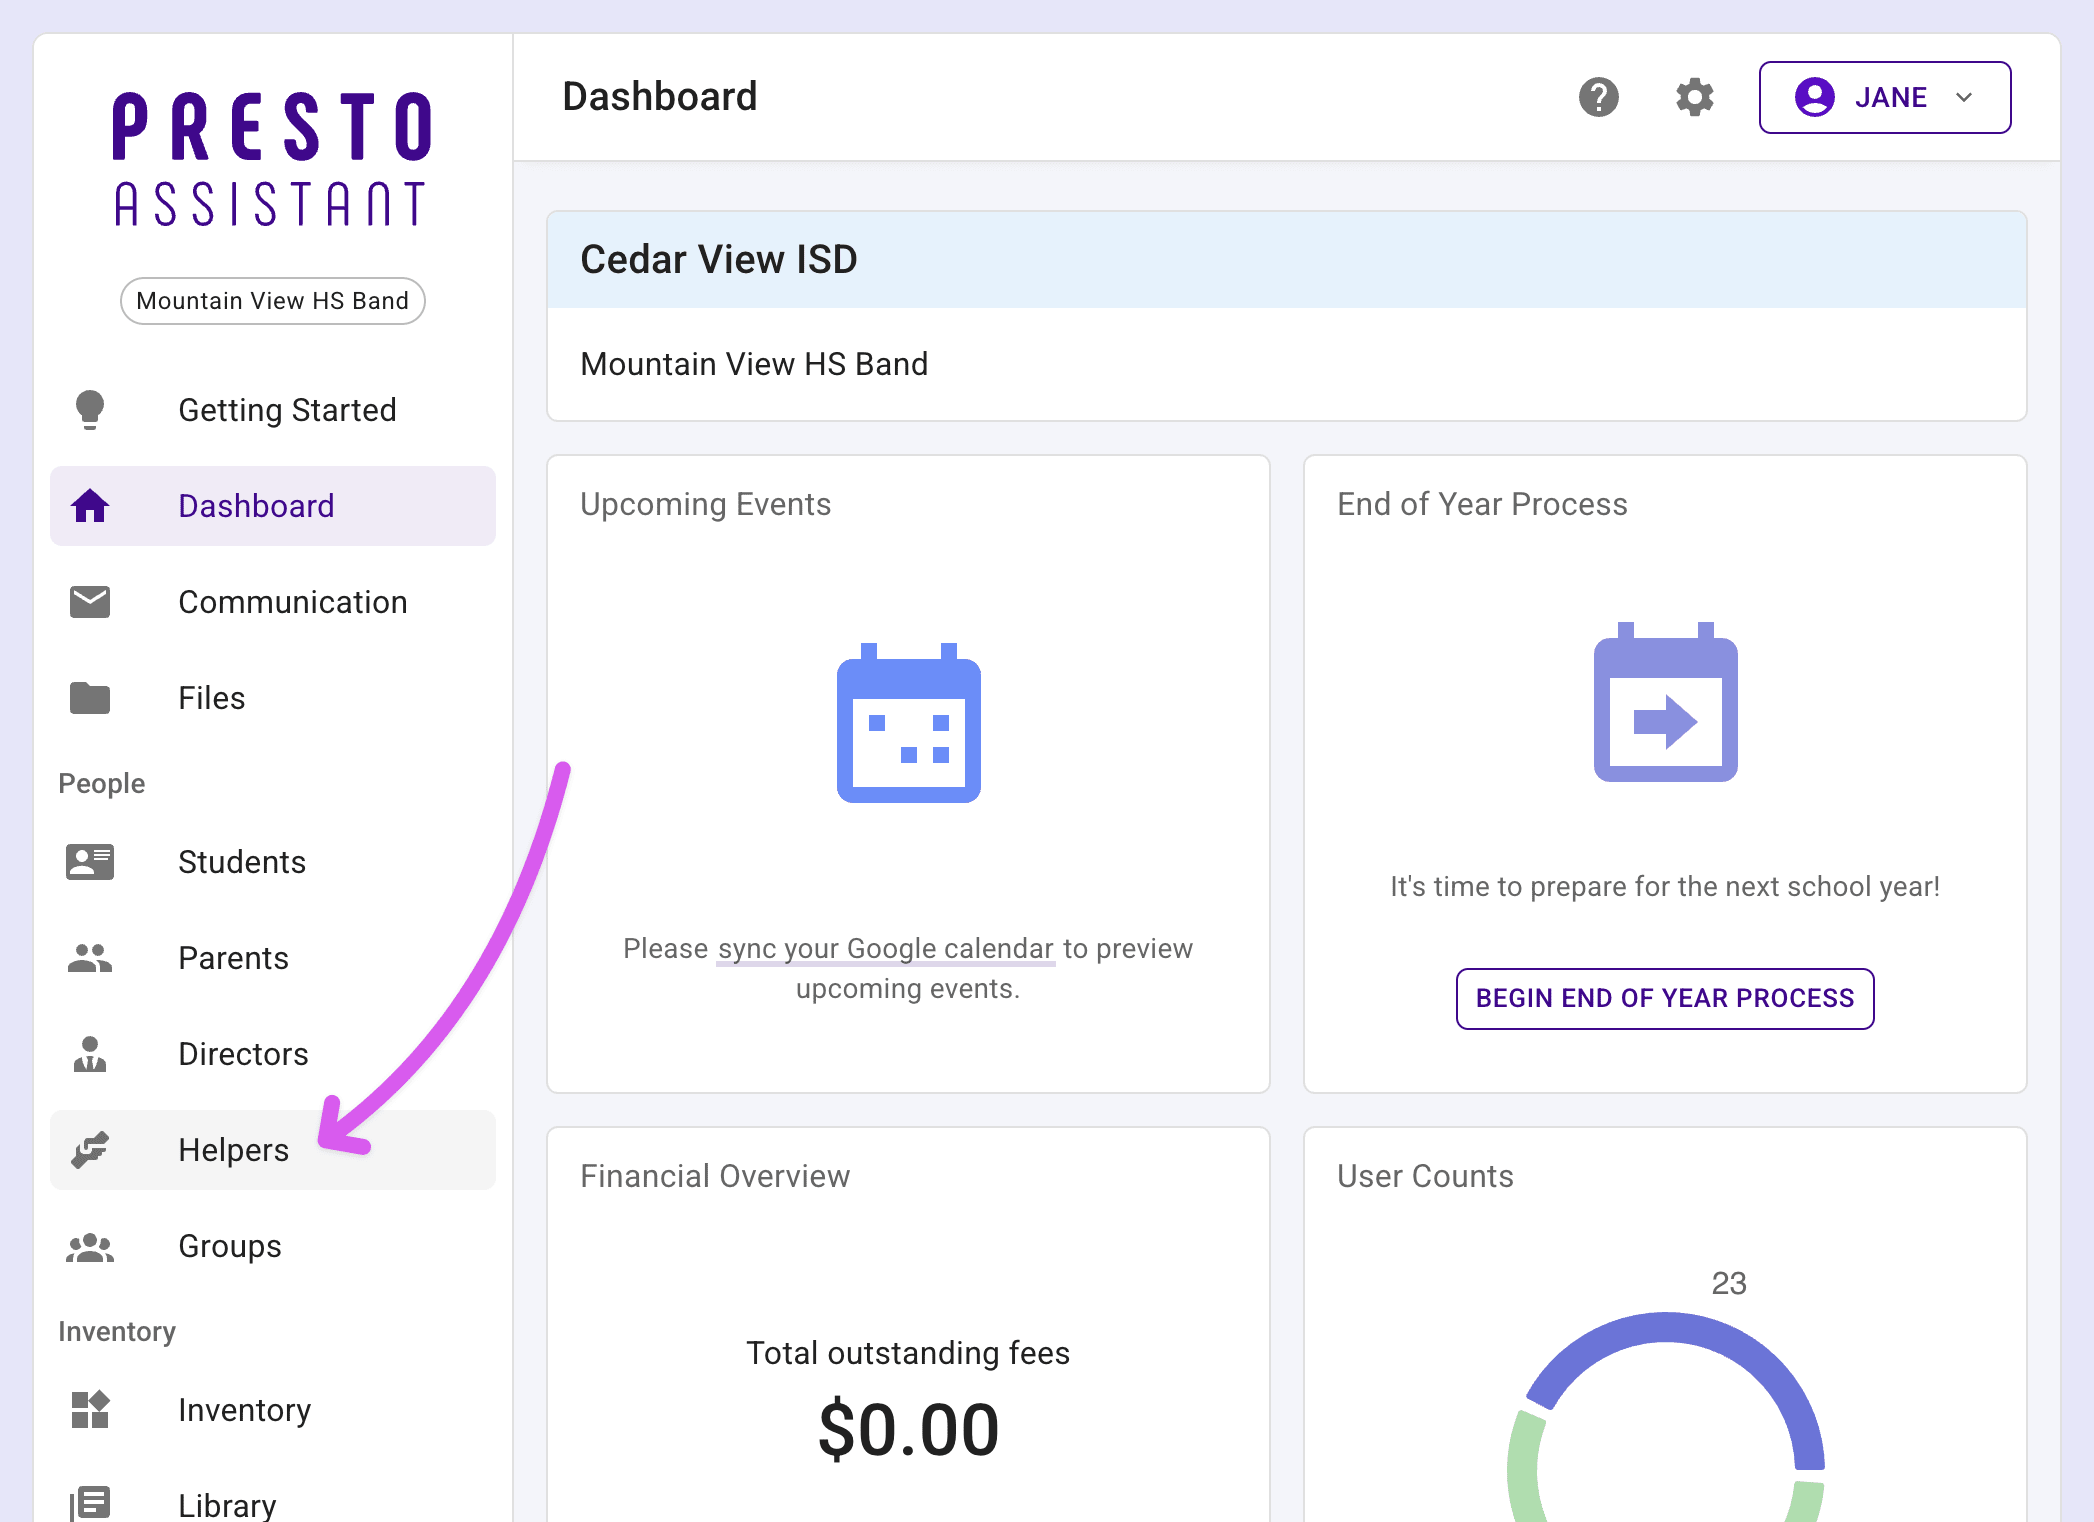
The Helpers page shows all of your organization's helpers in a table view. Navigate to People > Helpers from the left navigation menu.
The table displays helpful information about each helper.
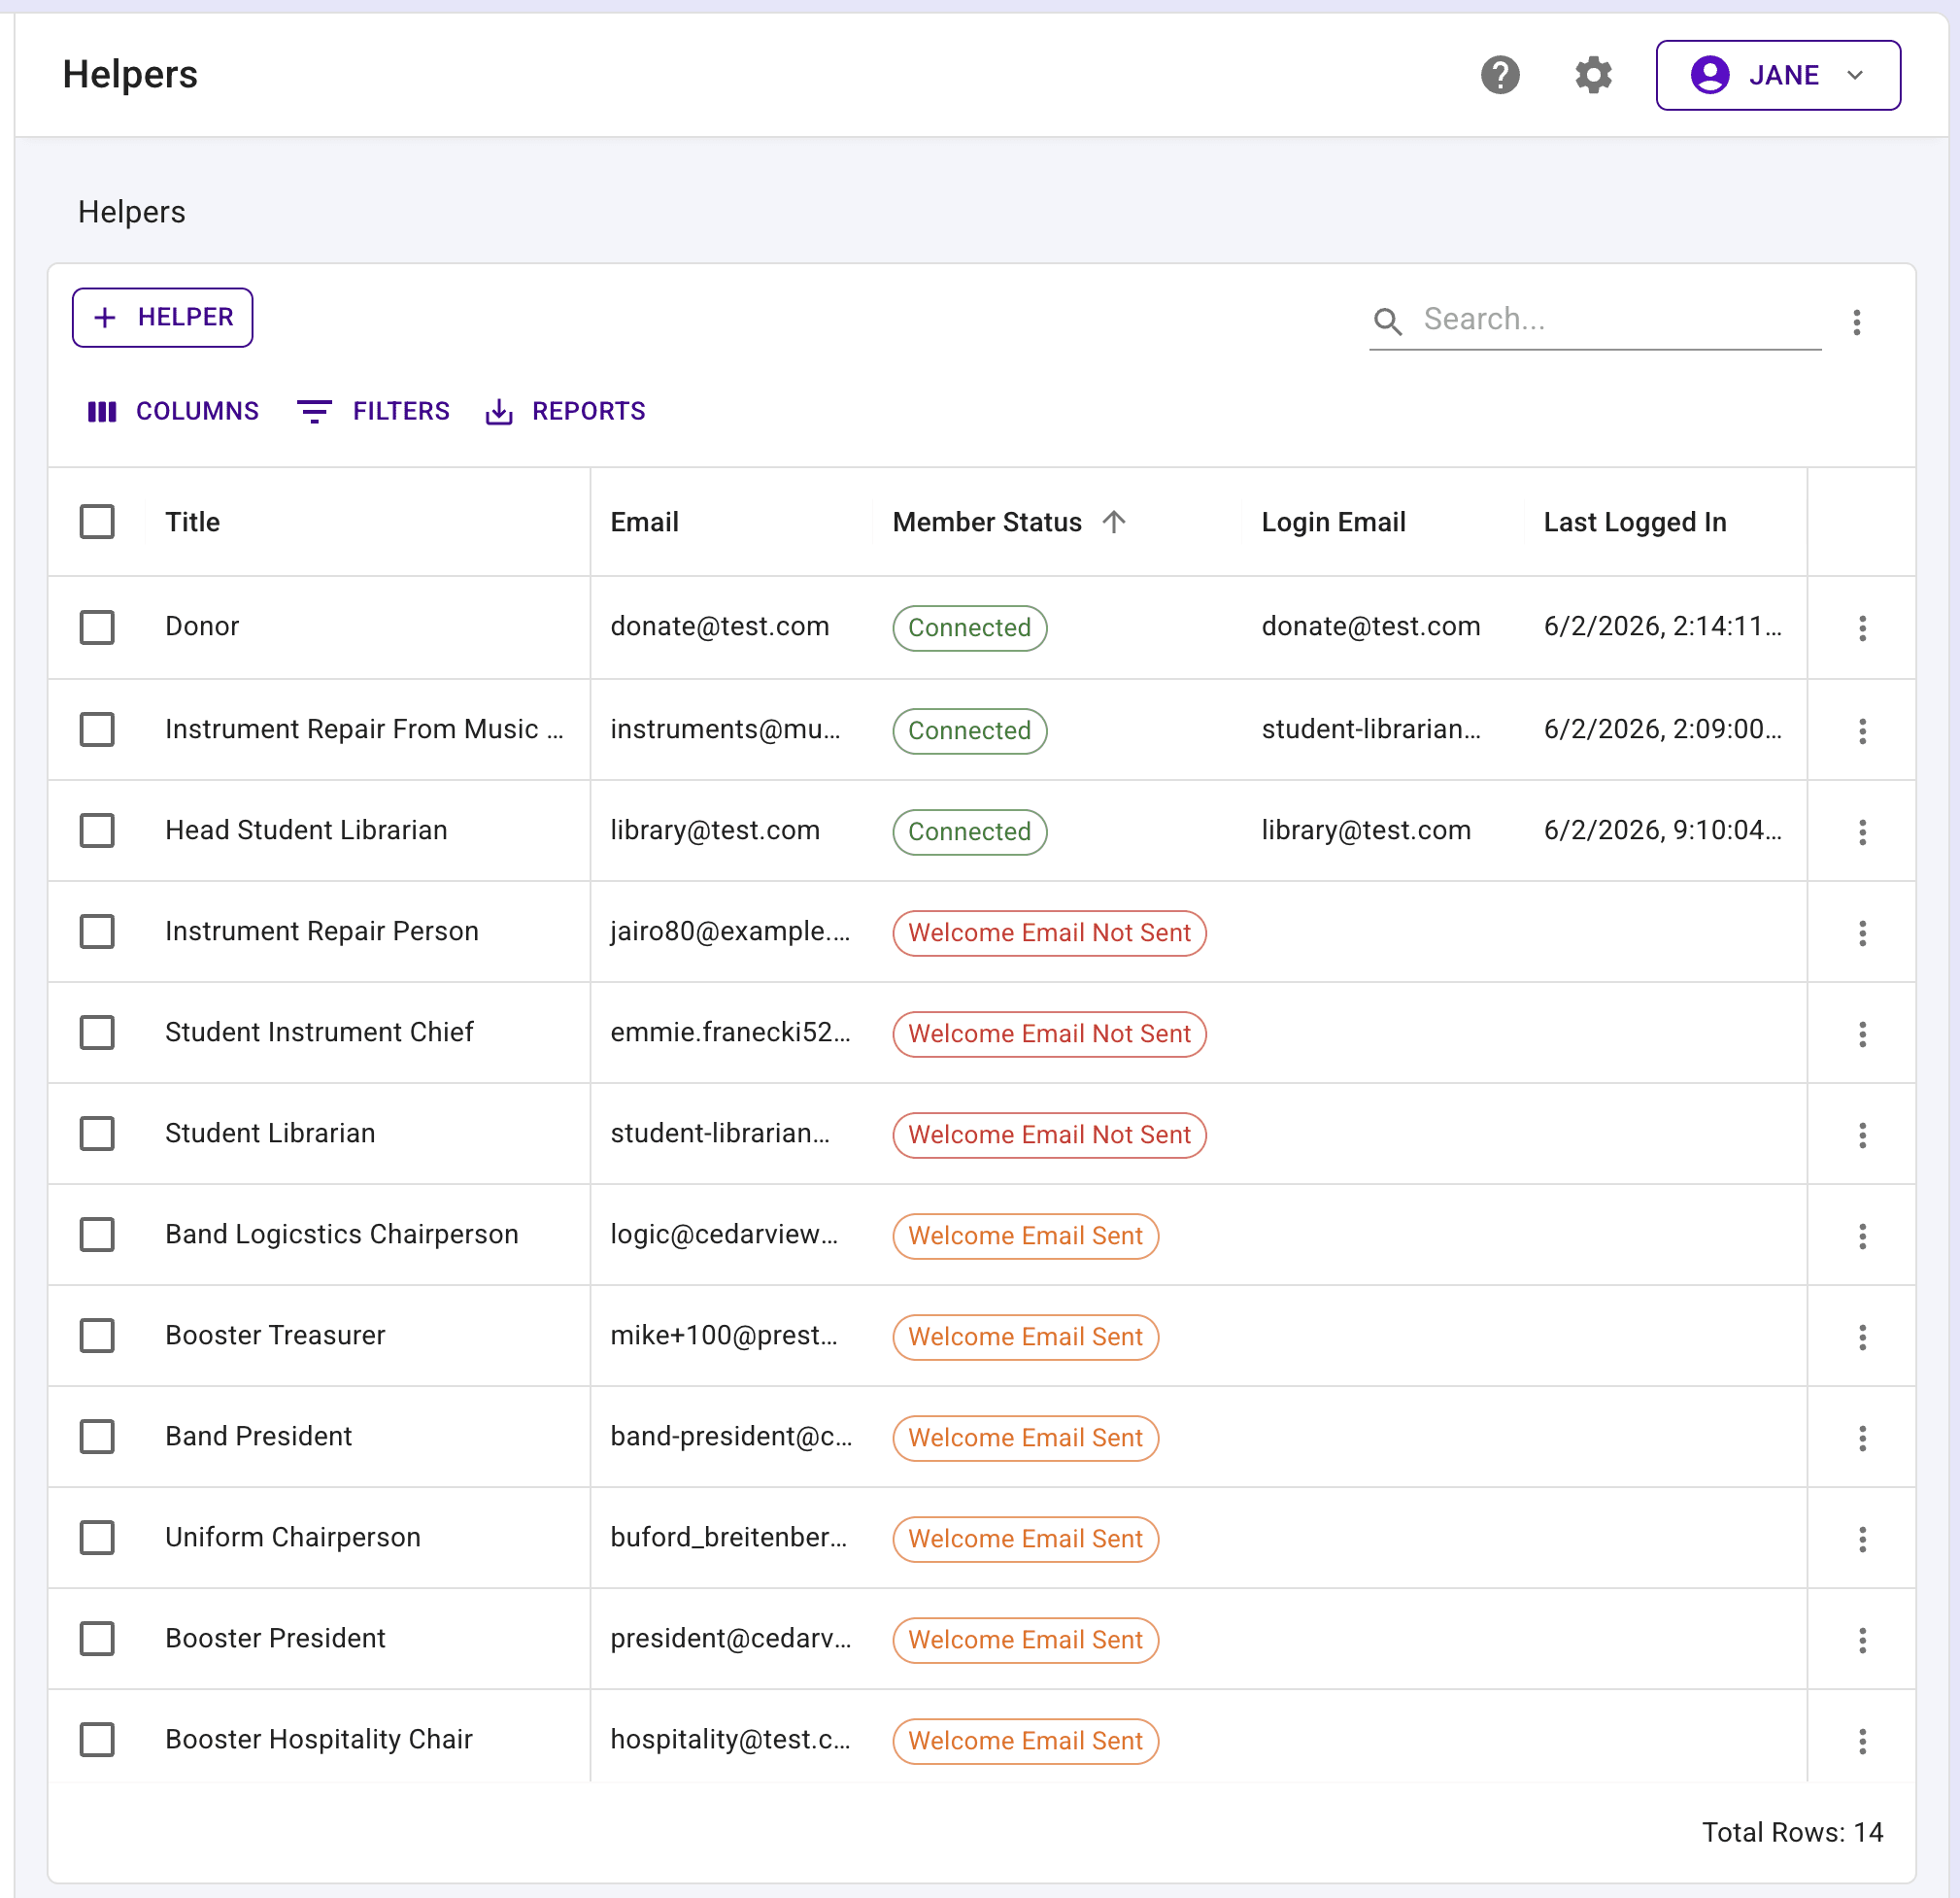
Each helper has a status indicator:
- Connected (green) — The helper has set up their login and connected their account.
- Welcome Email Sent (orange) — A welcome email was sent, but the helper has not yet set up their login.
- Welcome Email Not Sent (red) — No welcome email has been sent to this helper.
Tip
Use the checkboxes in the table to select multiple helpers and send a bulk email.
Add a helper #
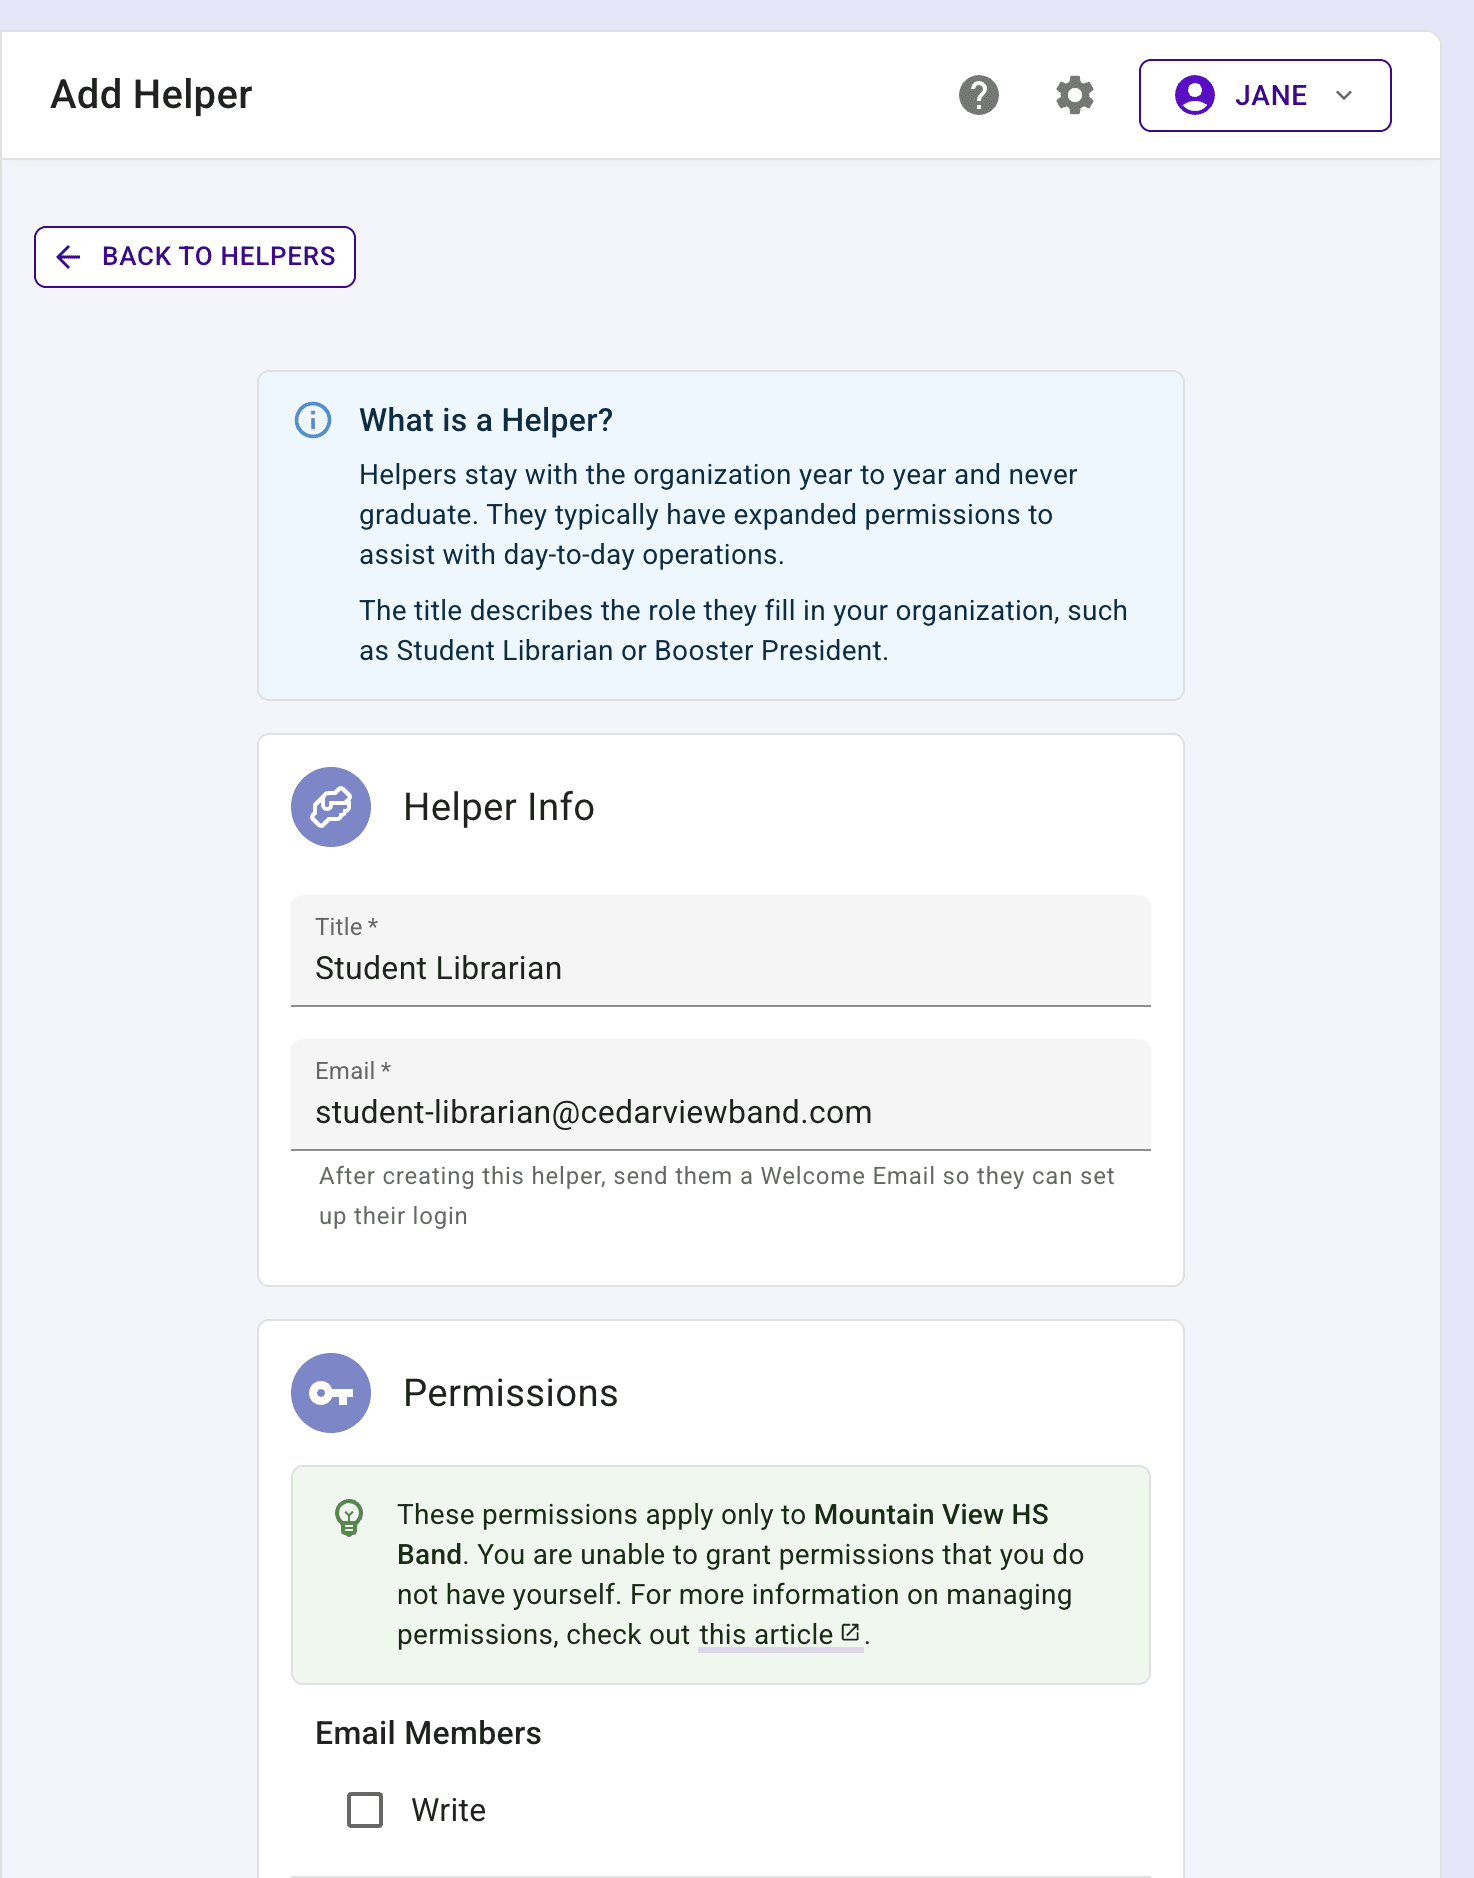
From the Helpers page, press the "Add Helper" button.
Enter a title for the helper (e.g., "Student Librarian" or "Booster President").
Enter the helper's email address.
Select one or more permissions for the helper. At least one permission is required.
Press the "Add Helper" button to confirm.
A confirmation dialog will appear. Press "Yes, Create" to create the helper.
Tip
After creating a helper, send them a Welcome Email so they can set up their own login. See the Send a welcome email to a helper section below.
Clone a member to a helper #
If you have an existing student, parent, or director who should also be a helper, you can clone their information to create a new helper.
Navigate to the member's edit page.
Scroll to the Danger Zone section and press "Clone to Helper".
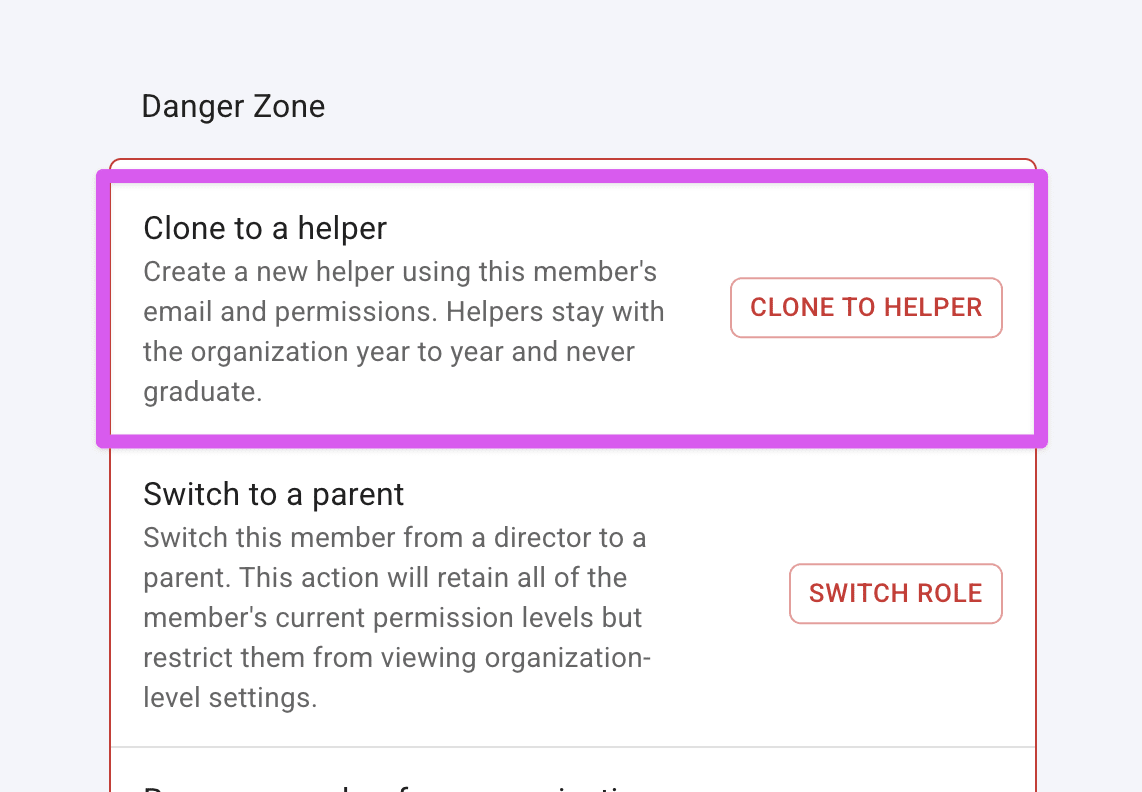
A dialog will appear explaining that the helper form will be pre-populated with the member's email and permissions. Press "Continue".
The helper creation form will open with the email and permissions already filled in from the original member. Enter a title for the helper and adjust permissions as needed.
Press the "Add Helper" button, then the "Yes, Create" button in the confirmation dialog to finish creating the helper.
Tip
After cloning, consider whether the original member still needs to remain in the organization. You may want to remove the original member or change their role if they no longer belong in the same role.
Send a welcome email to a helper #
After creating a helper, send them a Welcome Email so they can set up their login and start accessing Presto.
Navigate to the helper's detail page by clicking on a helper in the Helpers page.
In the Activity card, find the "Send Welcome Email" section and press the "Review" button.
A confirmation dialog will appear with details about the email. Press "Yes, Send Welcome Email" to send the Welcome Email.
The helper will receive an email with a link to set up their password and finish their profile setup. The link is valid for 48 hours and can only be used once.
Tip
You can only send a Welcome Email to helpers who have not yet set up their login. If a helper has already connected their account, the Send Welcome Email option will not appear.
Next steps #
- Share the Join as a Helper article with new helpers so they know how to set up their account.
- Visit a helper's detail page to view their permissions, login activity, and send a Welcome Email.
- Edit a helper to update their title, email, or permissions.
- Use the Helpers page to send bulk emails to selected helpers.
- If a helper has trouble logging in, see Forgot Password.