Who is this for? #
An Administrator or Admin Assistant who wants members to automatically receive a form whenever an inventory item (an instrument, for example) is checked out to them.
What is an Inventory Checkout Form? #
An Inventory Checkout Form is a special type of digital form, scoped to your entire Admin Portal, that Presto automatically assigns to a member whenever a director checks out an inventory item to them. It's built using the same form editor used for other digital forms — see Add Form Blocks for the full list of available block types — but it's pre-filled with details about that specific checkout so members don't have to type anything in.
Tip
At any given time, only one Inventory Checkout Form is active for your Admin Portal — whichever one you published most recently. Nothing forces you to replace it, but we recommend creating a new one each school year so responses stay organized; see Reuse a Form for a New School Year below.
Create the Inventory Checkout Form #
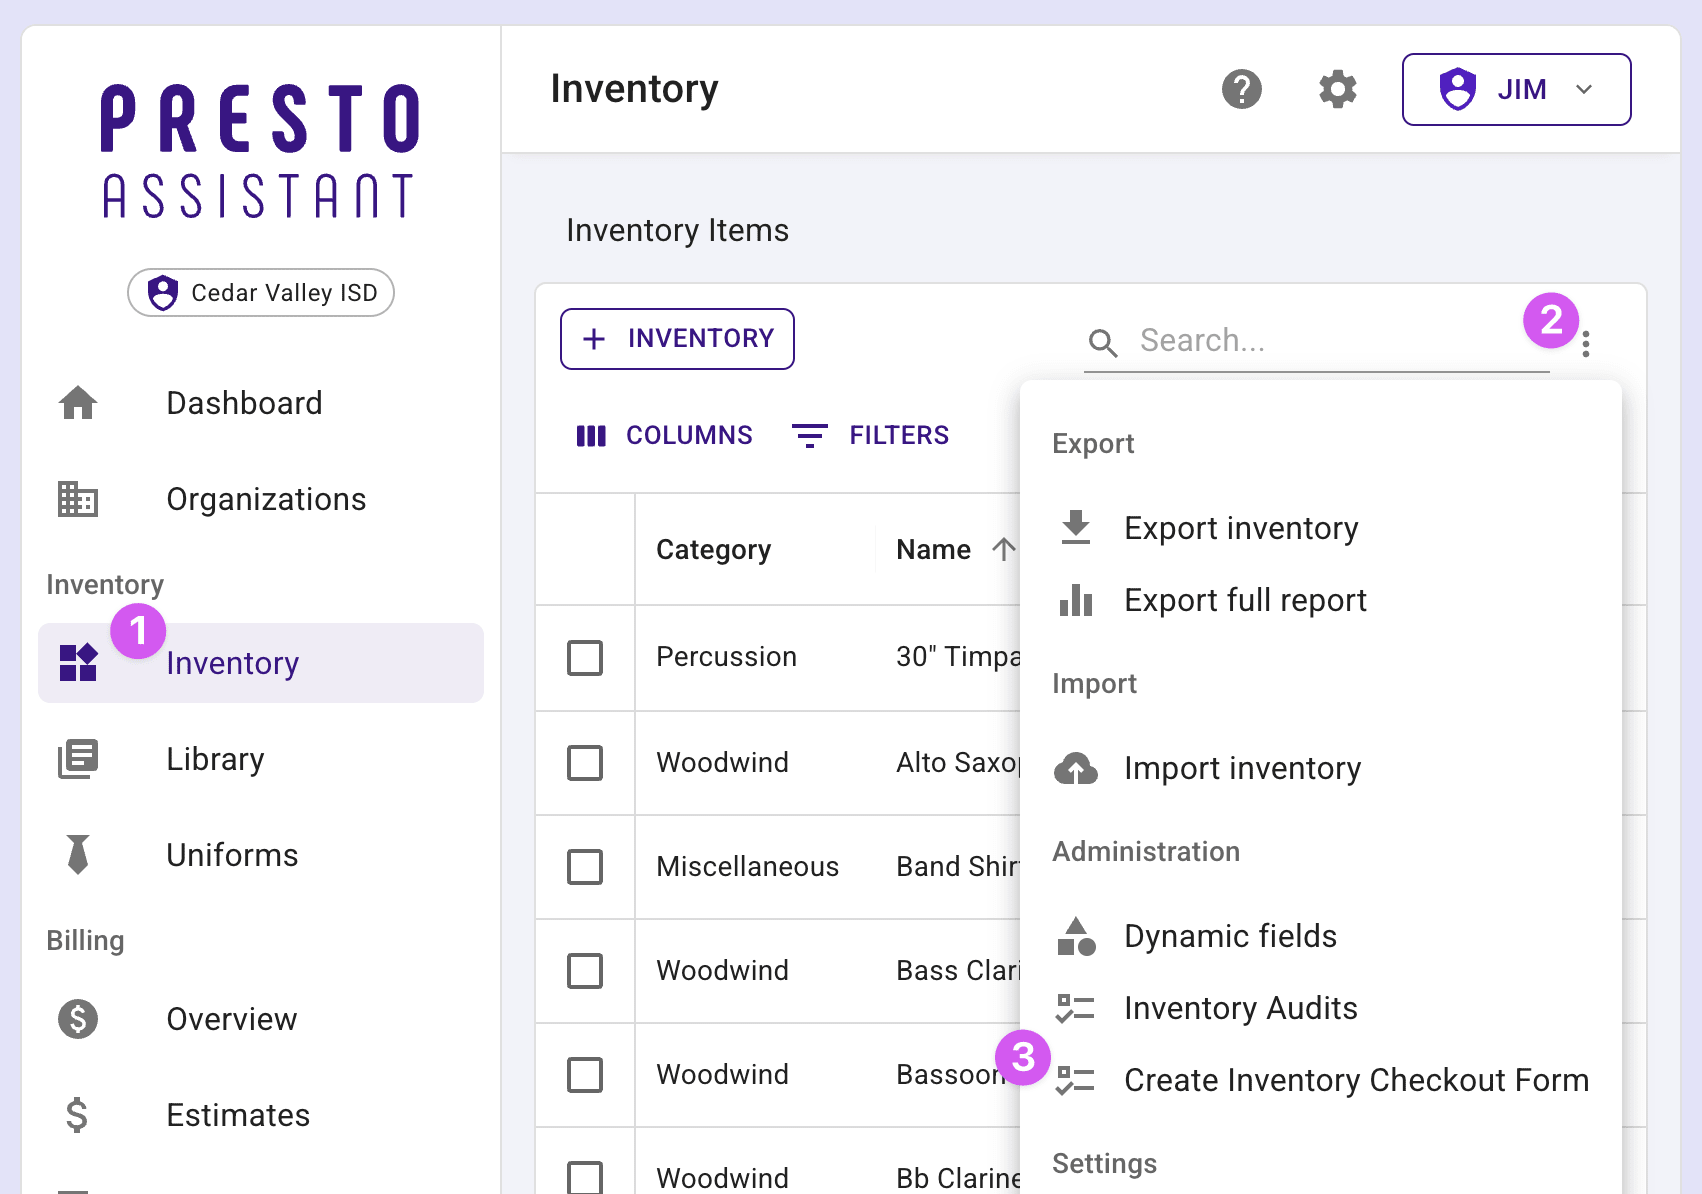
- Go to the Admin Portal's Inventory page.
- Press the three dots (More Actions) in the top-right, then choose "Create Inventory Checkout Form."
- Add a title and select the school year, then press "Next."
Add Form Blocks #
Your new form starts with several fields already added for you, automatically filled in with details from each checkout:
- Item name, brand, model, category, serial number, and current value
- Who checked the item out, and who it was checked out to
- The checkout date and due date
You can add more form blocks on top of these — most commonly a Signature block, so the member (or their parent) has to sign the agreement before it's considered complete. If you want to require a parent's signature specifically rather than the student's, check "Only adult relatives can sign" when adding the Signature block.
Tip
Like other digital forms, you can edit all blocks until the form is published. Once published, you can only assign or unassign members — the form's structure is locked.
Publish the Form #
When the form is ready, press the "Publish" button. Publishing makes this the active Inventory Checkout Form for your Admin Portal — Presto will begin assigning it automatically the next time a checkout happens, and any previously active form stops being assigned to new checkouts.
Reuse a Form for a New School Year #
Presto doesn't require you to create a new Inventory Checkout Form each school year — if you leave one active, it keeps collecting new checkout assignments indefinitely. As a best practice, though, we recommend creating a new one at the start of each summer, so the upcoming school year's checkouts are kept separate from the previous year's. Rather than rebuilding one from scratch, duplicate last year's form:
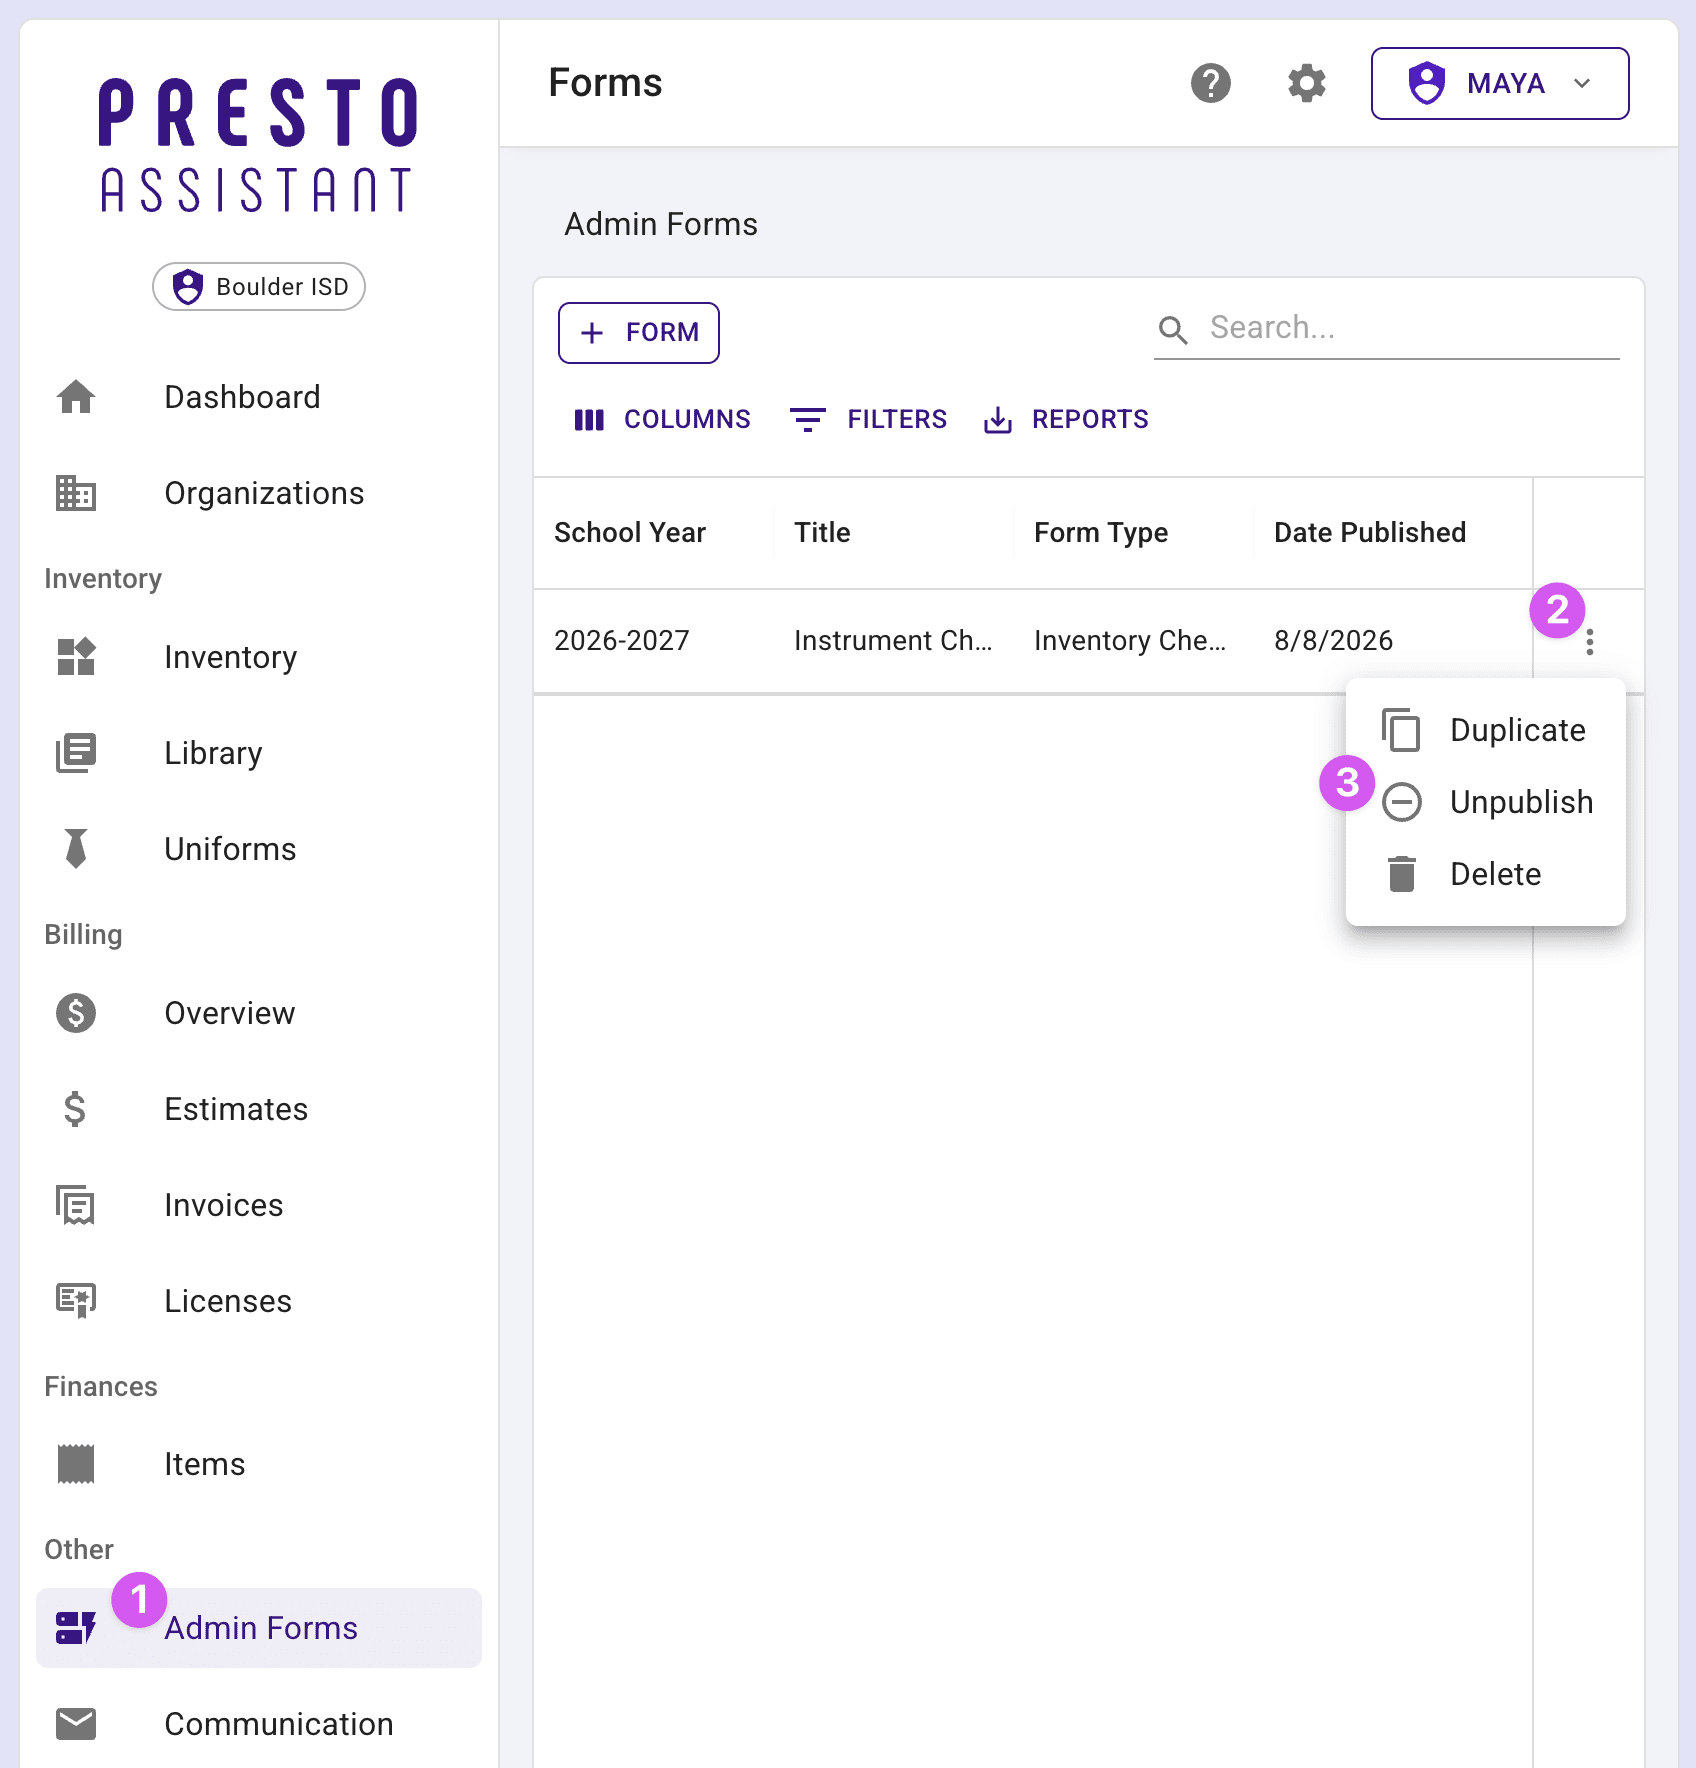
- On the Admin Portal's Admin Forms page, find the row for your existing Inventory Checkout Form, press the three dots, and choose "Duplicate."
- Give the copy a title and select the new school year, then confirm.
- Review the duplicated form's blocks, then publish it to make it the new active form.
Tip
Responses stay with the form they were submitted on — duplicating a form for a new school year doesn't move or delete last year's responses. Each school year's completed forms remain available on their original form.
How Checkouts Trigger the Form #
- A director checks out an inventory item to a member from the item's page (in the "Checkout Details" section) or via barcode scan. See Using Barcodes for Inventory, Uniforms, and Library Items for the barcode-based checkout flow.
- If your Admin Portal has a published Inventory Checkout Form, Presto automatically assigns a copy of it to the member who received the item, pre-filled with that checkout's details.
- The member receives an email, just like with any other assigned form, and completes it (including any signature you required) in Presto.
- If the item is later checked in, or the checkout is deleted, Presto automatically unassigns the form.
Tip
If a member has multiple active checkouts, they'll receive a separate copy of the form for each one.