Who is this for? #
Any director finishing up the school year and promoting students to the next grade level.
General info #
- The End of Year Process can be done in any order. For example, if you are in a feeder pattern, high school or middle school can go first.
- The entire process can be completed in less than five minutes!
- The End of Year Process can only be completed by a director.
- Starting March 1st, a director can choose to start the End of Year Process.
- Occasional reminders will show up in May and June as a director signs in to Presto.
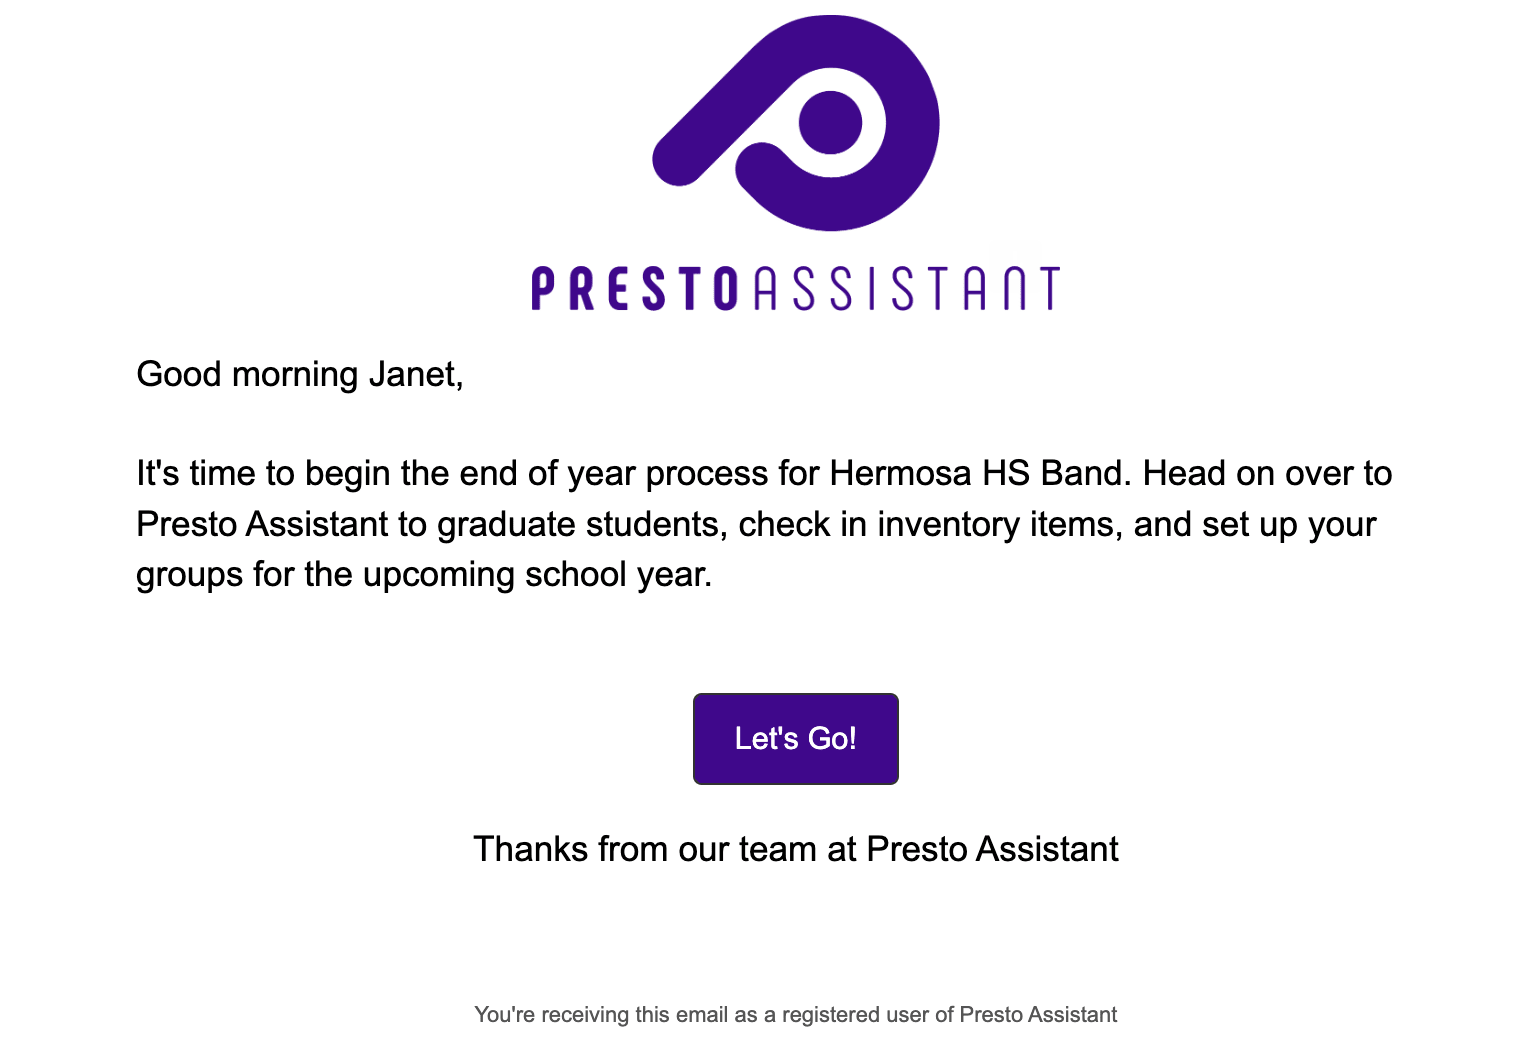
- Email reminders will be sent to directors starting in mid-June.
- Use the "Finish Later" button to save your progress and come back later.
- Starting August 1st, the End of Year Process will need to be completed before any other actions can be taken in the system.
Start the End of Year Process #
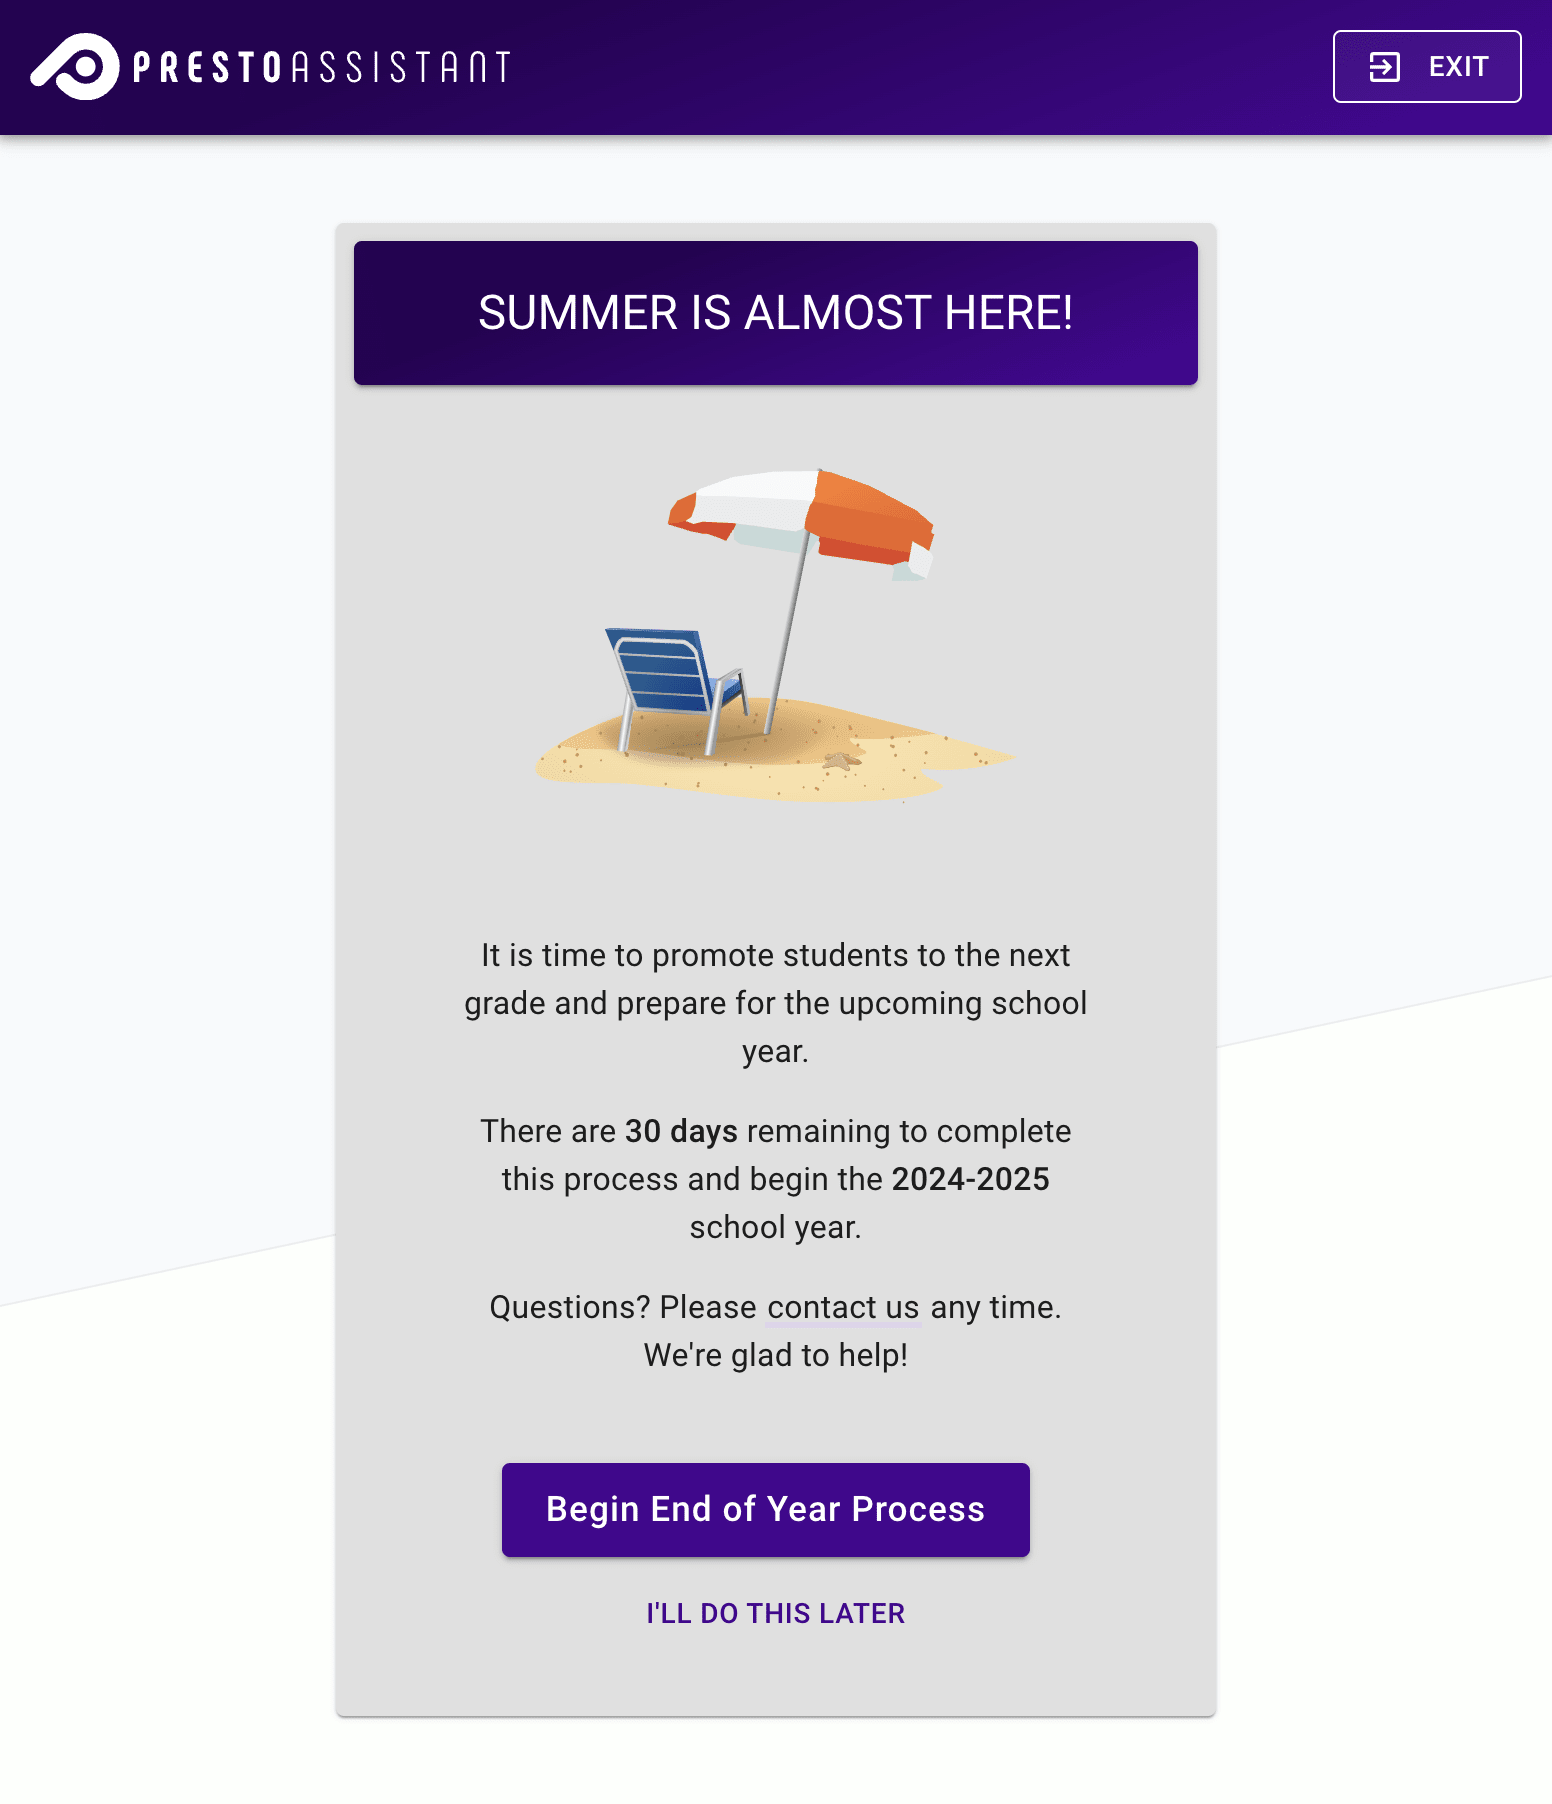
In May and June, you will be prompted on occasion to optionally begin the End of Year Process.
- A new screen shows when a director signs in.
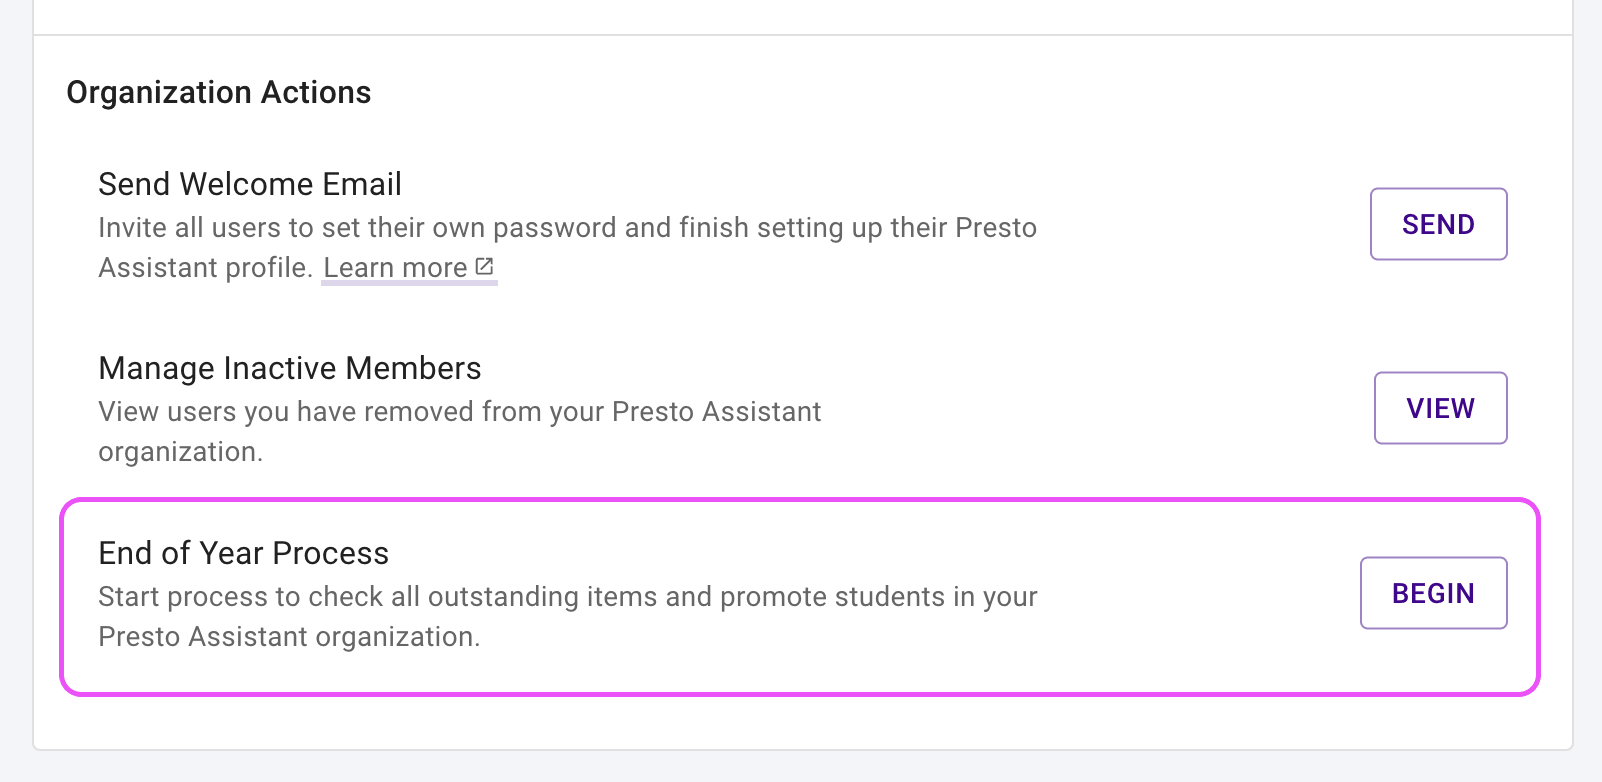
- The Dashboard will show a new card to complete or continue the End of Year Process.

- The organization settings page will have a new End of Year Process section.
- Email reminders will arrive starting in mid-June.
Step 1: Items #
- The "Items" screen shows all outstanding items: inventory checkouts, uniform checkouts, and unpaid fees. The "Items" step is for review; no action is necessary as part of the End of Year Process.
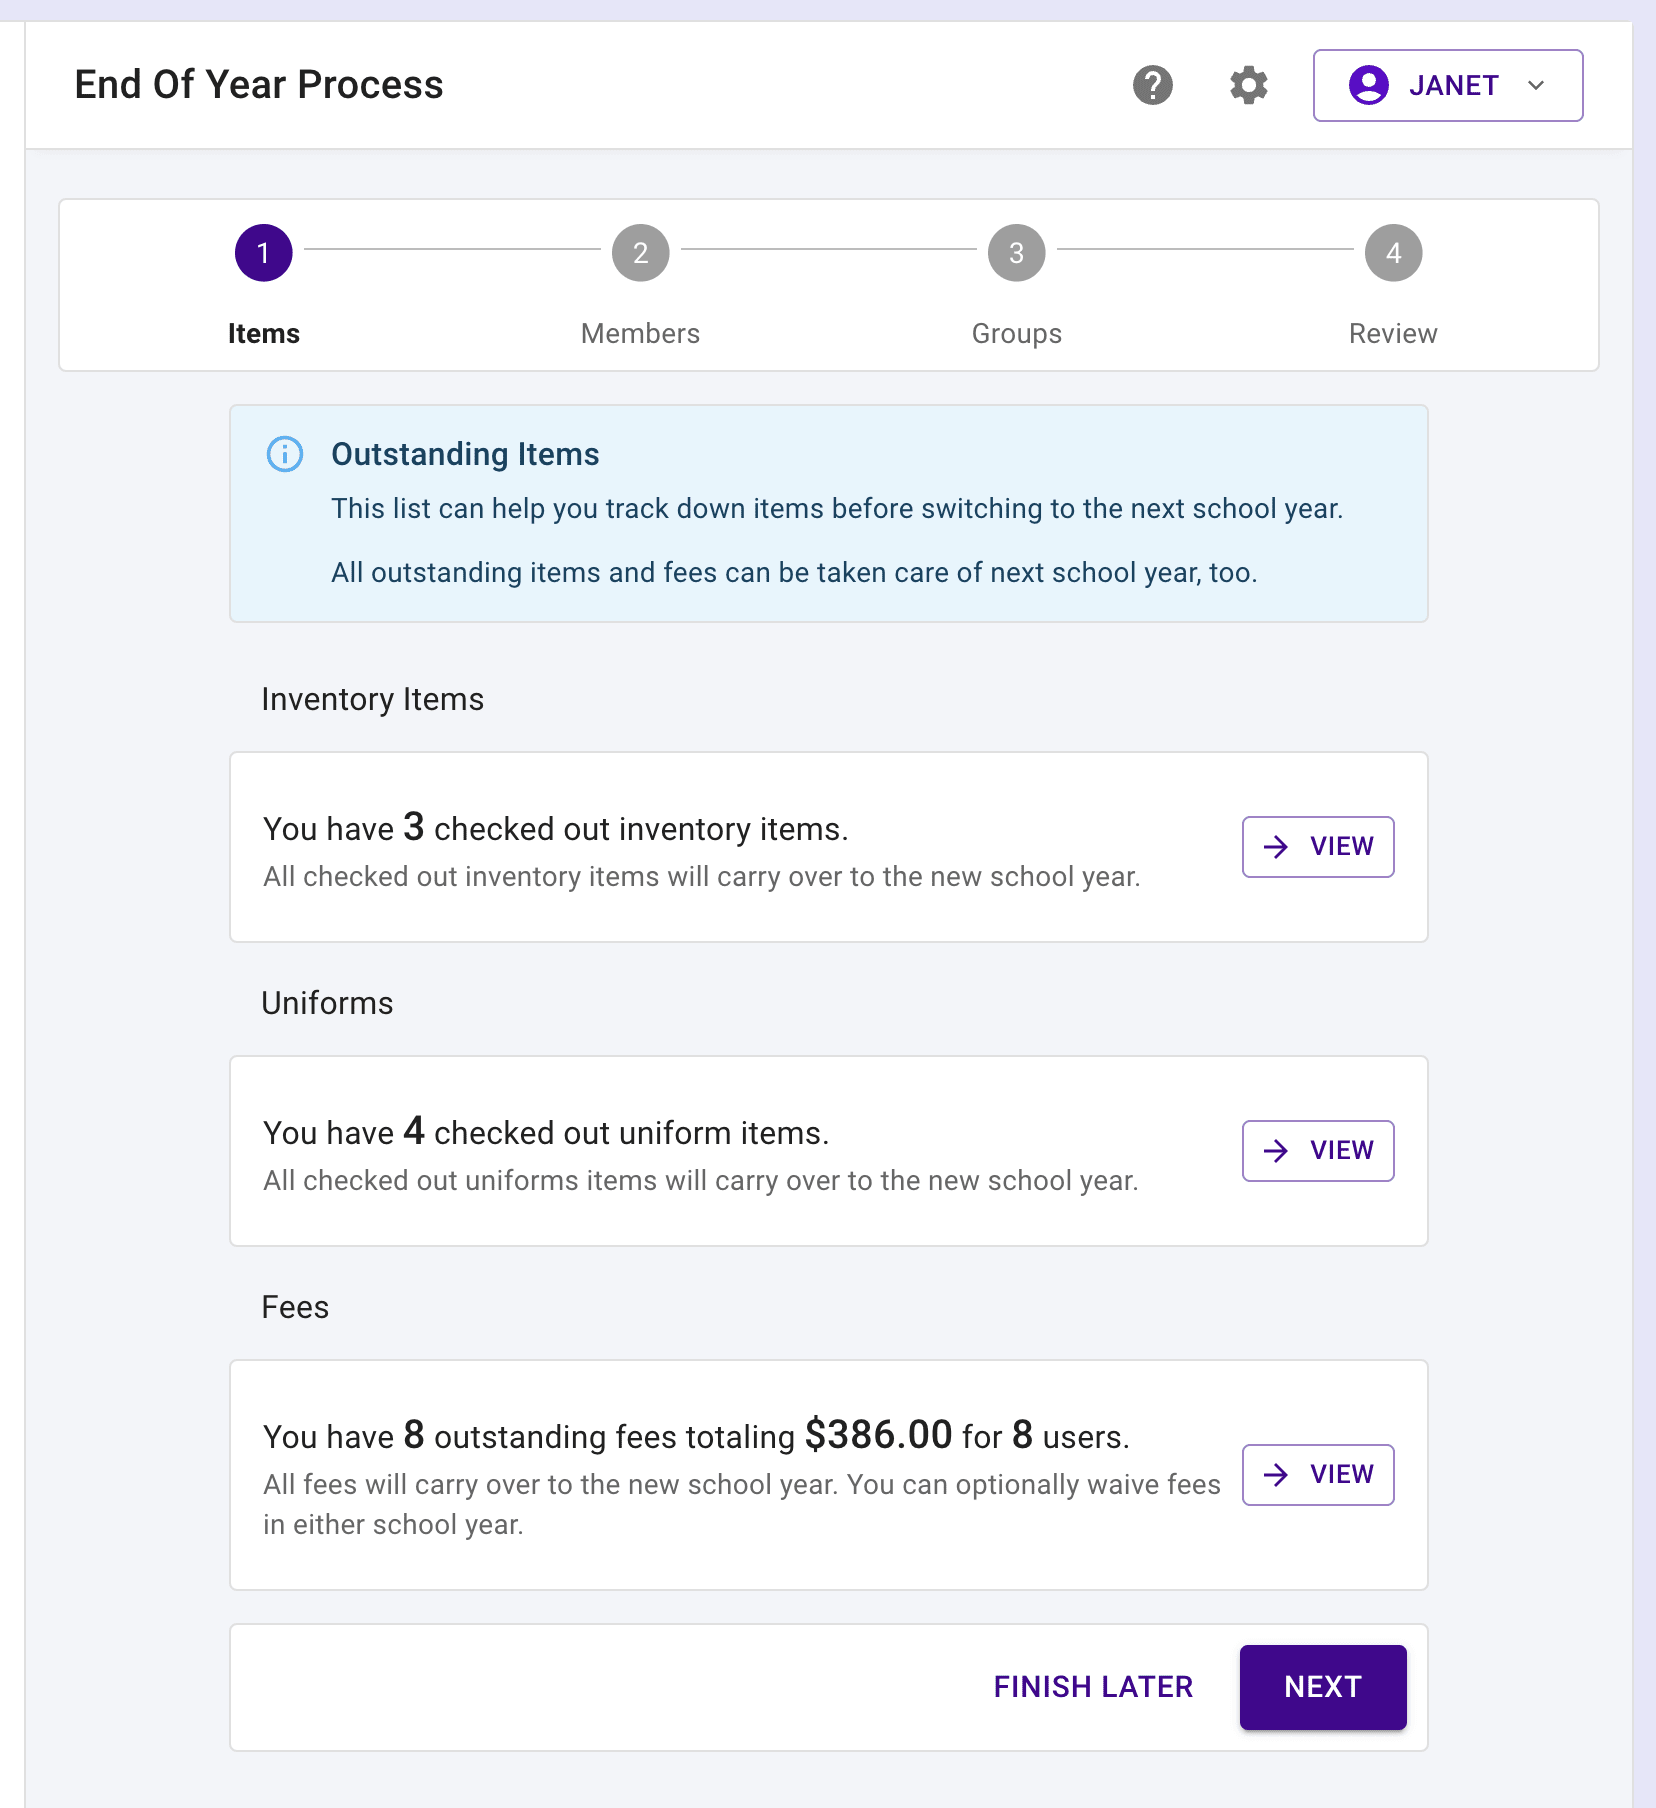
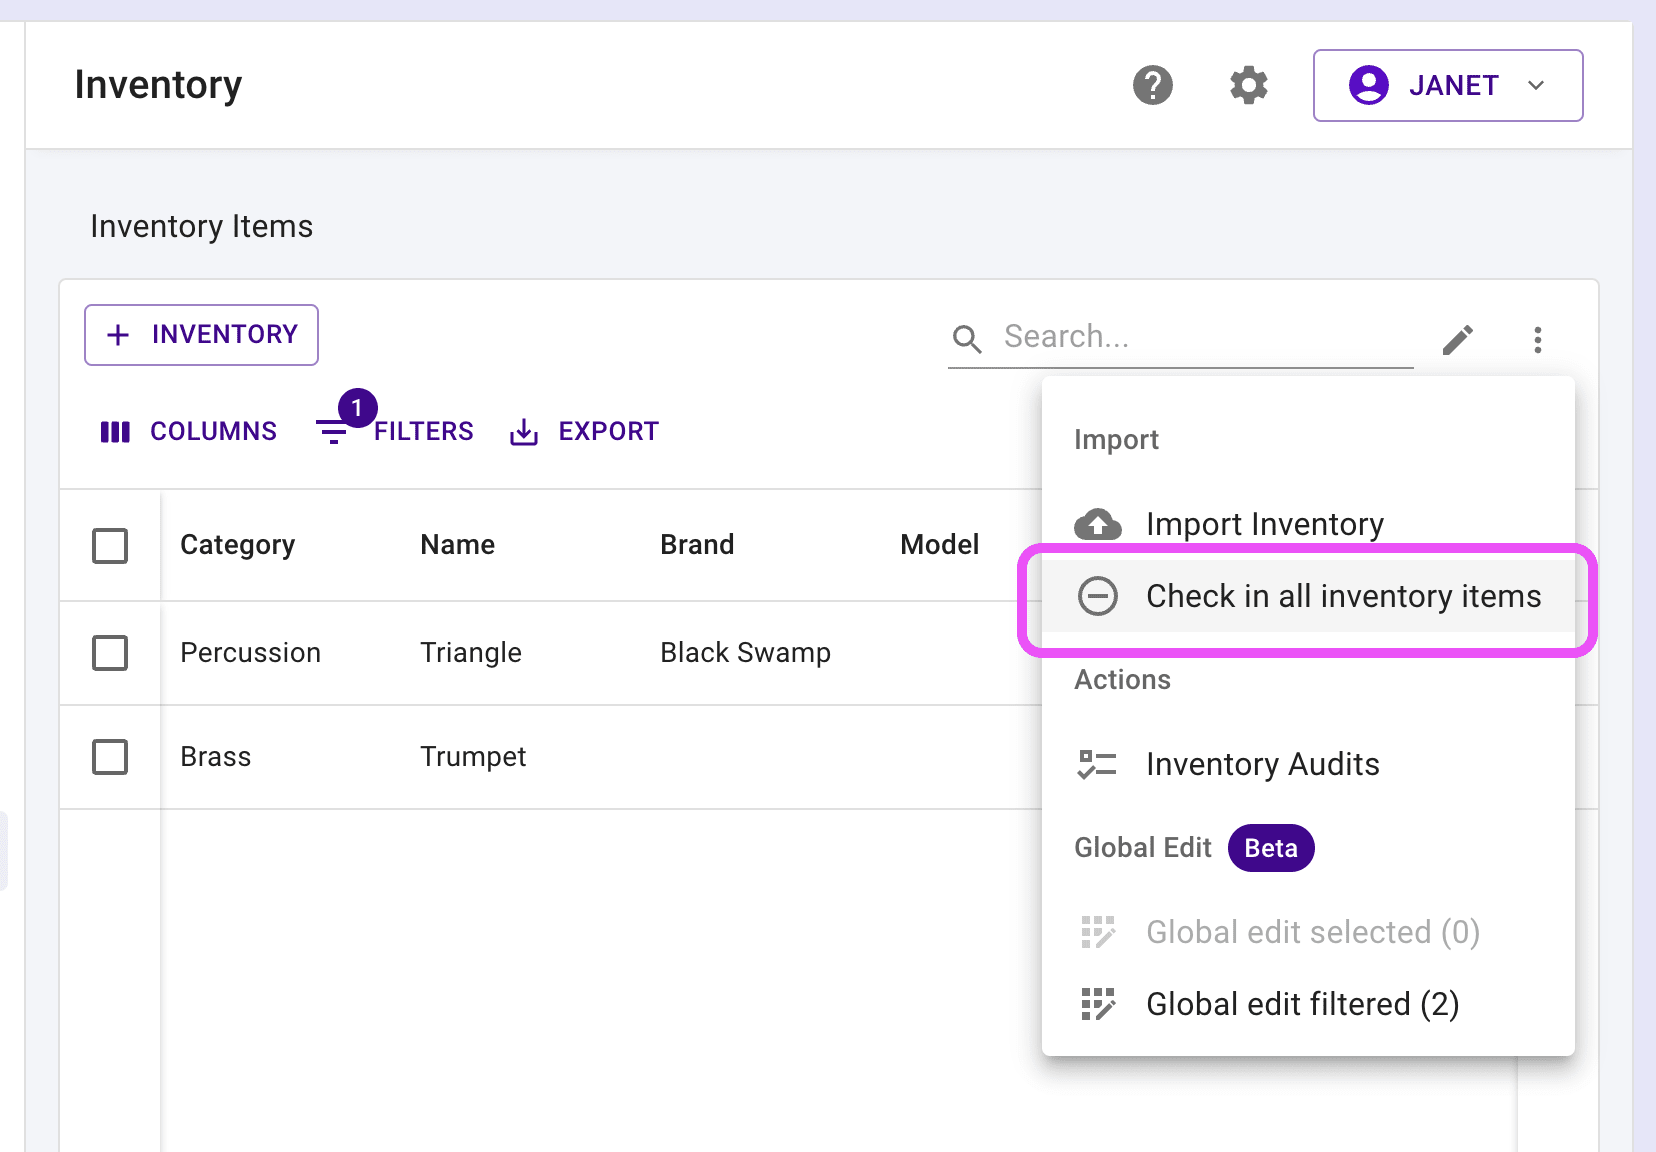
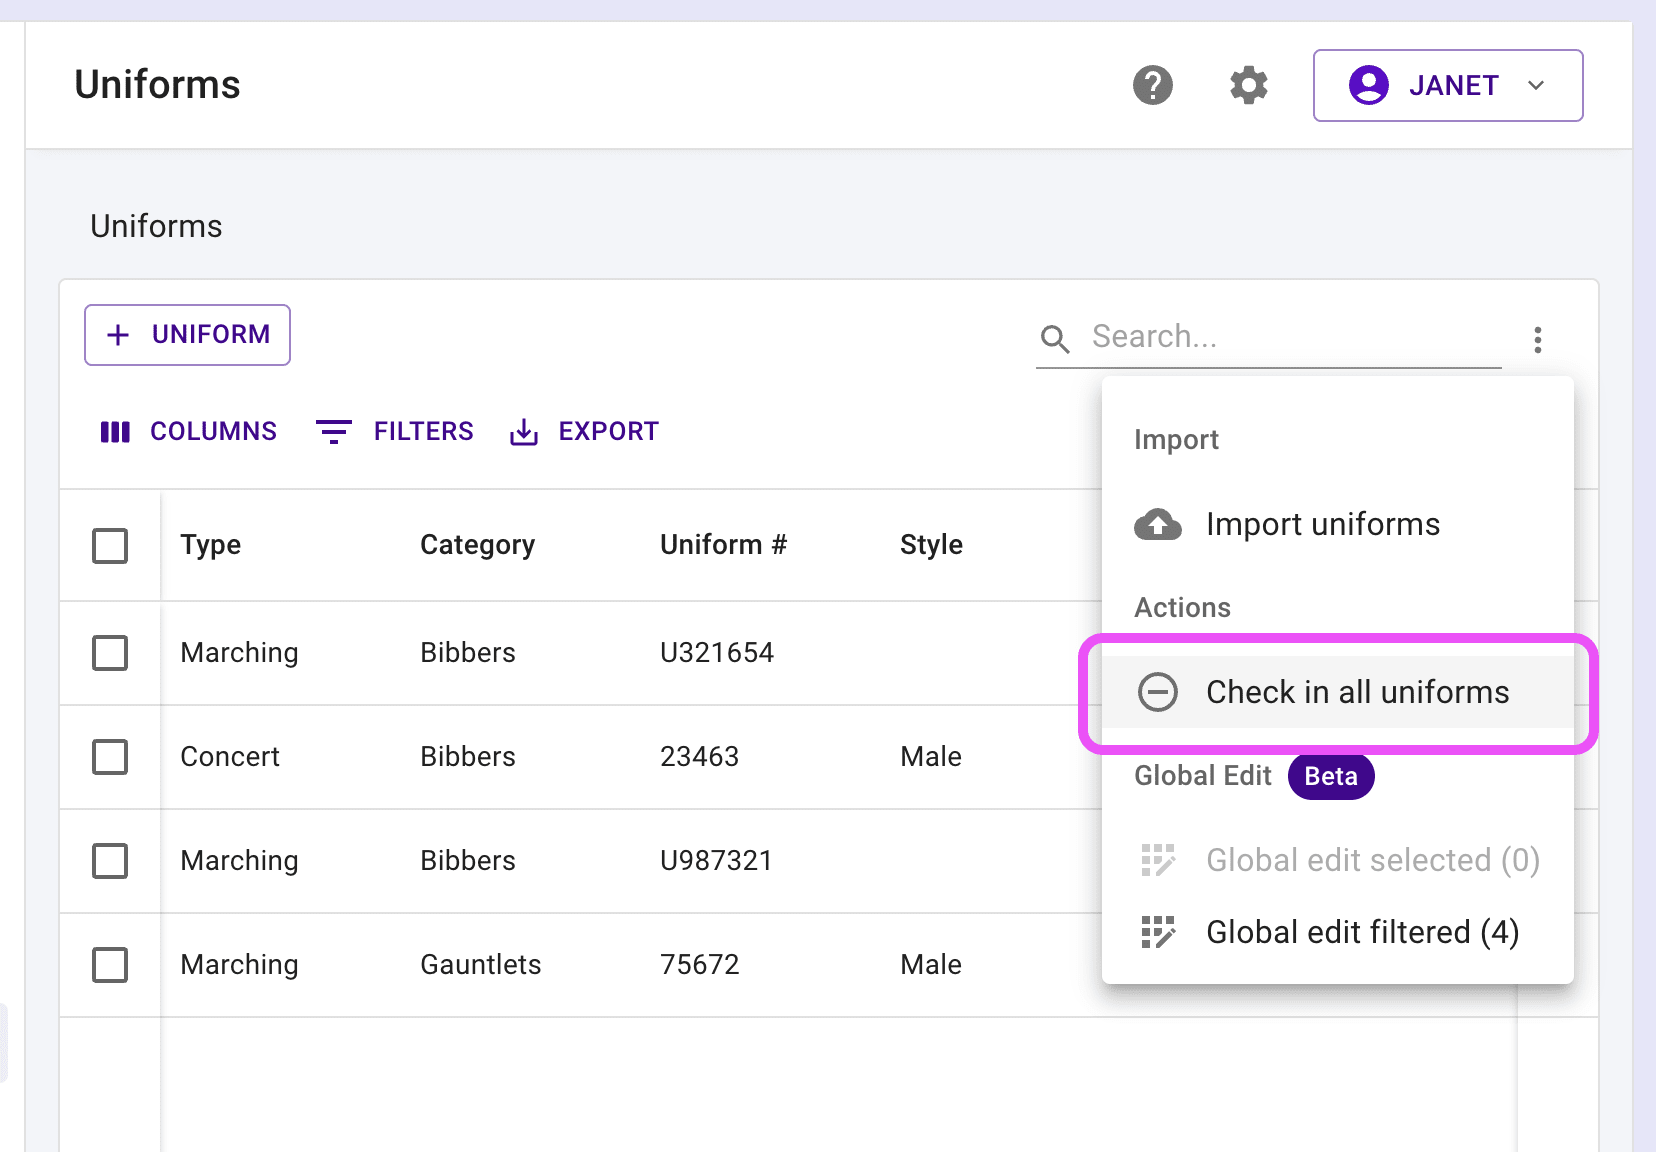
The "View" buttons will take you to the appropriate page to check the outstanding items.
The inventory and uniform pages will allow you to quickly check in all items, if your permission level allows.
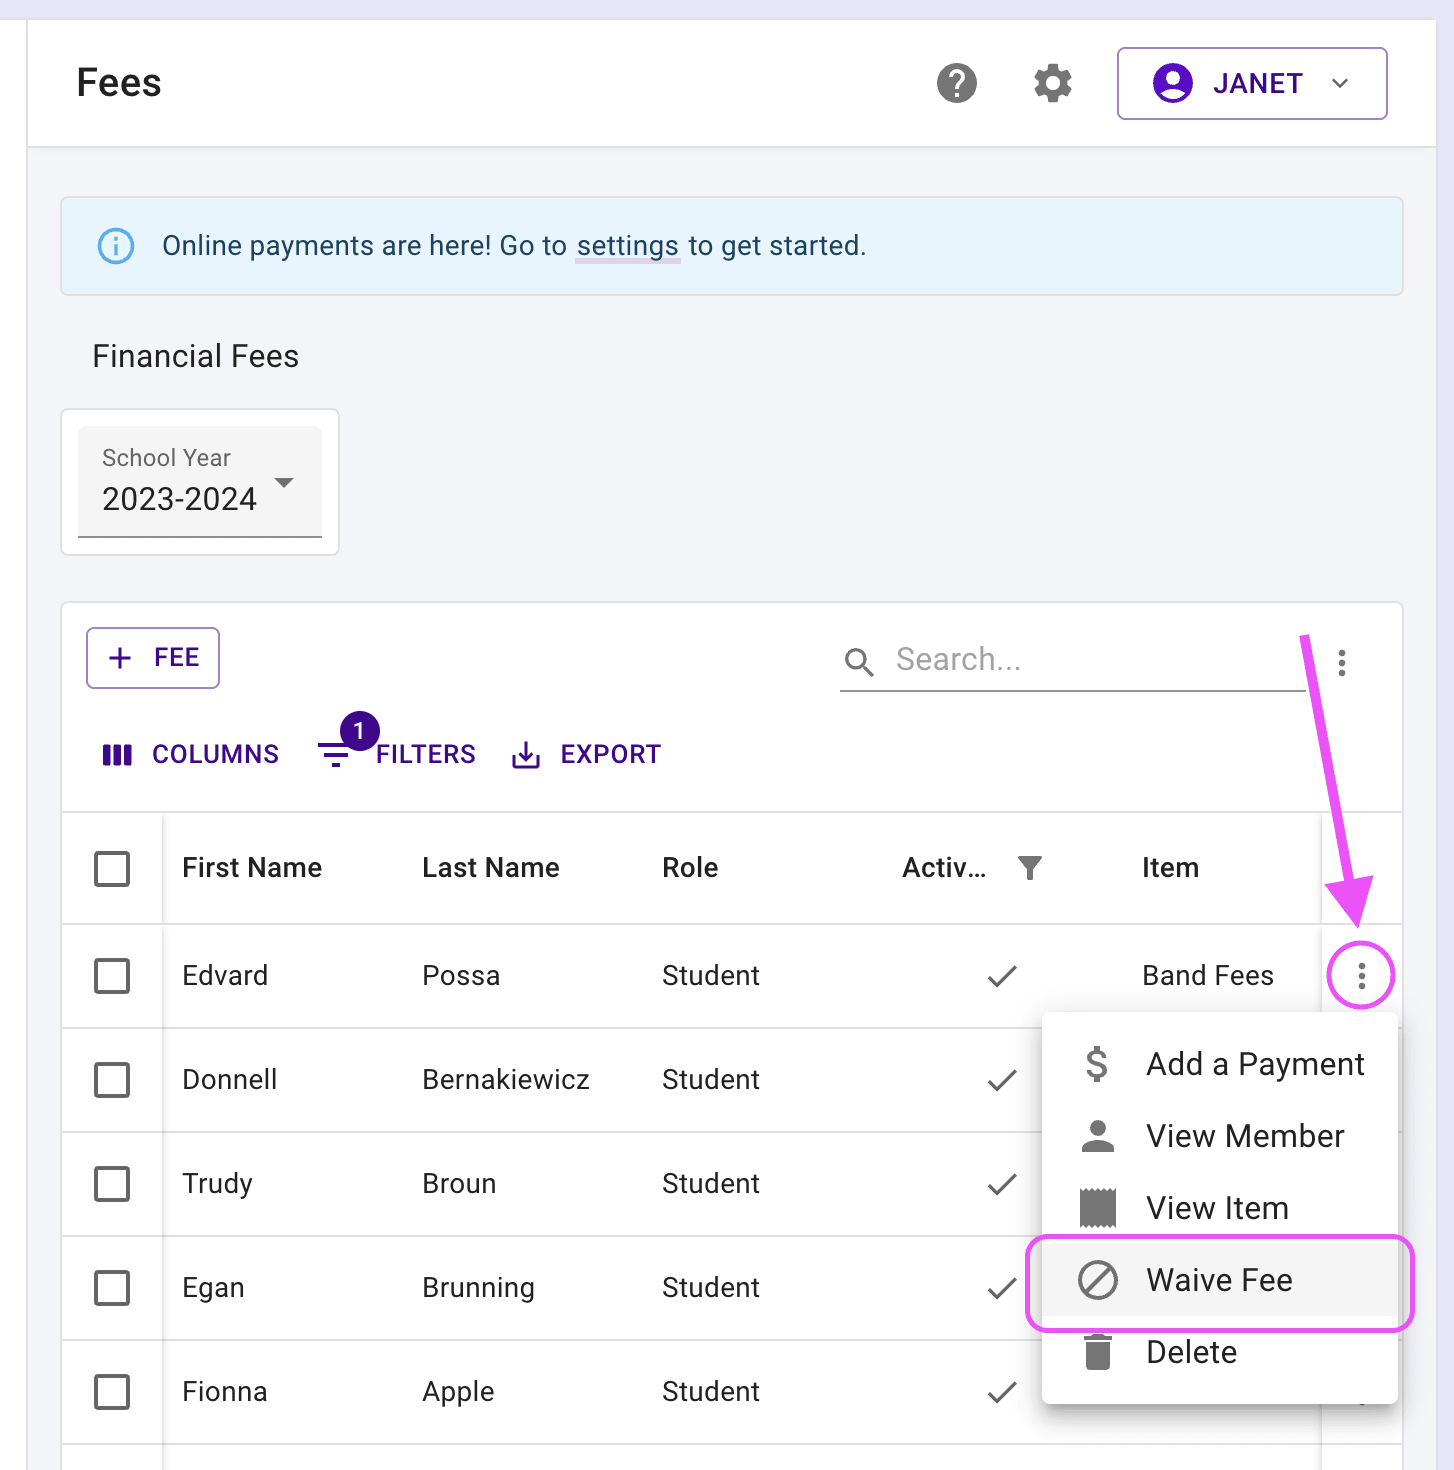
You can waive fees one at a time from the "Actions" column on any row.
Step 2: Members #
The "Members" screen allows the following actions: adjust graduating grade, successor organization (if applicable), non-returning members, and view basic information for all members for the upcoming school year.
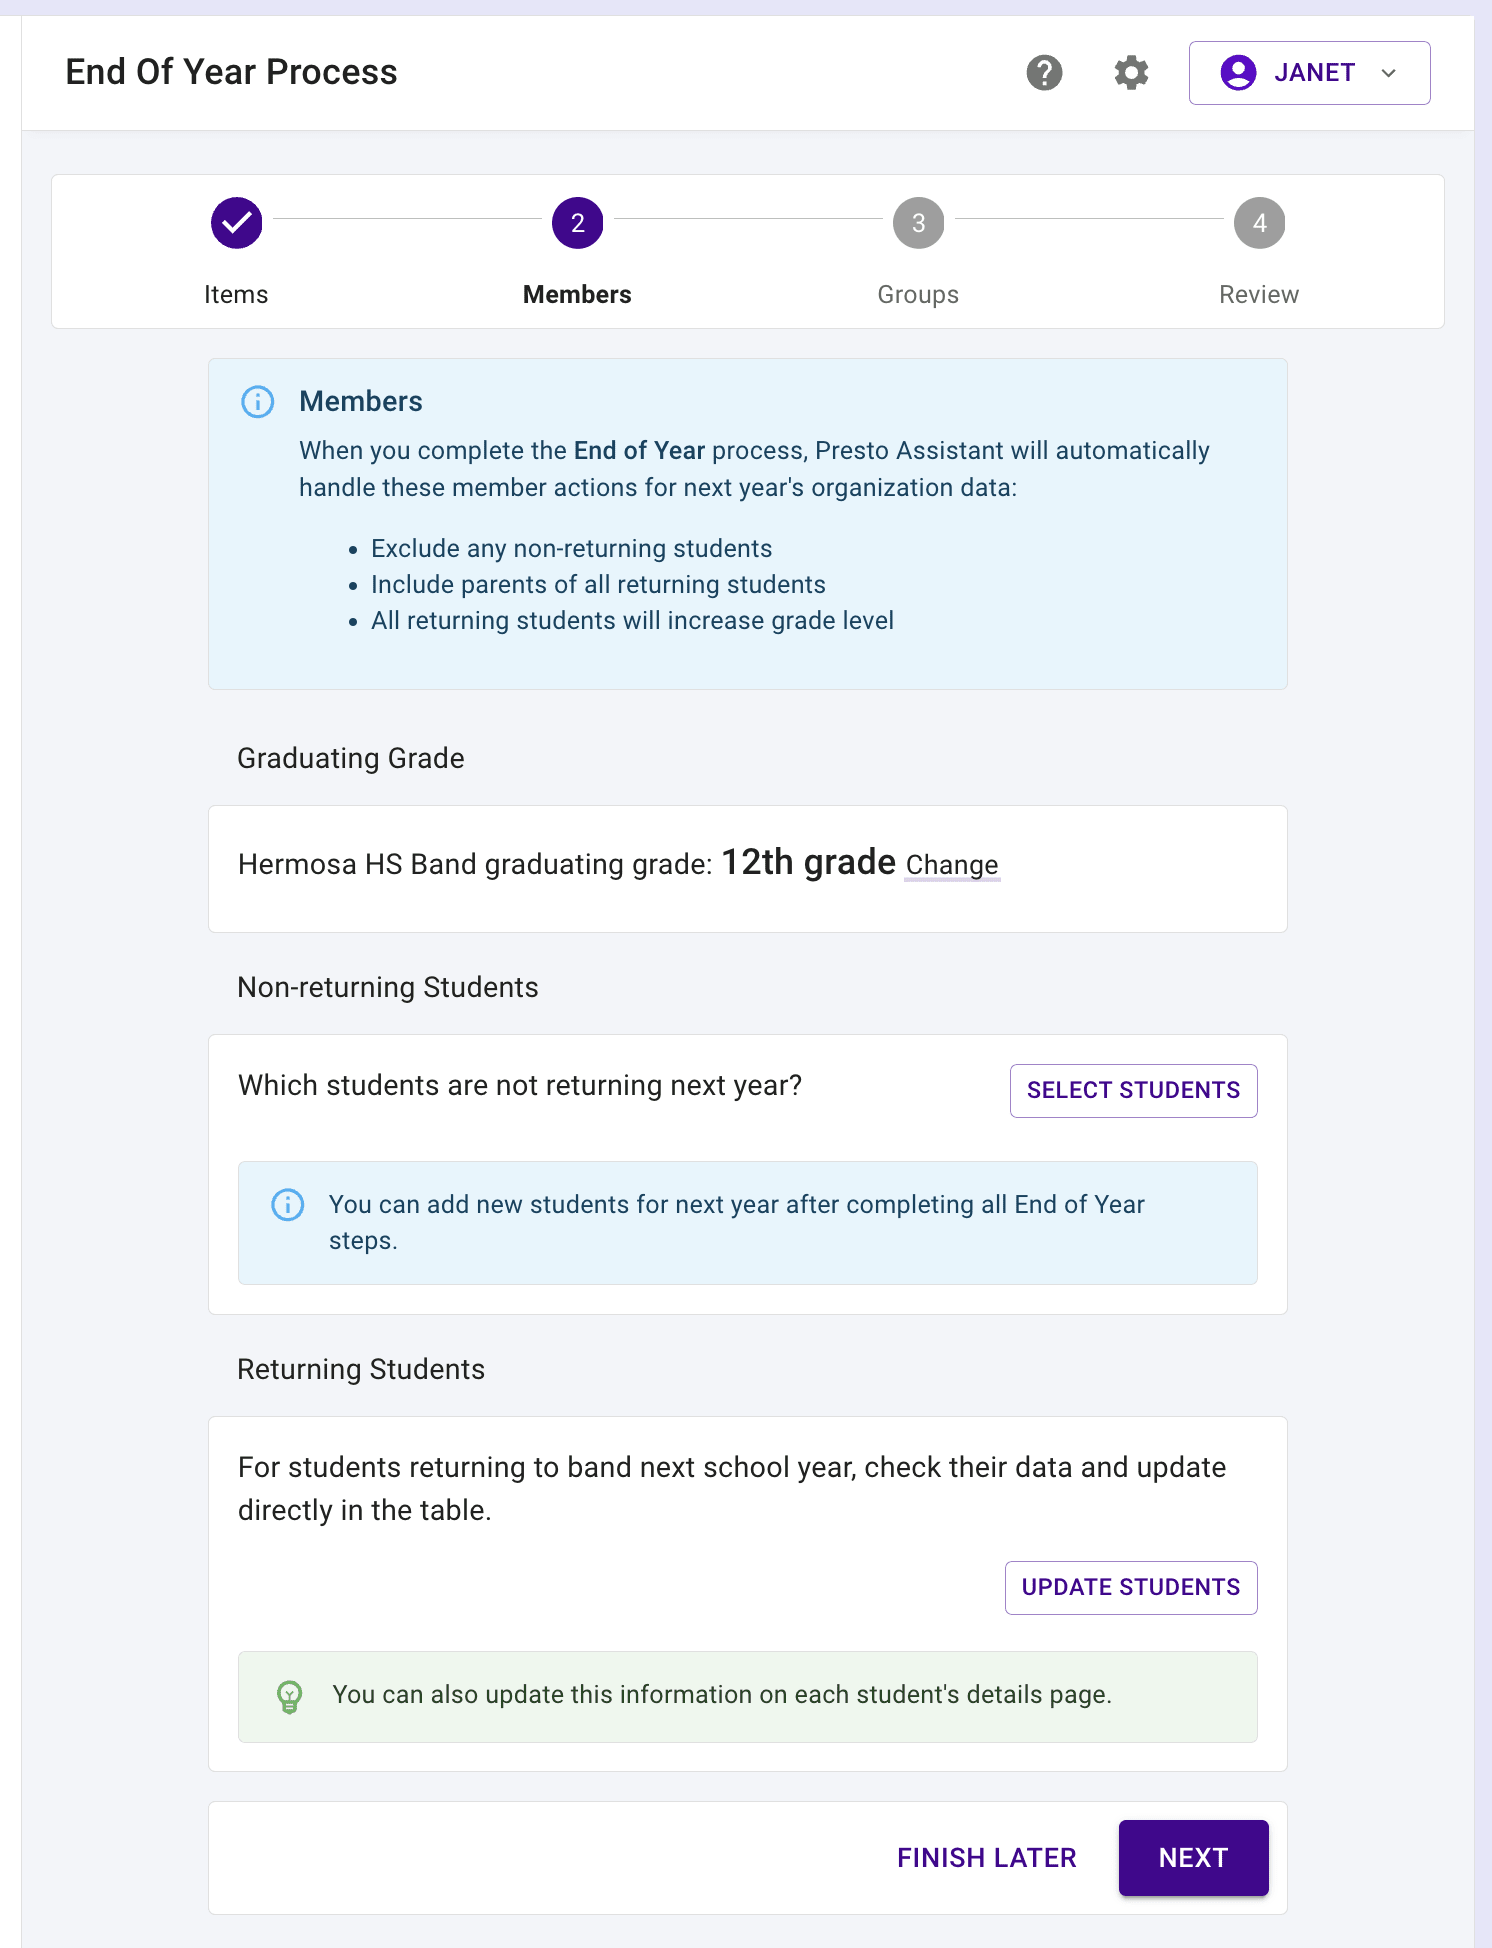
Graduating Grade #
The End of Year Process will send your "graduating" students and their connected adult relatives to the next grade level in the successor organization. For instance, if Presto MS Band sends students to Presto HS Band, the EOY Process will send the students to the high school band.
- Parents will not have a membership in the following school year unless they have another child in your organization.
- All current-year members will still appear in the "Previous Year Members" area, accessible below the Students or Parents tables.
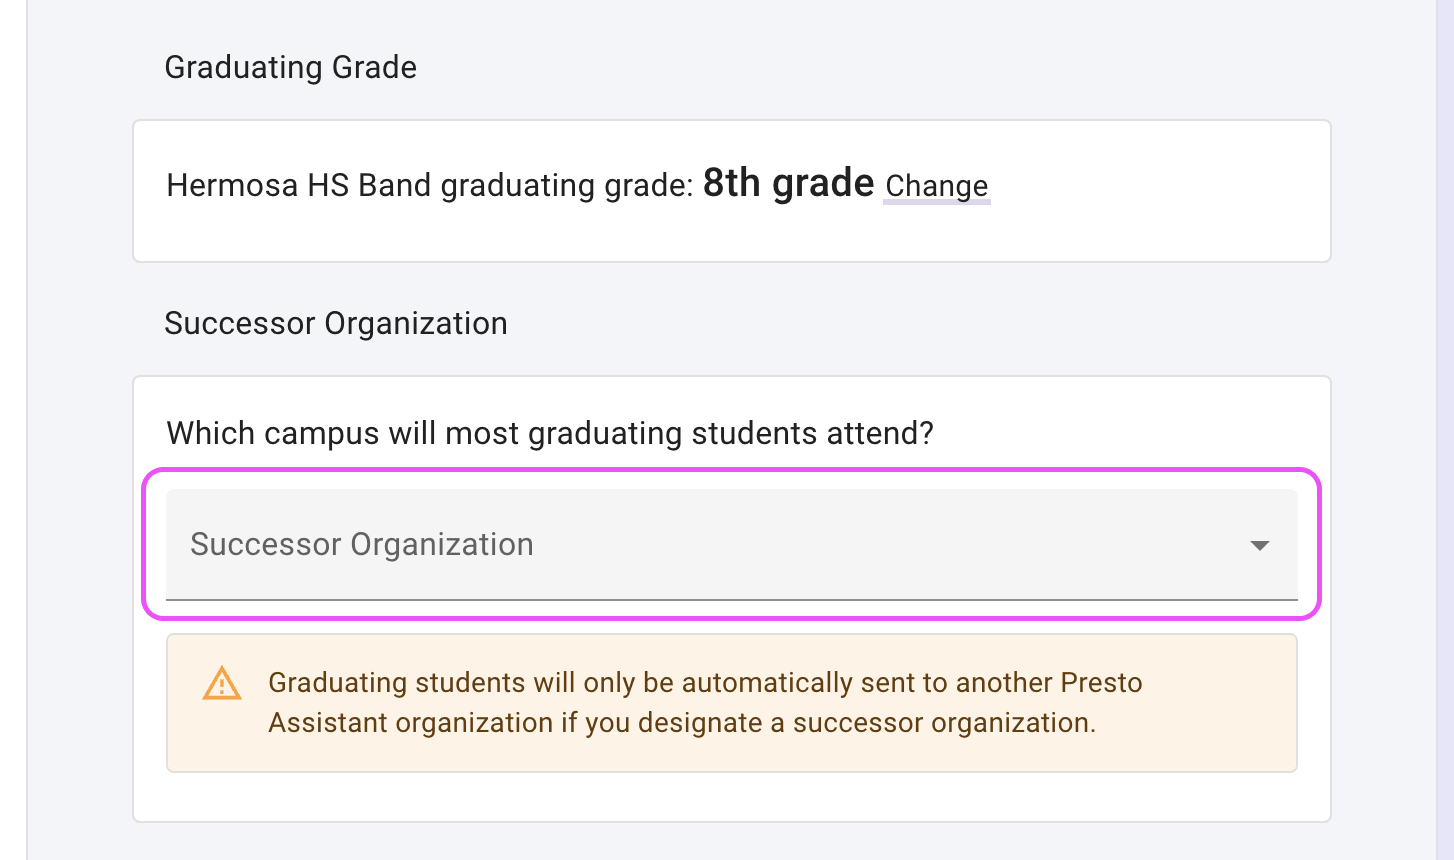
Adjust the "Graduating Grade" and "Successor Organization" as needed.
- If your campus graduates 12th grade students, you won't see the "Successor Organization" option.
- If your Presto district only has your one organization, you can leave the "Successor Organization" empty.
Non-returning Students #
Use the "Select Students" button see a list of all current student members. Select any student who is not returning to your organization next year. Keep in mind that the Presto system will consider your "graduating grade" students as non-returning already.

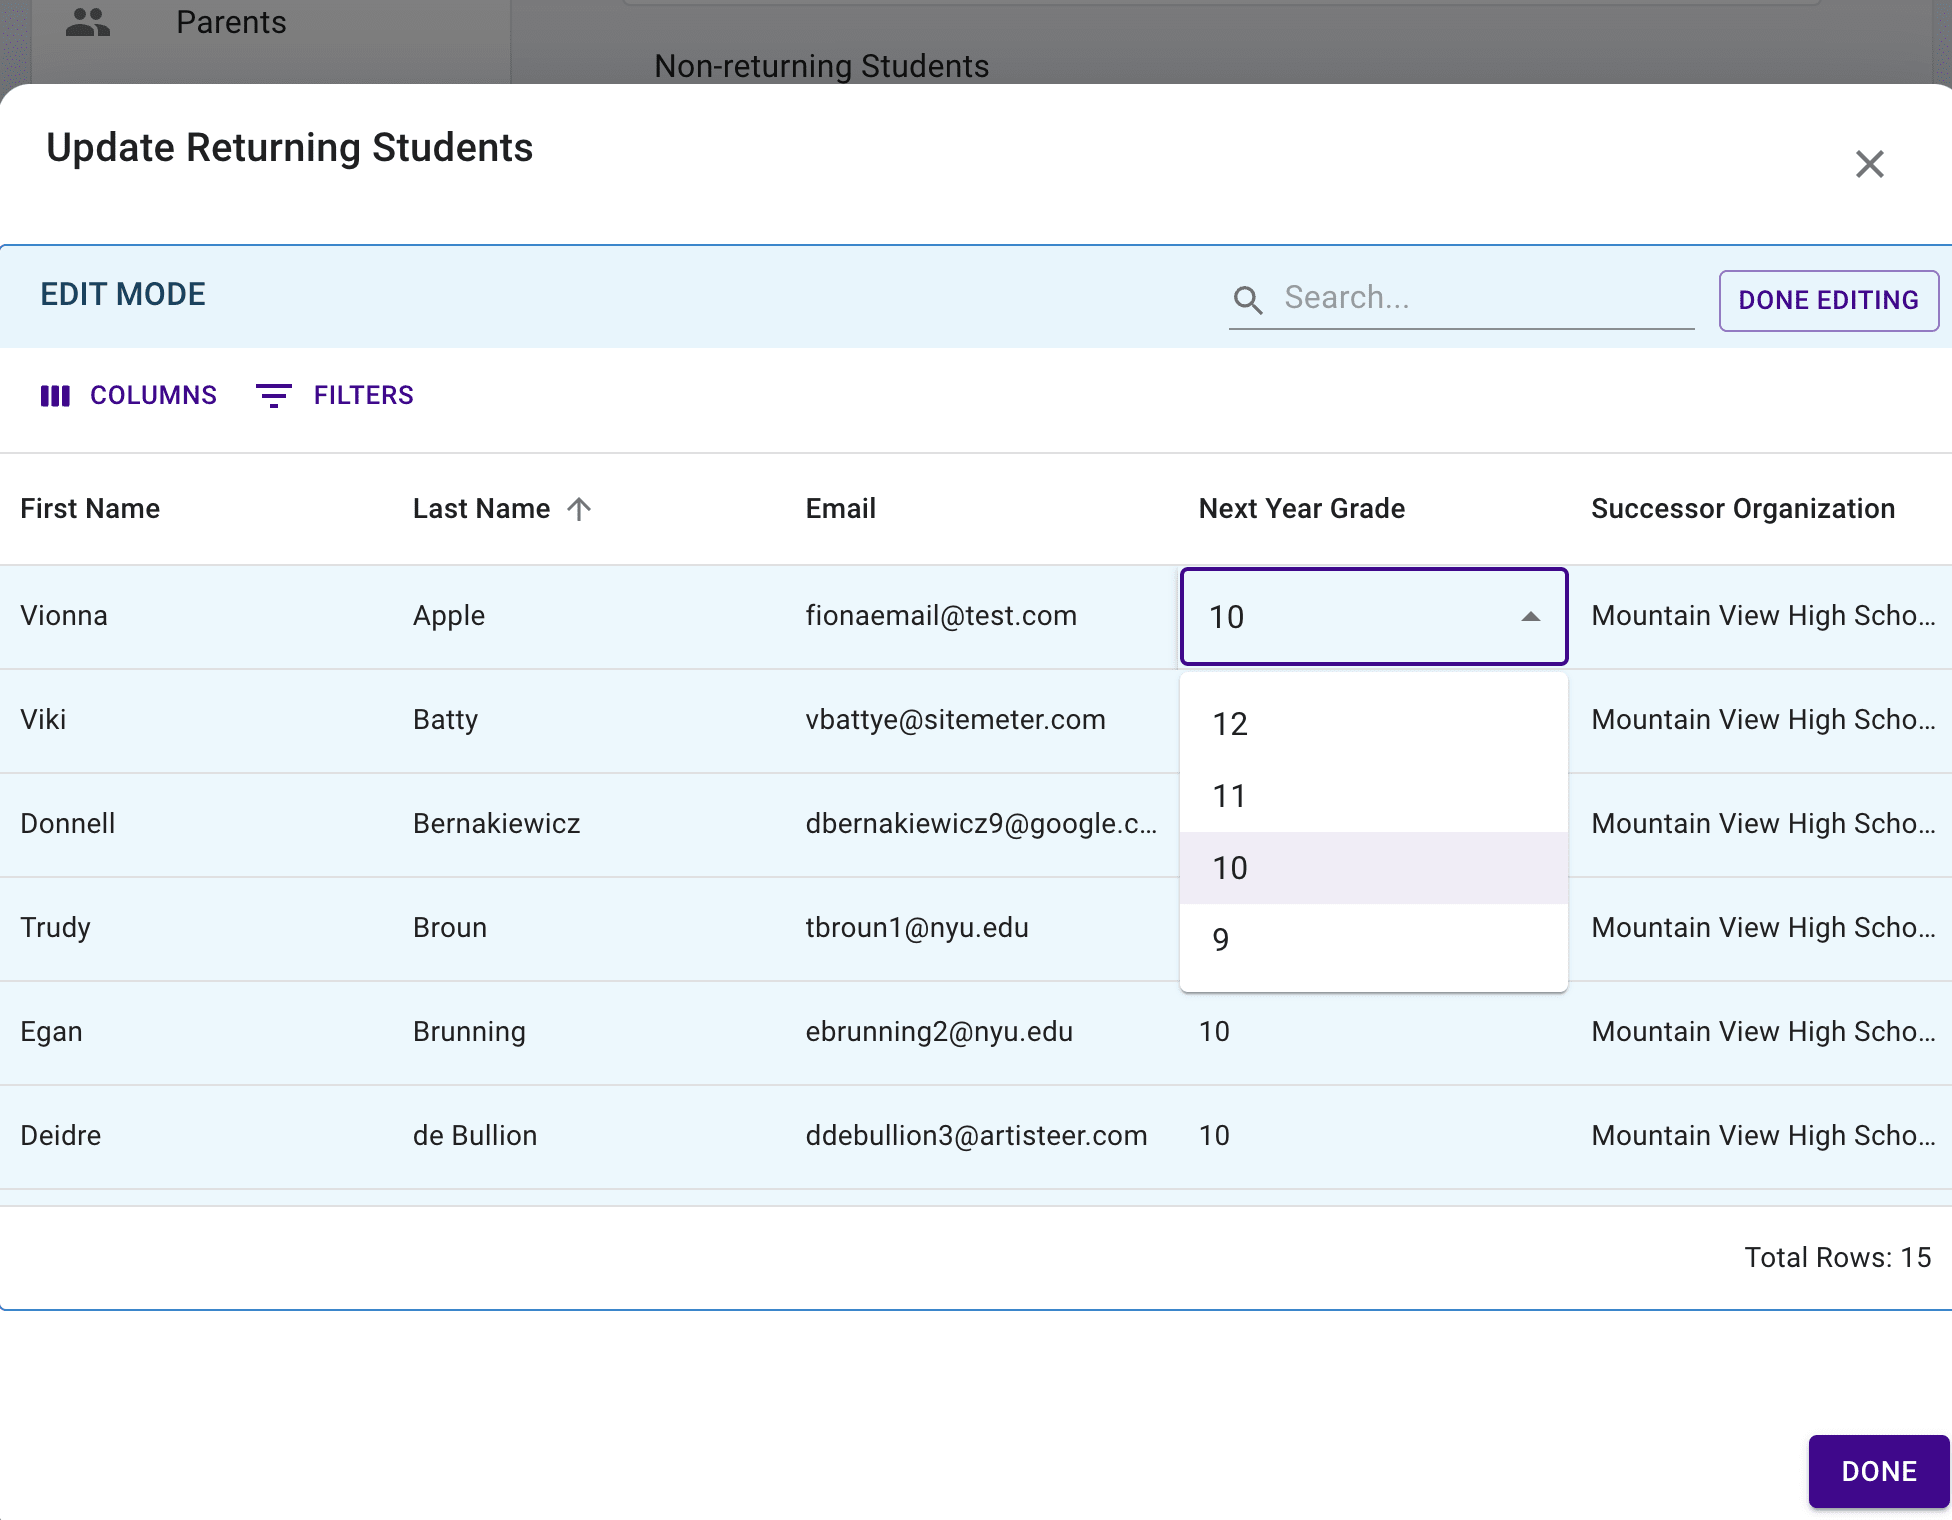
Returning Students #
Before switching to the new school year, take a moment to double-check the information for all returning students. It's important to make sure "Grade" and "Successor Organization" (if applicable) are correct.
Tip
Any student without a "Grade" will remain in your program for the upcoming school year.
When everything for the Members step looks good, press the "Next" button to continue to the next step.
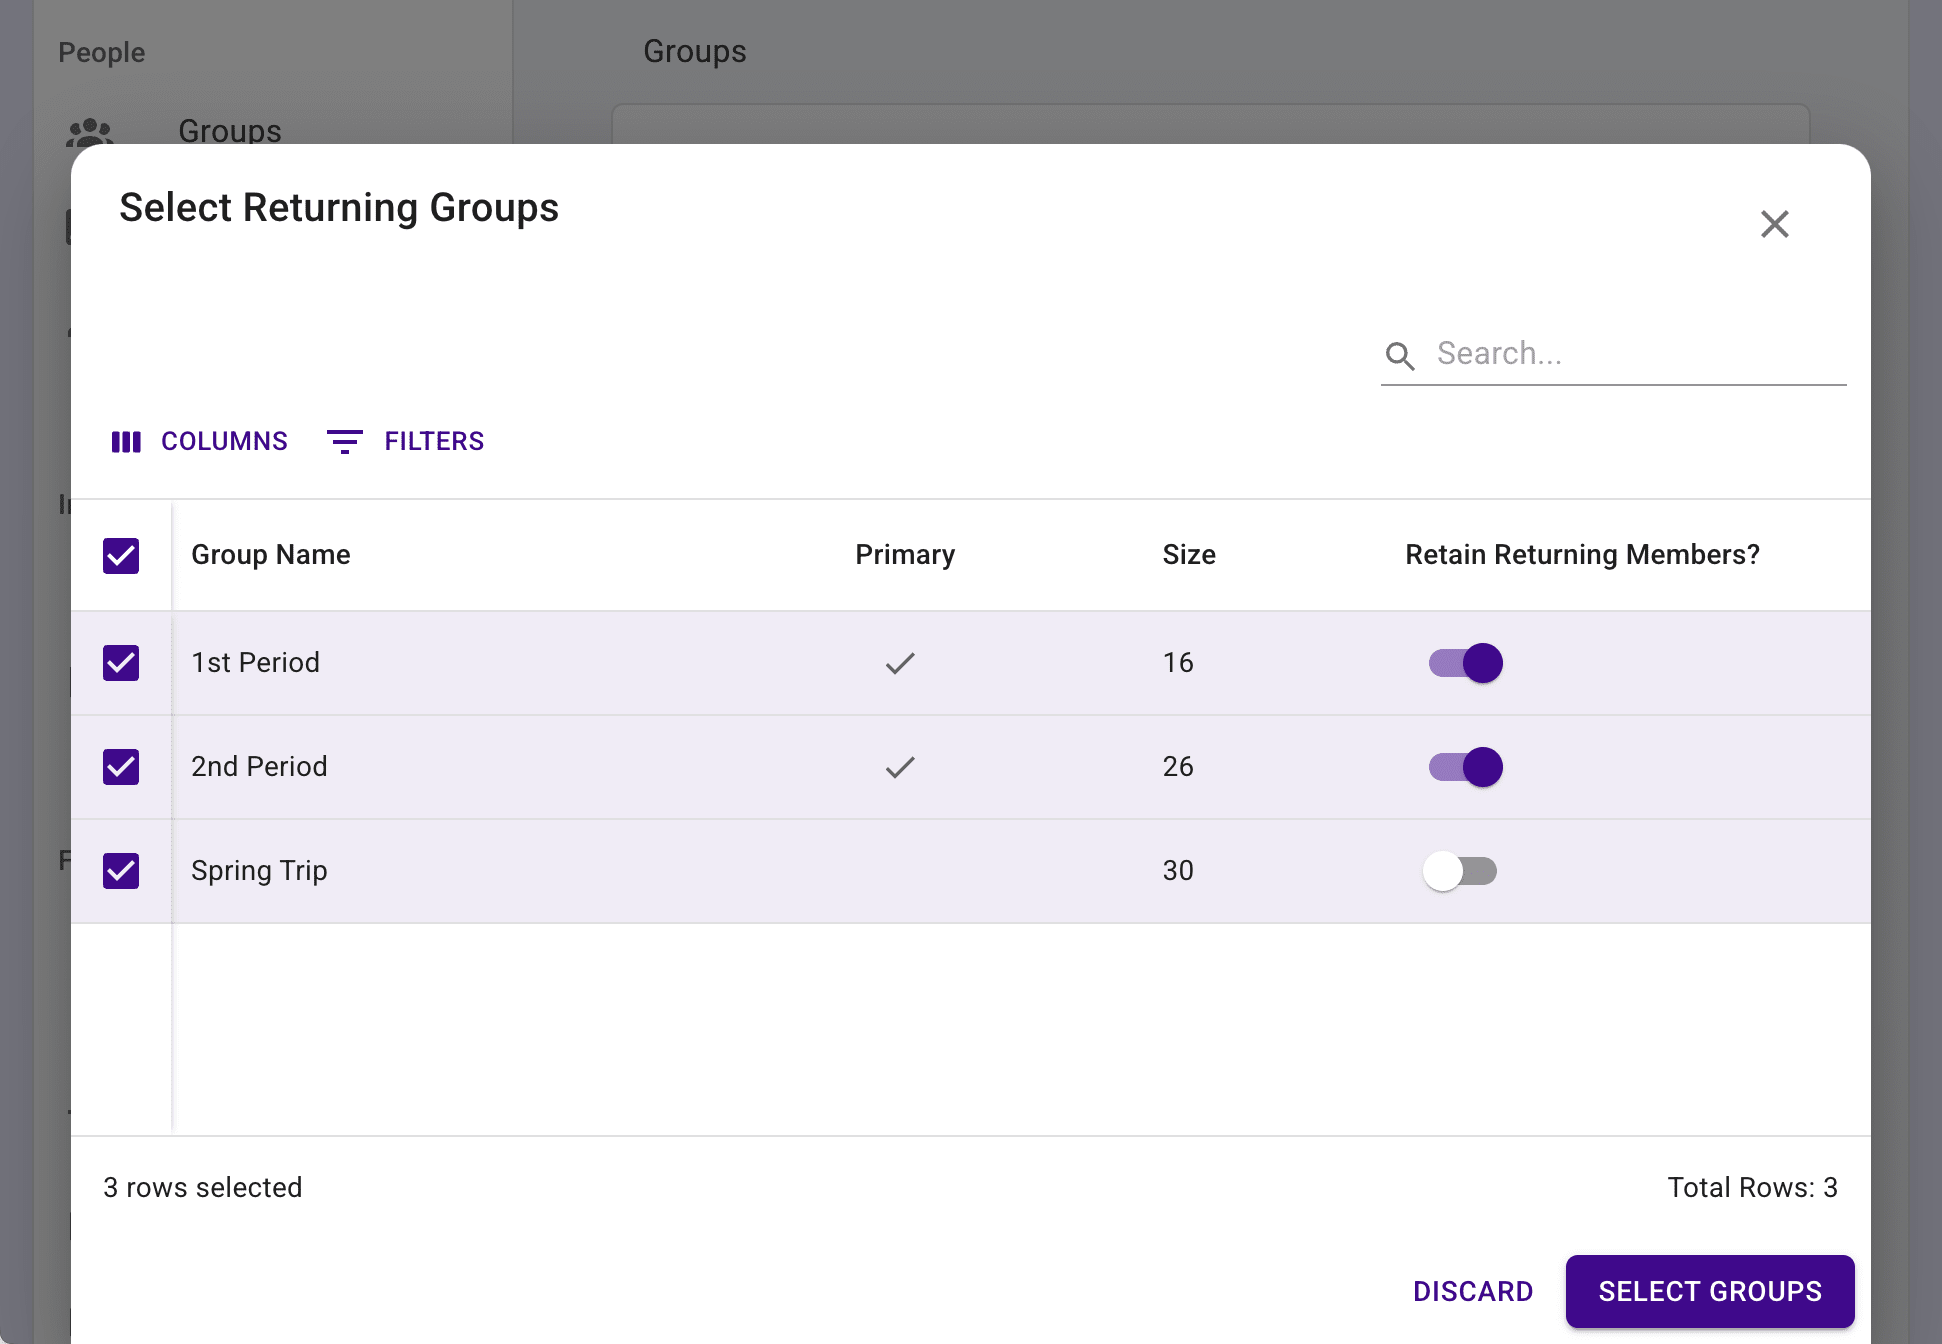
Step 3: Groups #
In Step 3, select which groups you want to bring back for the upcoming school year. If you still have groups like "Spring Trip 2012", this is a great time to trim down the list.
Tip
By default, the Presto system will automatically bring back all groups and retain all members in those groups.
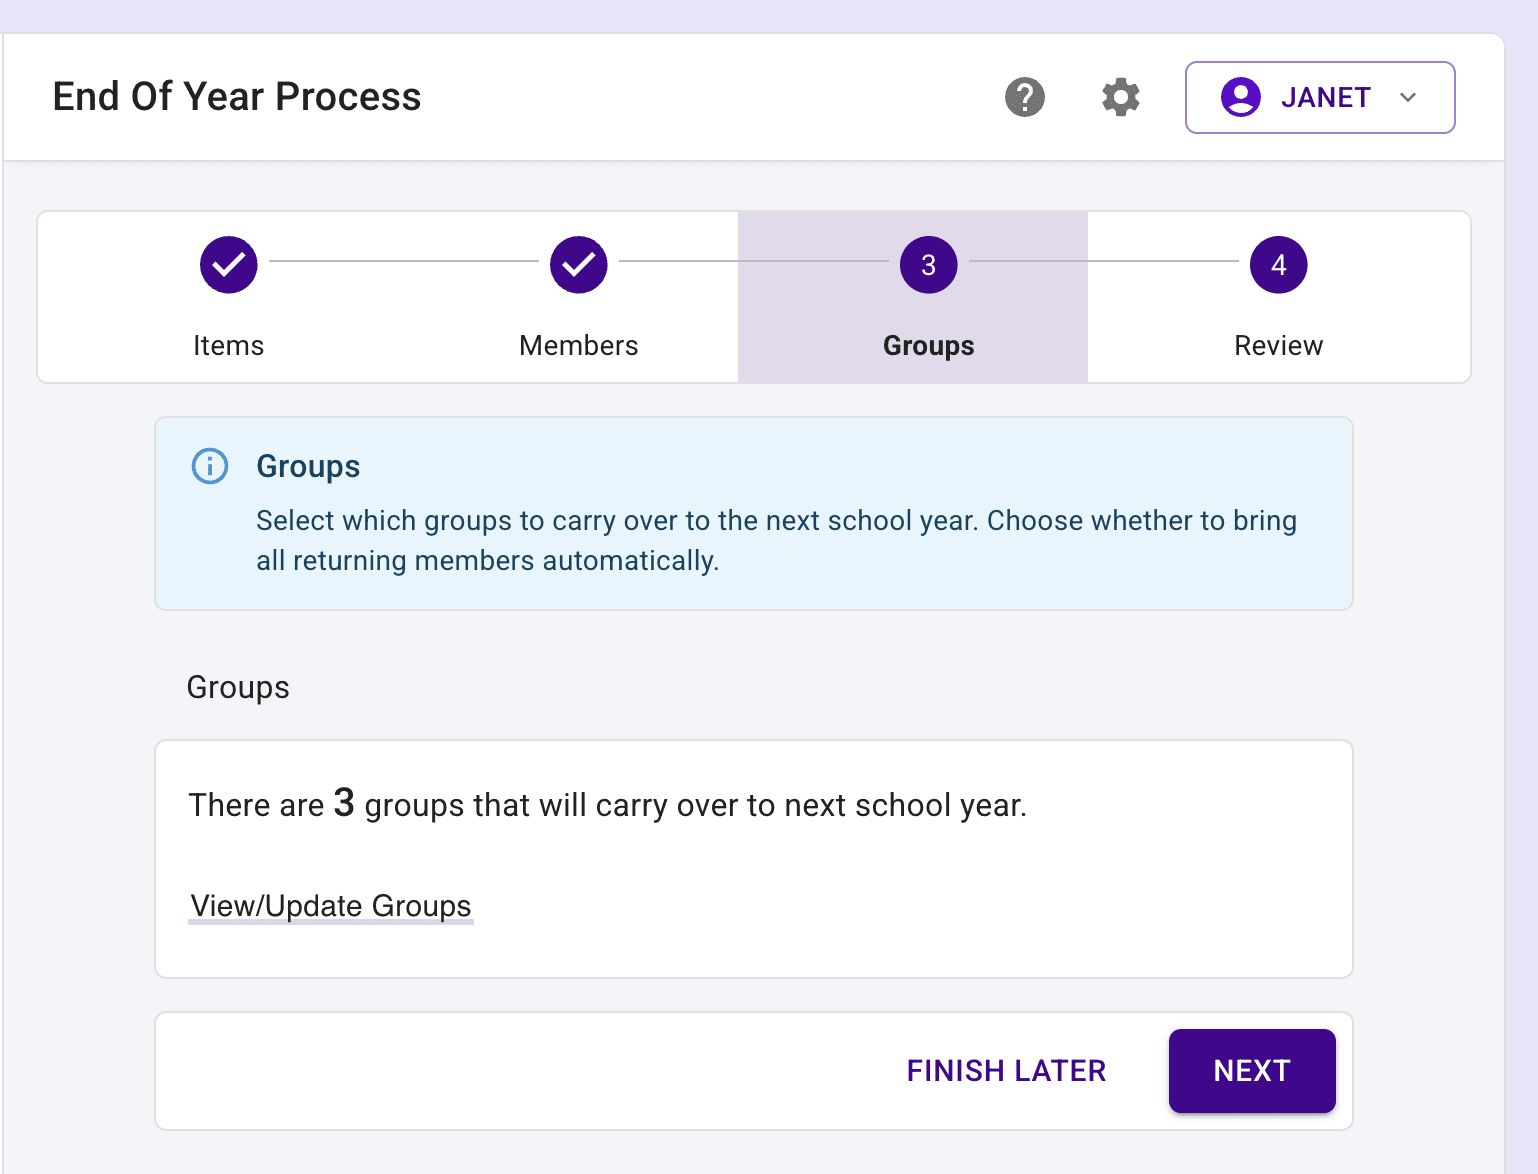
After you press the "Select Groups" button, select the groups you want to bring back for the upcoming school year. You can optionally retain the returning members in the groups.
Press the "Next" button to proceed to the final step.
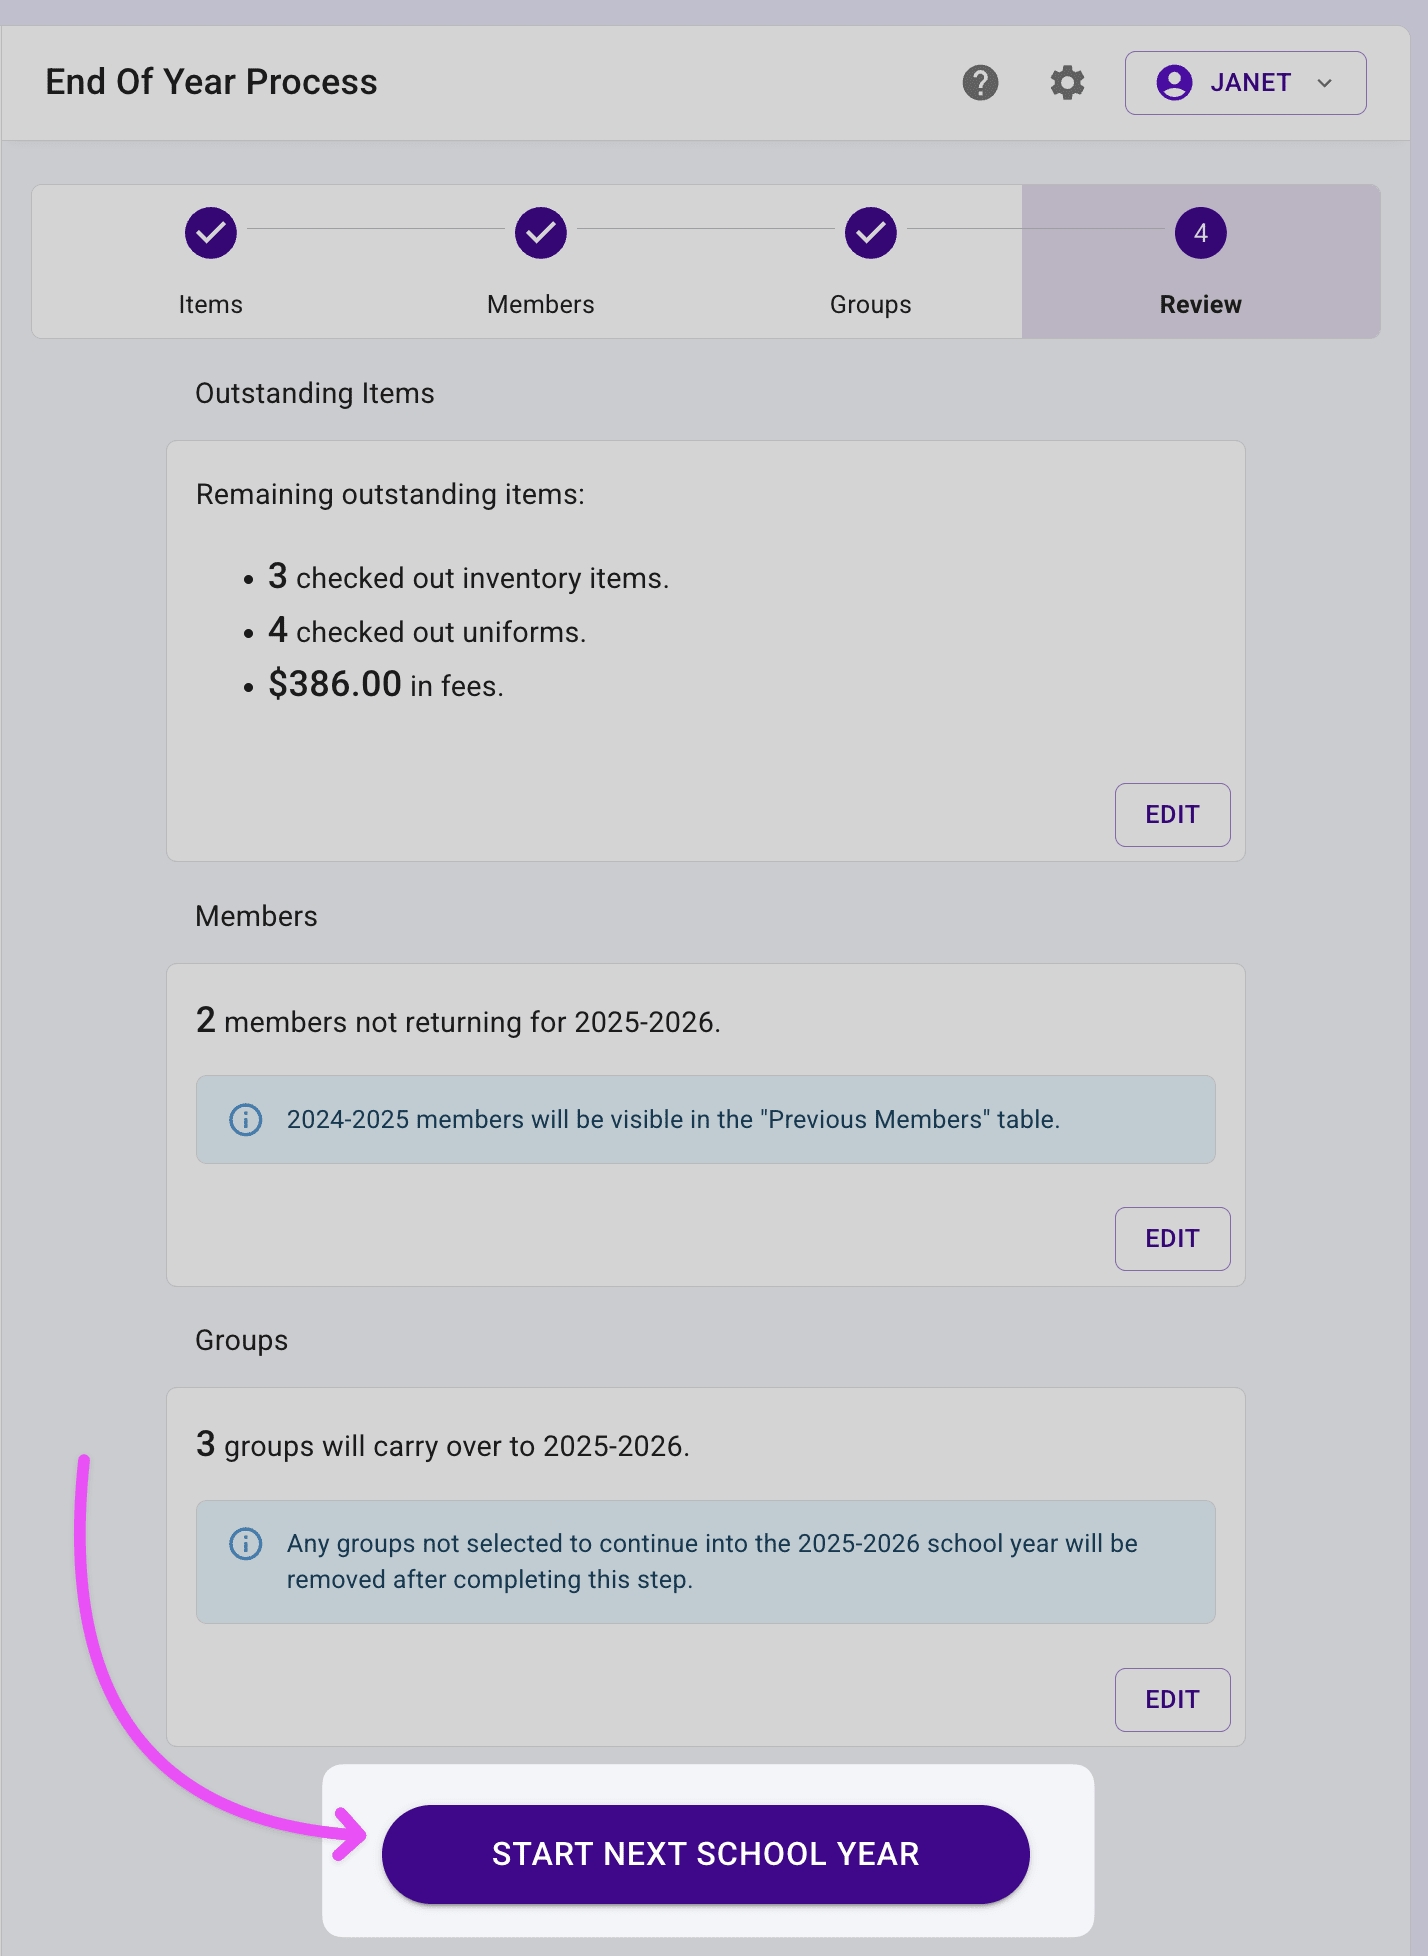
Step 4: Review #
Double-check the information from the previous steps. If all looks good, you can finish the End of Year Process. Press the "Start Next School Year" button.
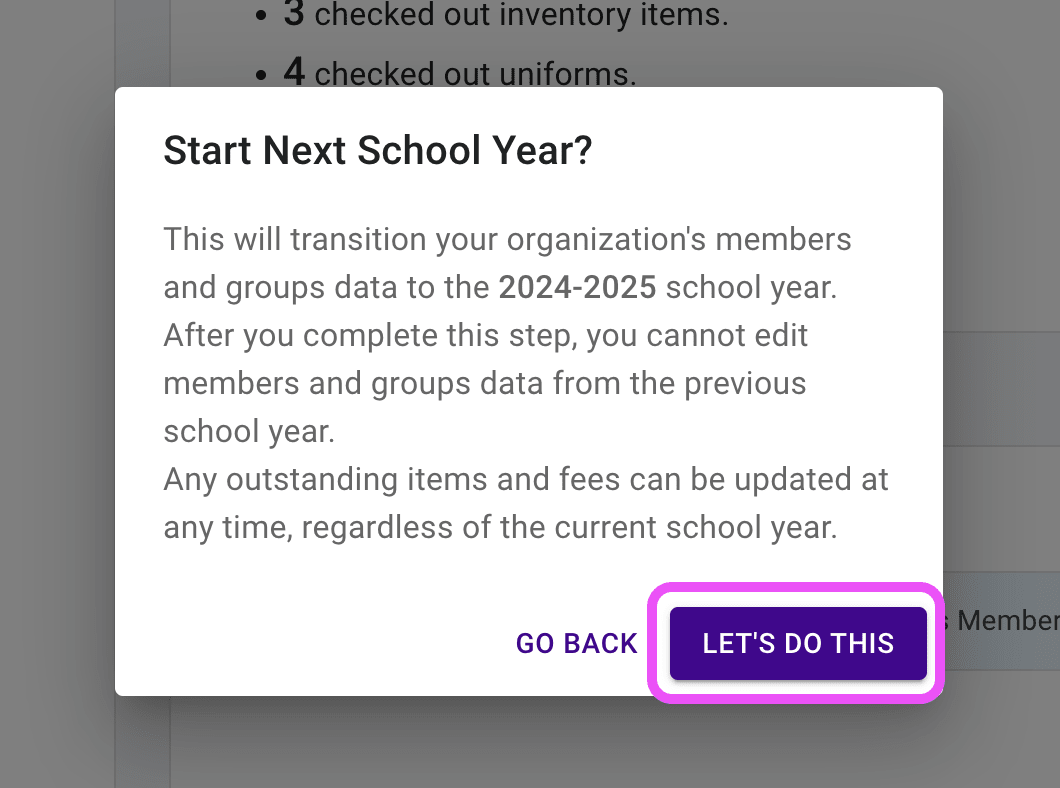
Confirm that you have reviewed the information and you are ready to finish the End of Year Process.
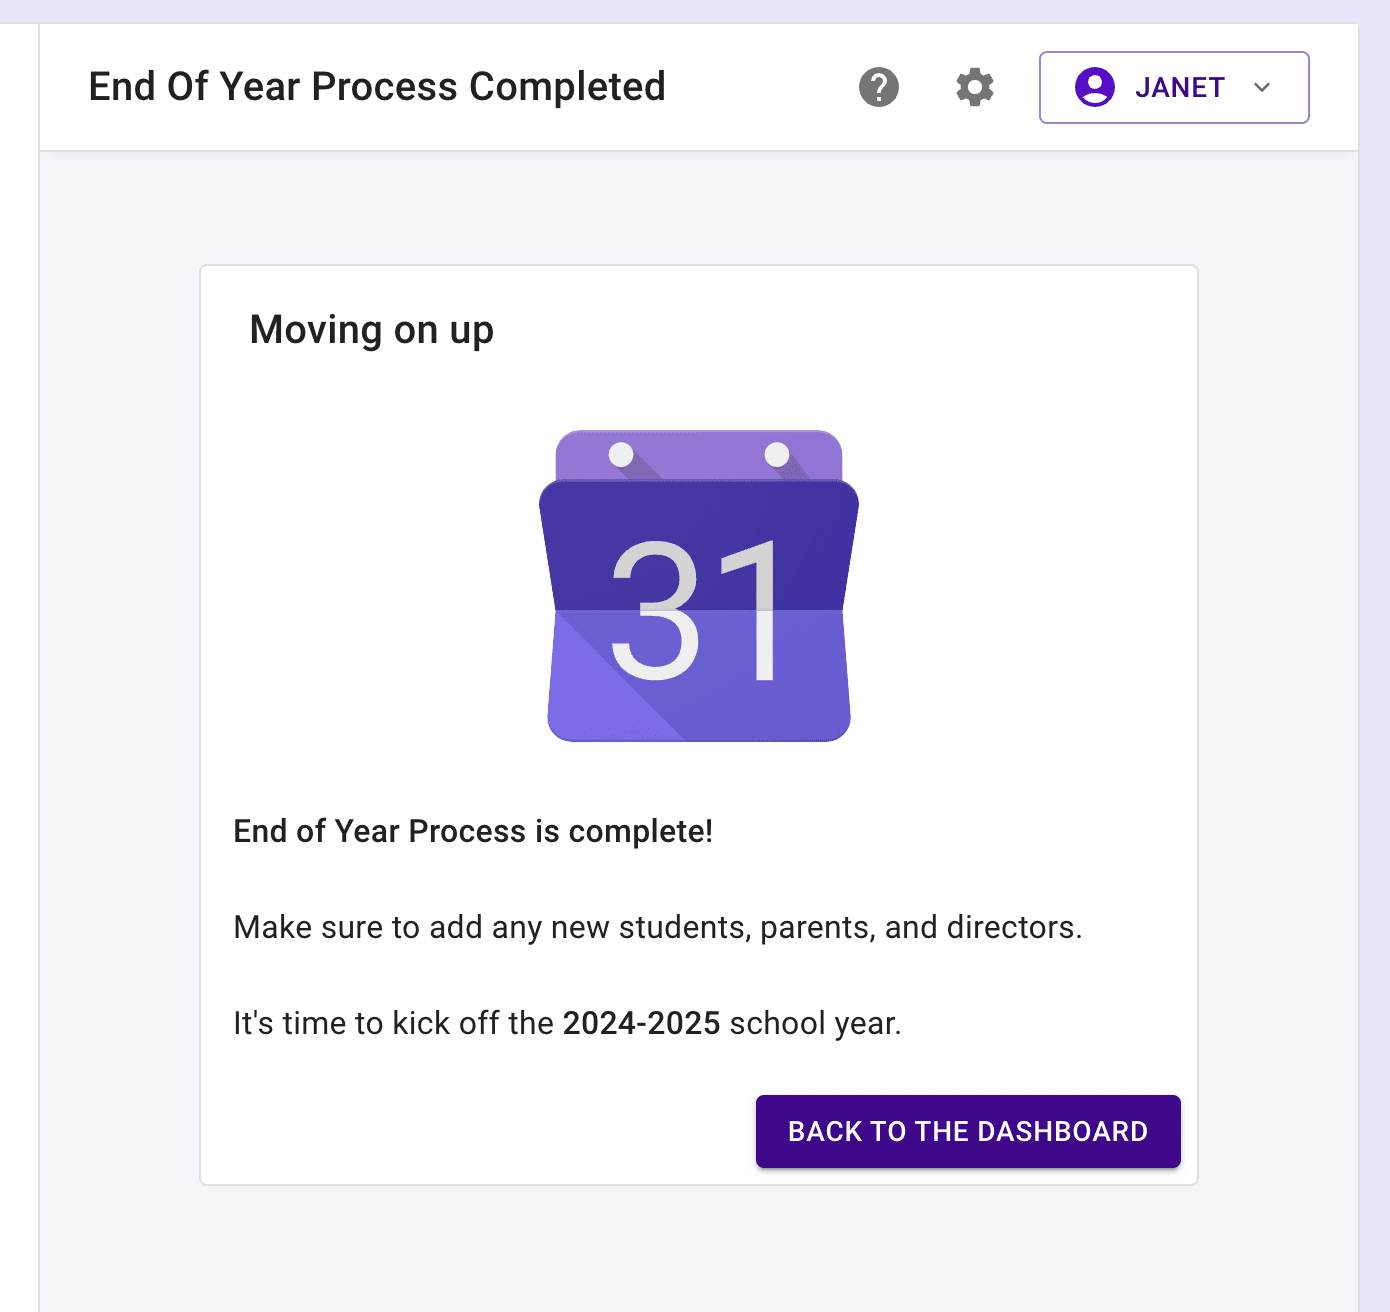
The End of Year Process is complete! Head to the Dashboard for the new school year. Remember to add new staff members, parents, and students as needed.
Troubleshooting #
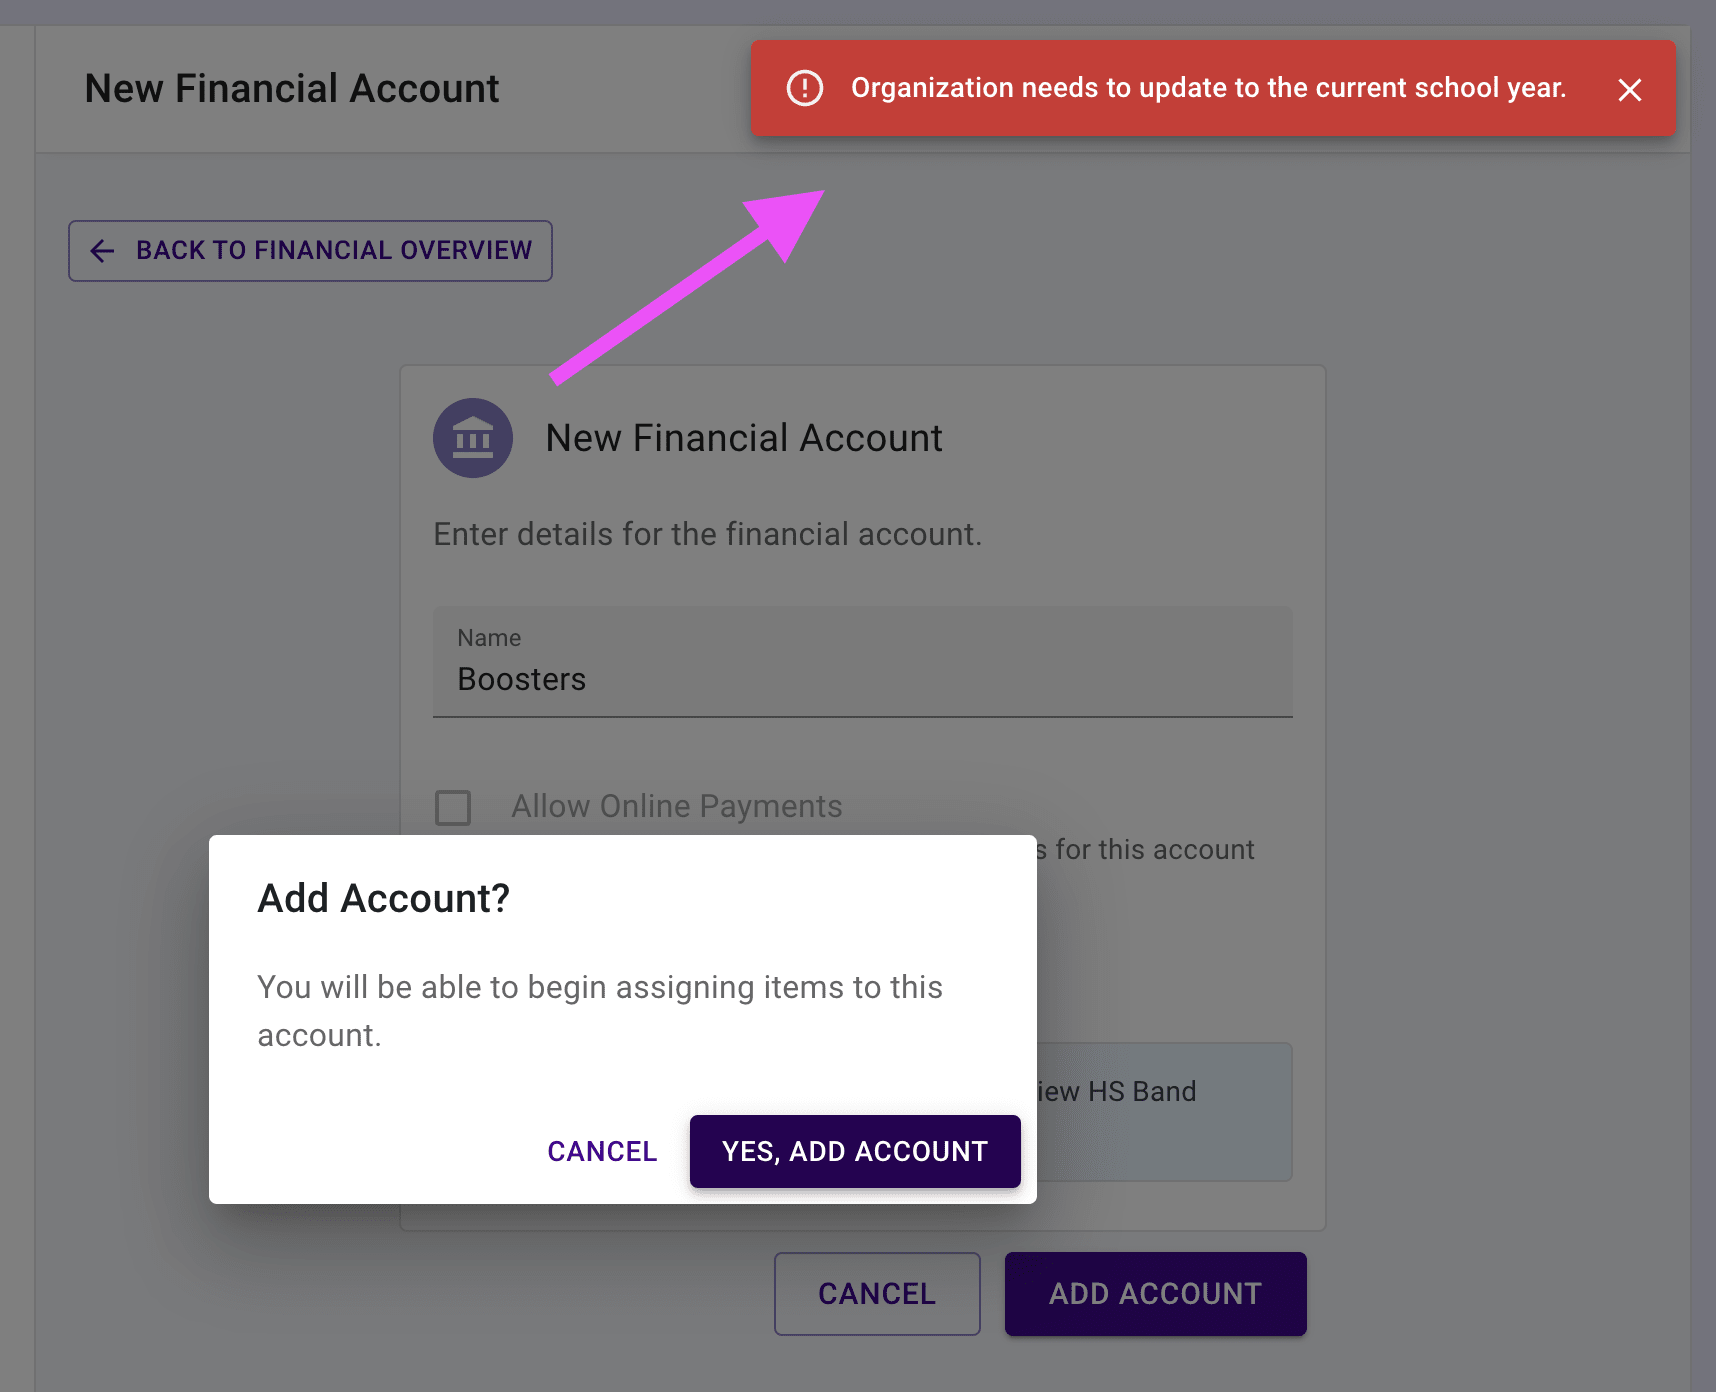
- Why does Presto show an error that says "Organization needs to update to the current school year"?
Starting August 1st, the Presto system will require your organization to operate in the "next" school year when editing most data. Complete the End of Year Process using the steps shown above. Then you can go back to adding and editing information.