Who is this for? #

A Presto Director who wants all members to see their organization's logo in the Presto Assistant web application.

Detailed steps #

  1. From the Dashboard, click on the Settings menu in the upper right corner and choose "See all settings".

Settings menu hightlighting the See all settings button.

Click "See all Settings" in the Settings menu
  1. On the Organization card, press the "Add Organization Logo" button.

Organization info section with arrow pointing to the Add Organization Logo button.

Press the Add Organization Logo button
  1. Upload an image file. Press the "Select File" button, press the cloud icon, or drag and drop the file into the box.
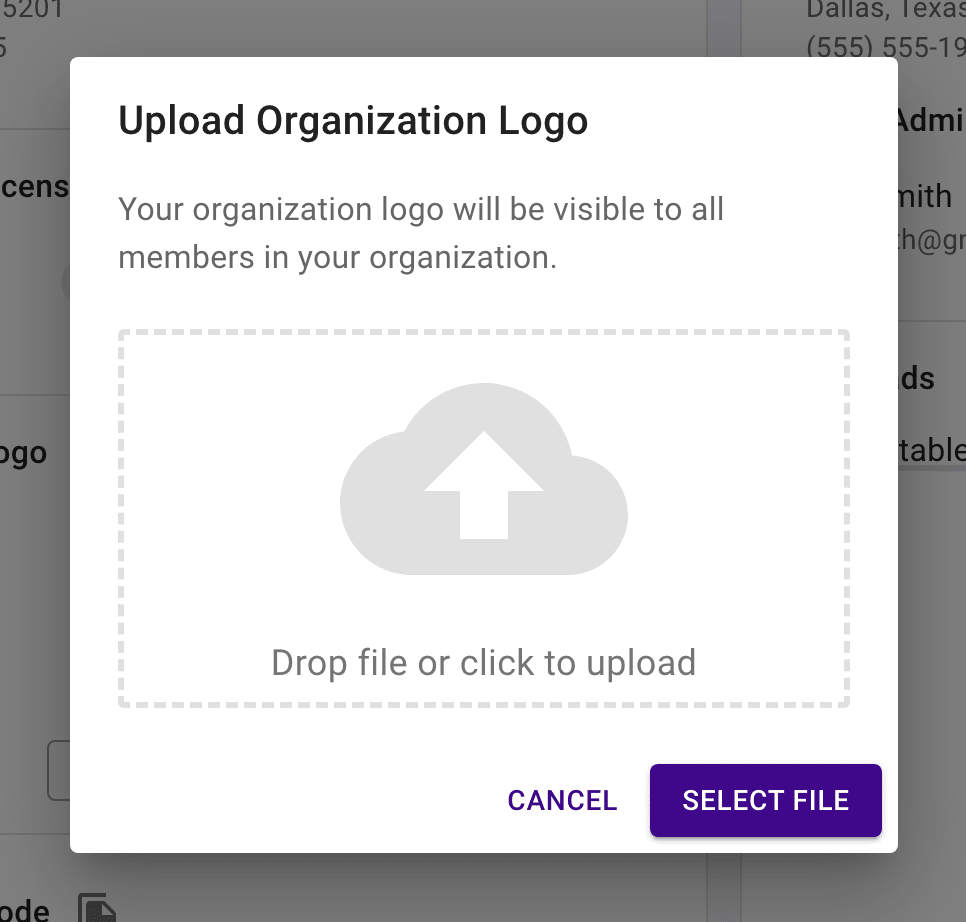
Organization logo dialog.

Upload the image file with your logo.
  1. Resize the image to fit within the viewing circle, if needed. Press the "Upload File" button to finish.

Resize image dialog with the Upload File button highlighted.

Resize the image to fit within the viewing circle then upload.
  1. All members in your organization will now see your organization's logo on all pages.

Student view of the Presto Assistant dashboard with the organization logo visible.

Student view of the organization logo.
  1. Update or delete the logo from the organization settings page.

Organization settings with more actions button for logo highlighted.

To update or delete the logo, press the "More Actions" button on the Settings page.

Find what you need

Need help using Presto? Get in touch!