Who is this for? #
Any director that wants to create a digital form for members to complete.
View All Forms #
In the left navigation menu, scroll down and press the "Forms" item.
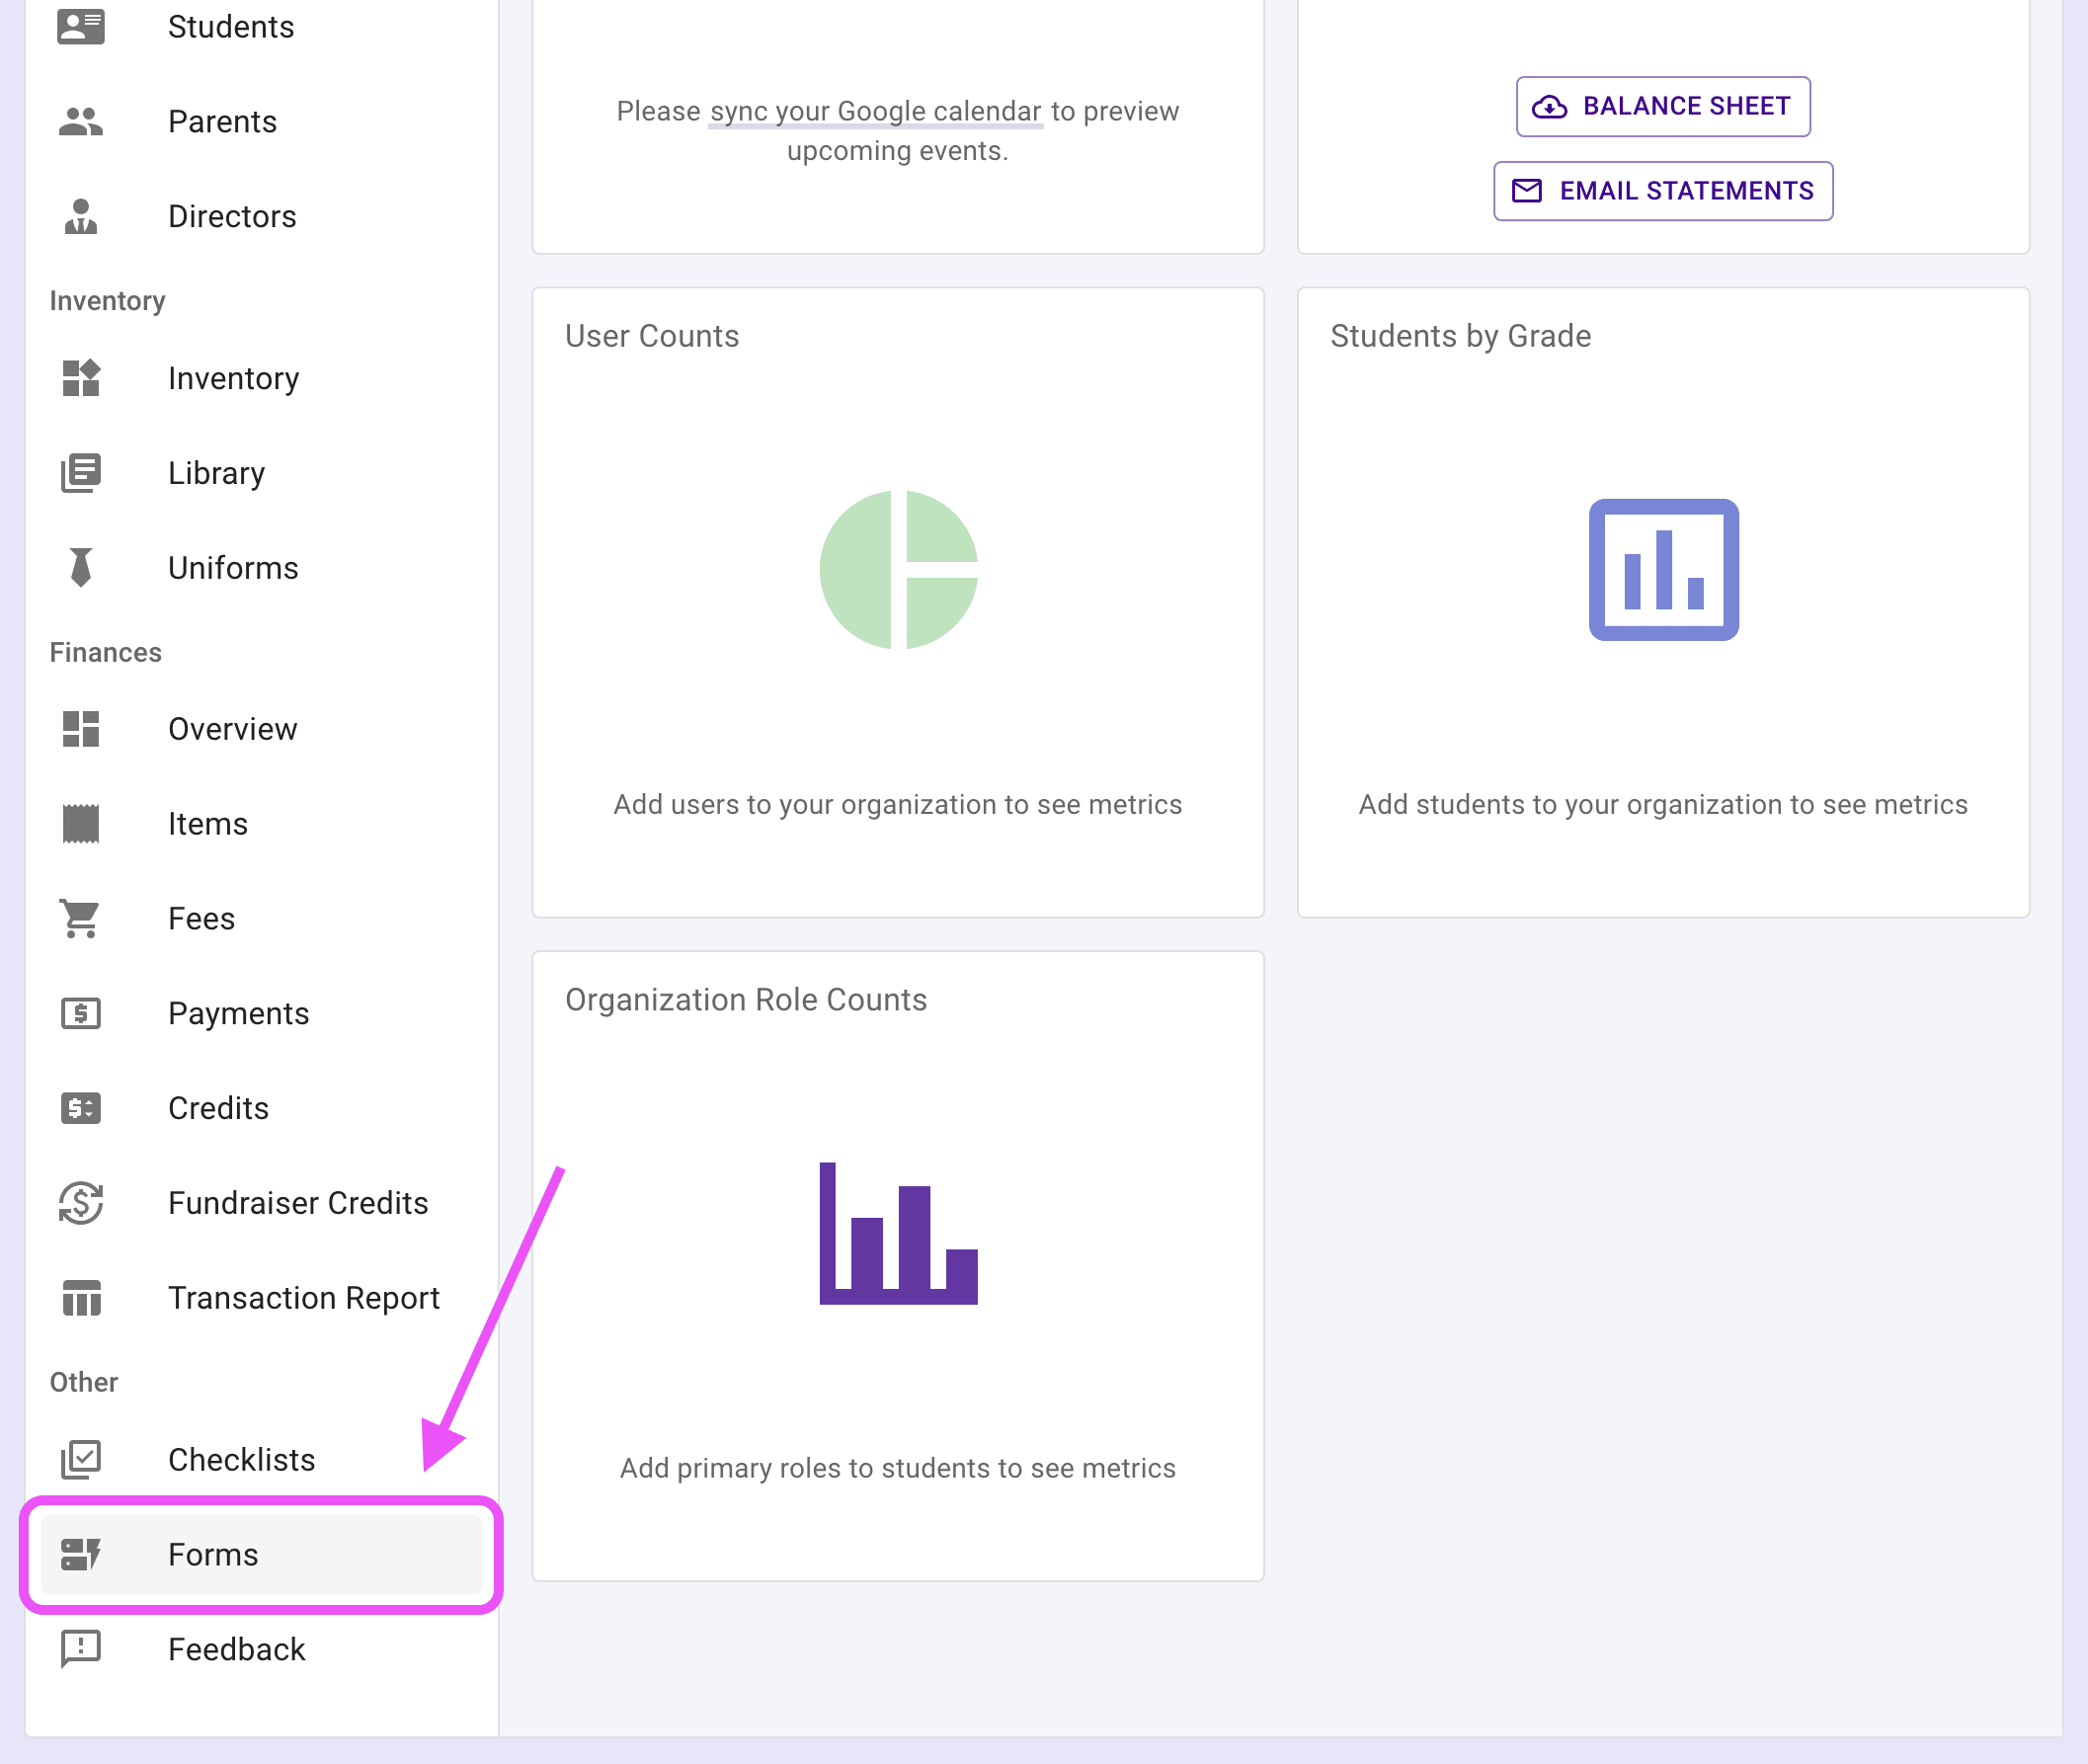
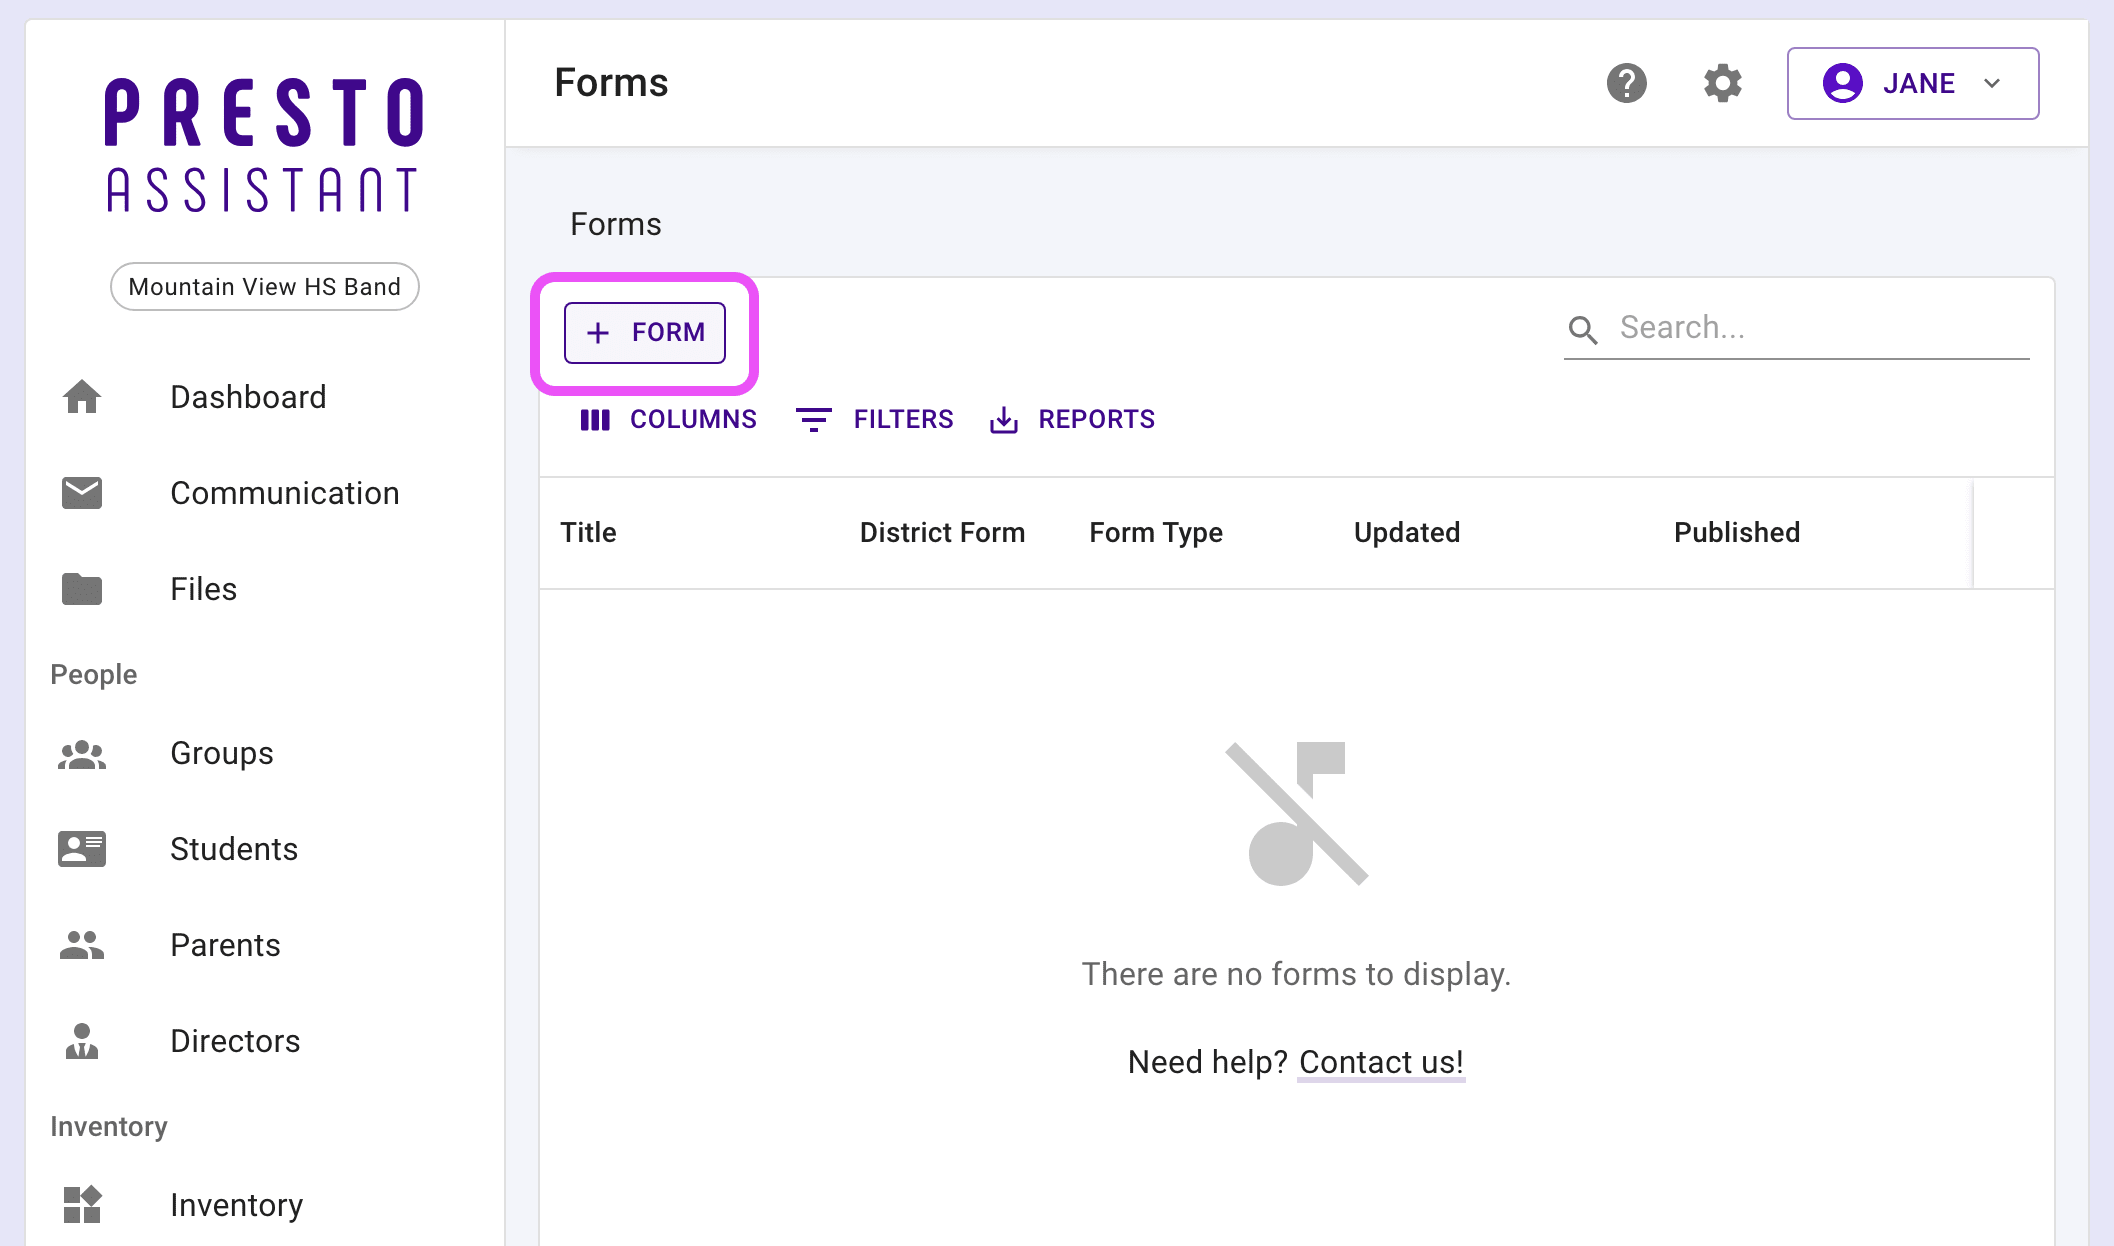
The Forms table will show all forms that you or other directors in your program have created.
New Form Overview #
- Create a form — add title and school year.
- Edit the form — add and arrange form blocks.
- Publish the form — the form is ready to assign to members.
- Assign to members — assign the form to specific students, parents, or directors. They will receive an email when the form is assigned.
- View responses — see who has completed the form and their responses.
Create a New Form #
Click on the "Add Form" button in the top-left of the Forms table.
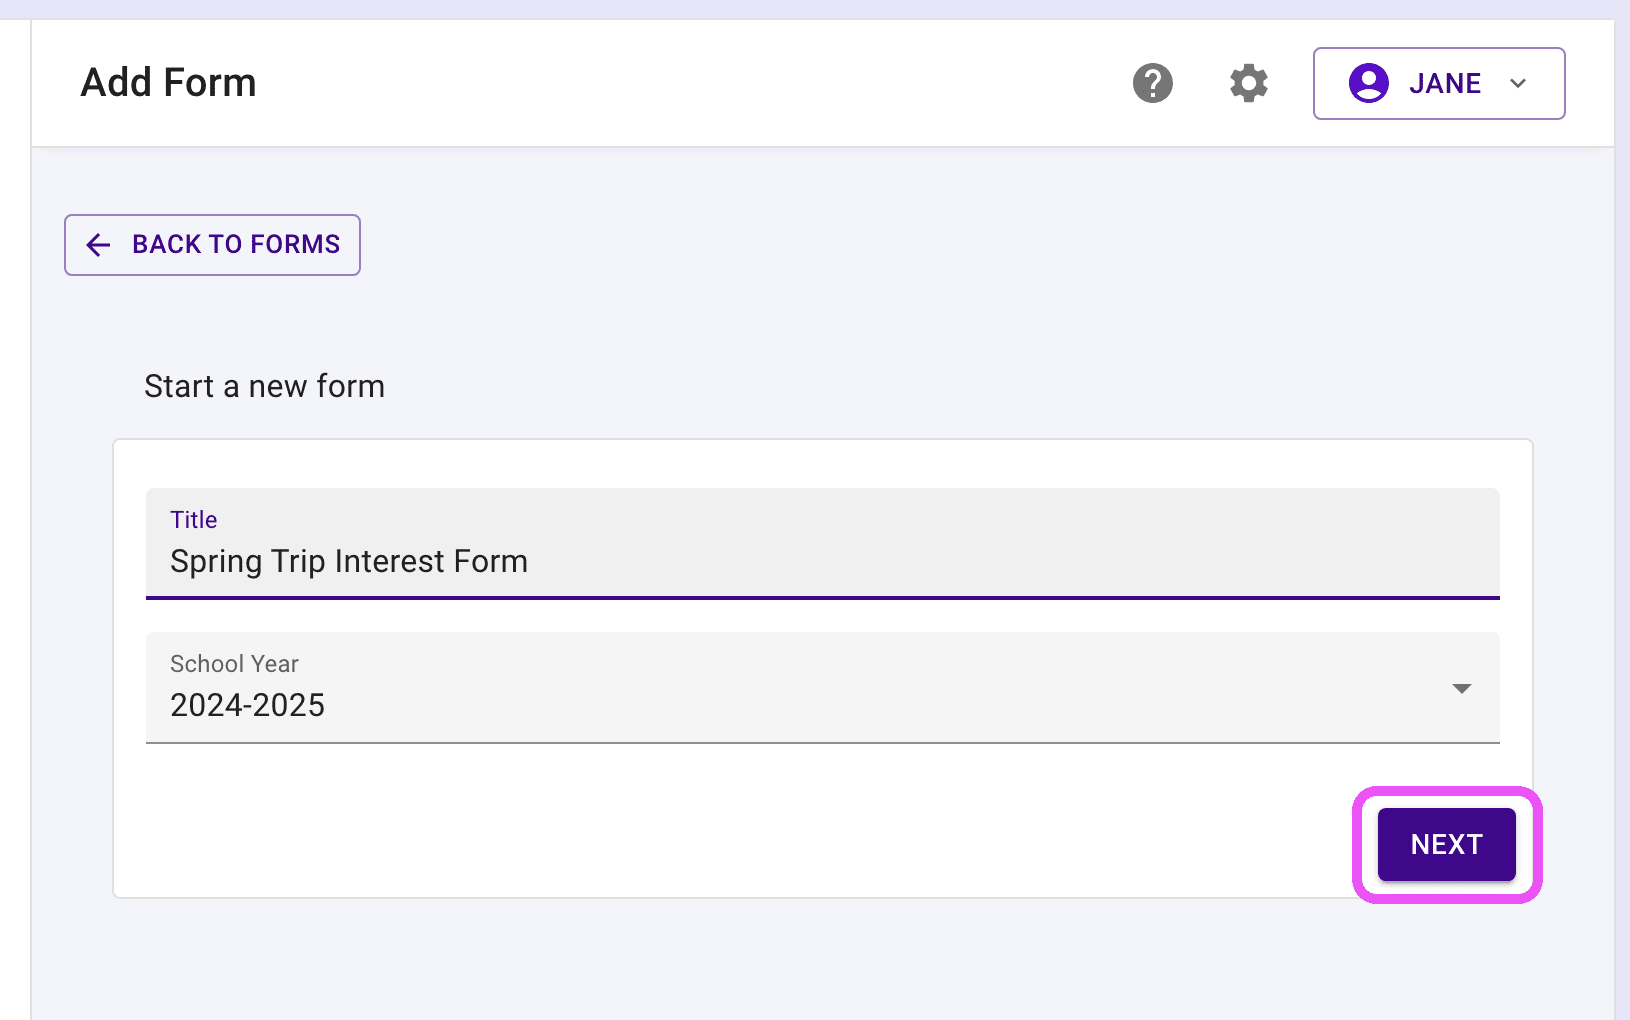
To create the form, add a title and select the school year from the dropdown menu. Press the "Next" button to continue.
Edit the Form #
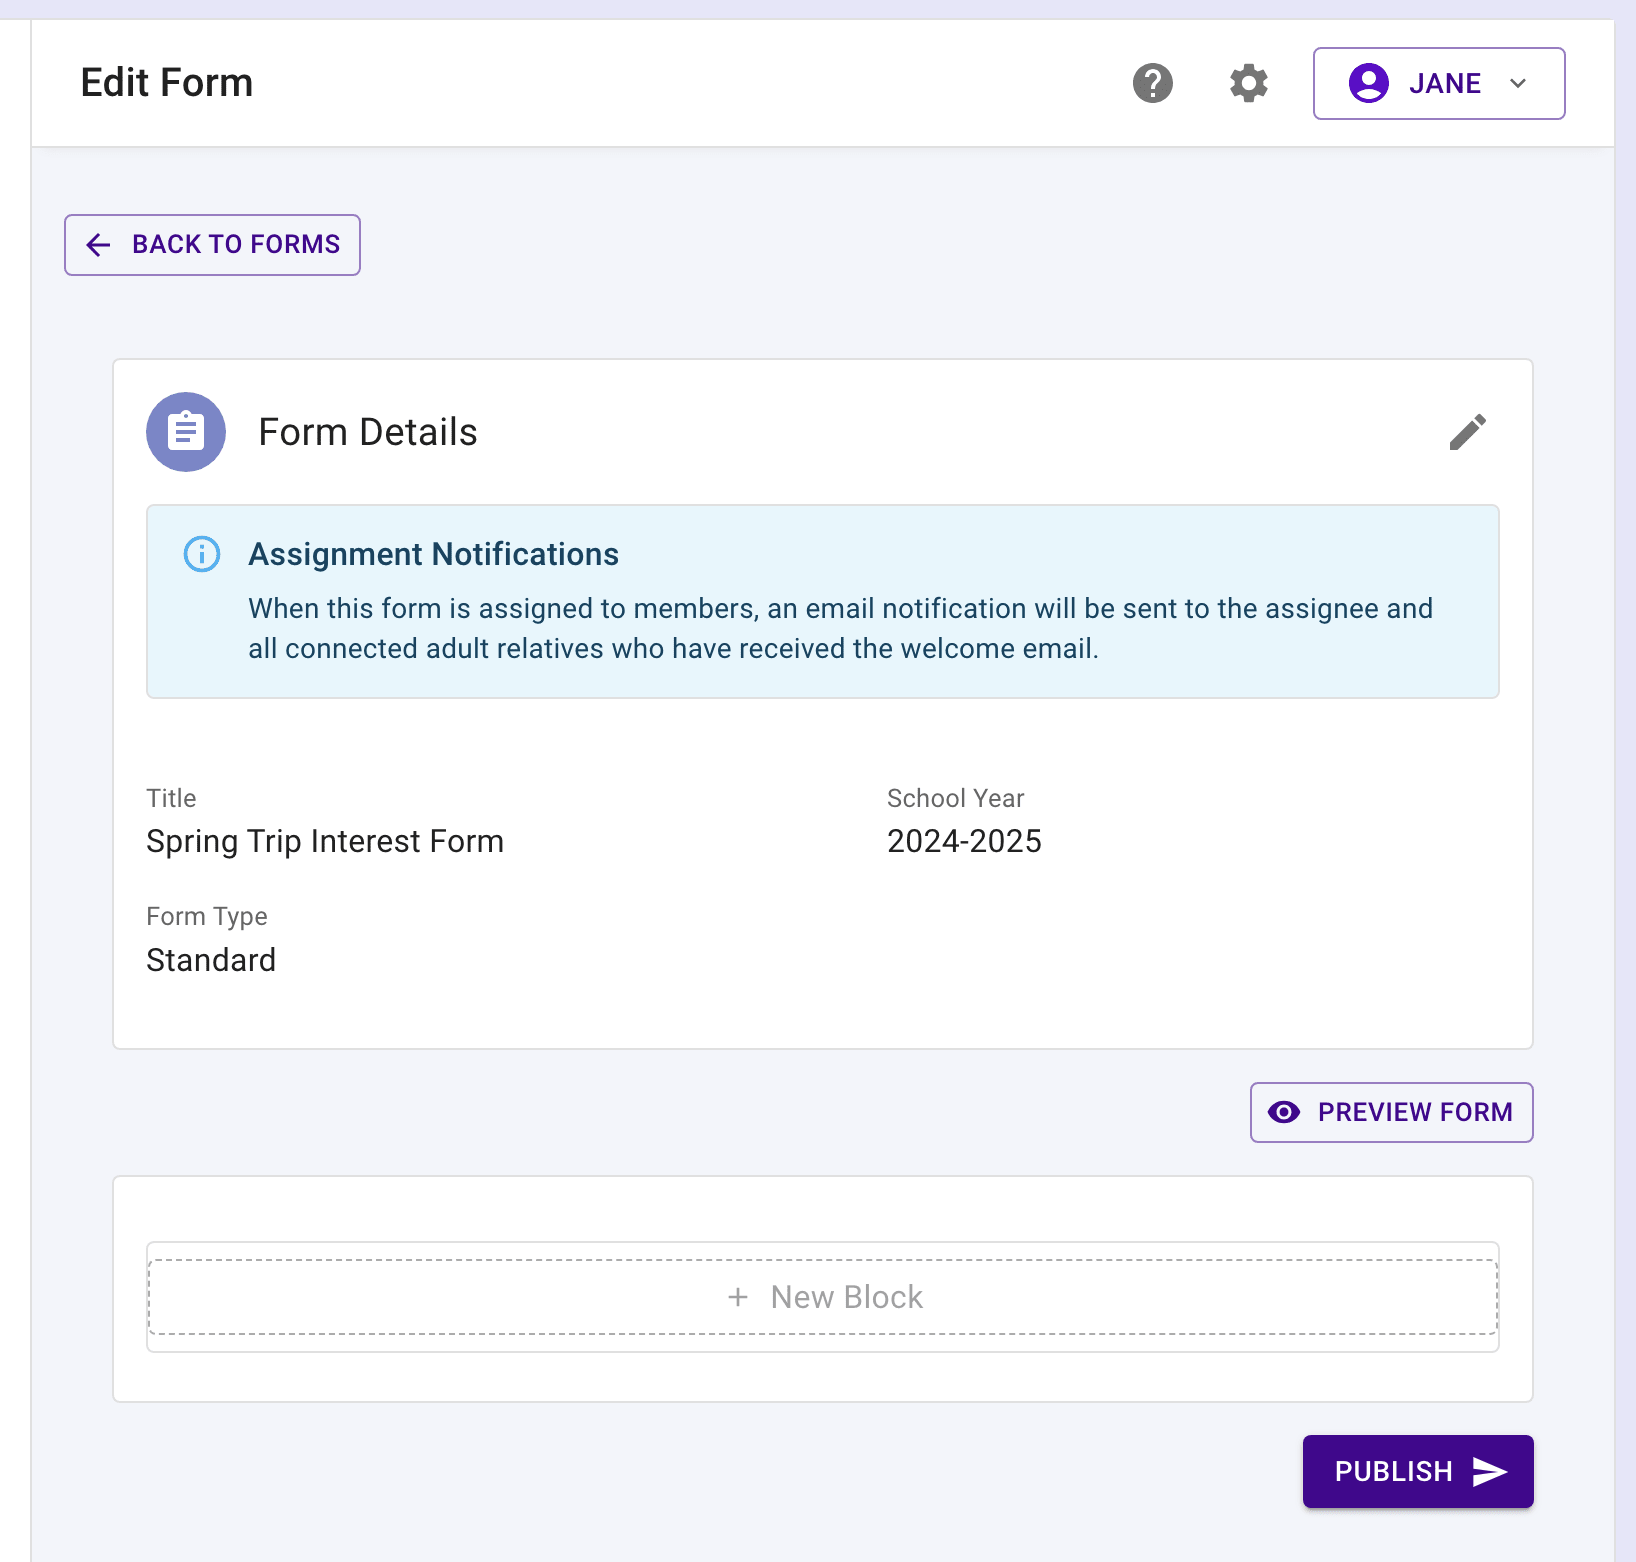
Your new form is not published yet. It can be updated now or later. Consider this a "draft" of the form where you can add form blocks.
Tip
Adding and removing form blocks will automatically save your changes.
Add Form Blocks #
Presto forms include many type of form blocks to gather responses from your members.
For detailed information on the various types of form blocks, see this article:
Tip
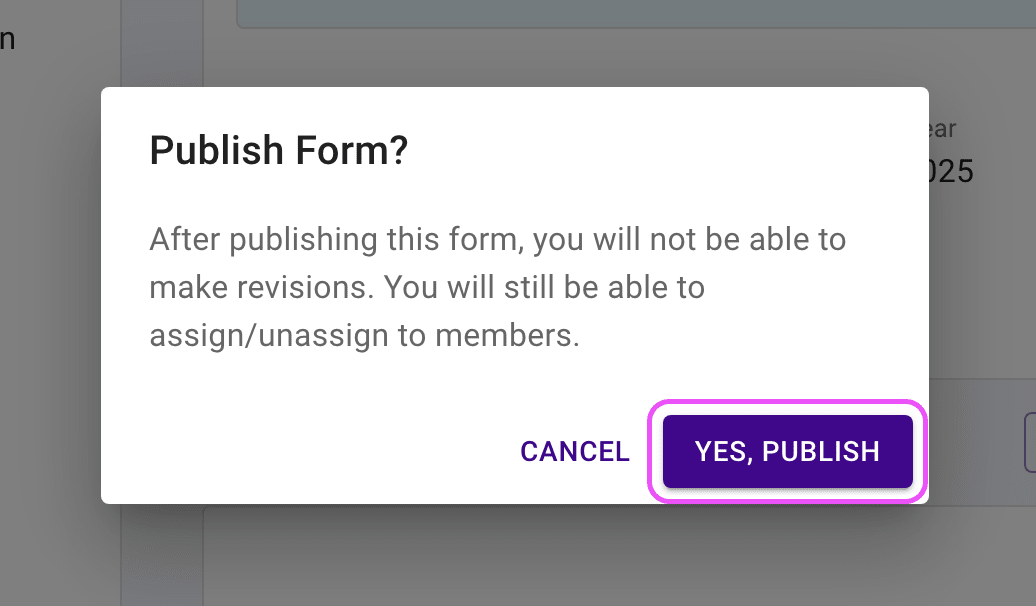
You can edit all blocks in the form until you publish it. Once published, you can only edit the form's title and school year and assign/unassign members.
Publish the Form #
When you have the form blocks ready to go, press the "Publish" button in the bottom-right of the page.
In the confirmation dialog, press the "Yes, Publish" button to make the form available for assigning to members.
Assign to Members #
A published form can be assigned to members. If you have form blocks like Signature or Initials that require a parent to complete the field, the parent will have to be the person that submits the form after it is completed.
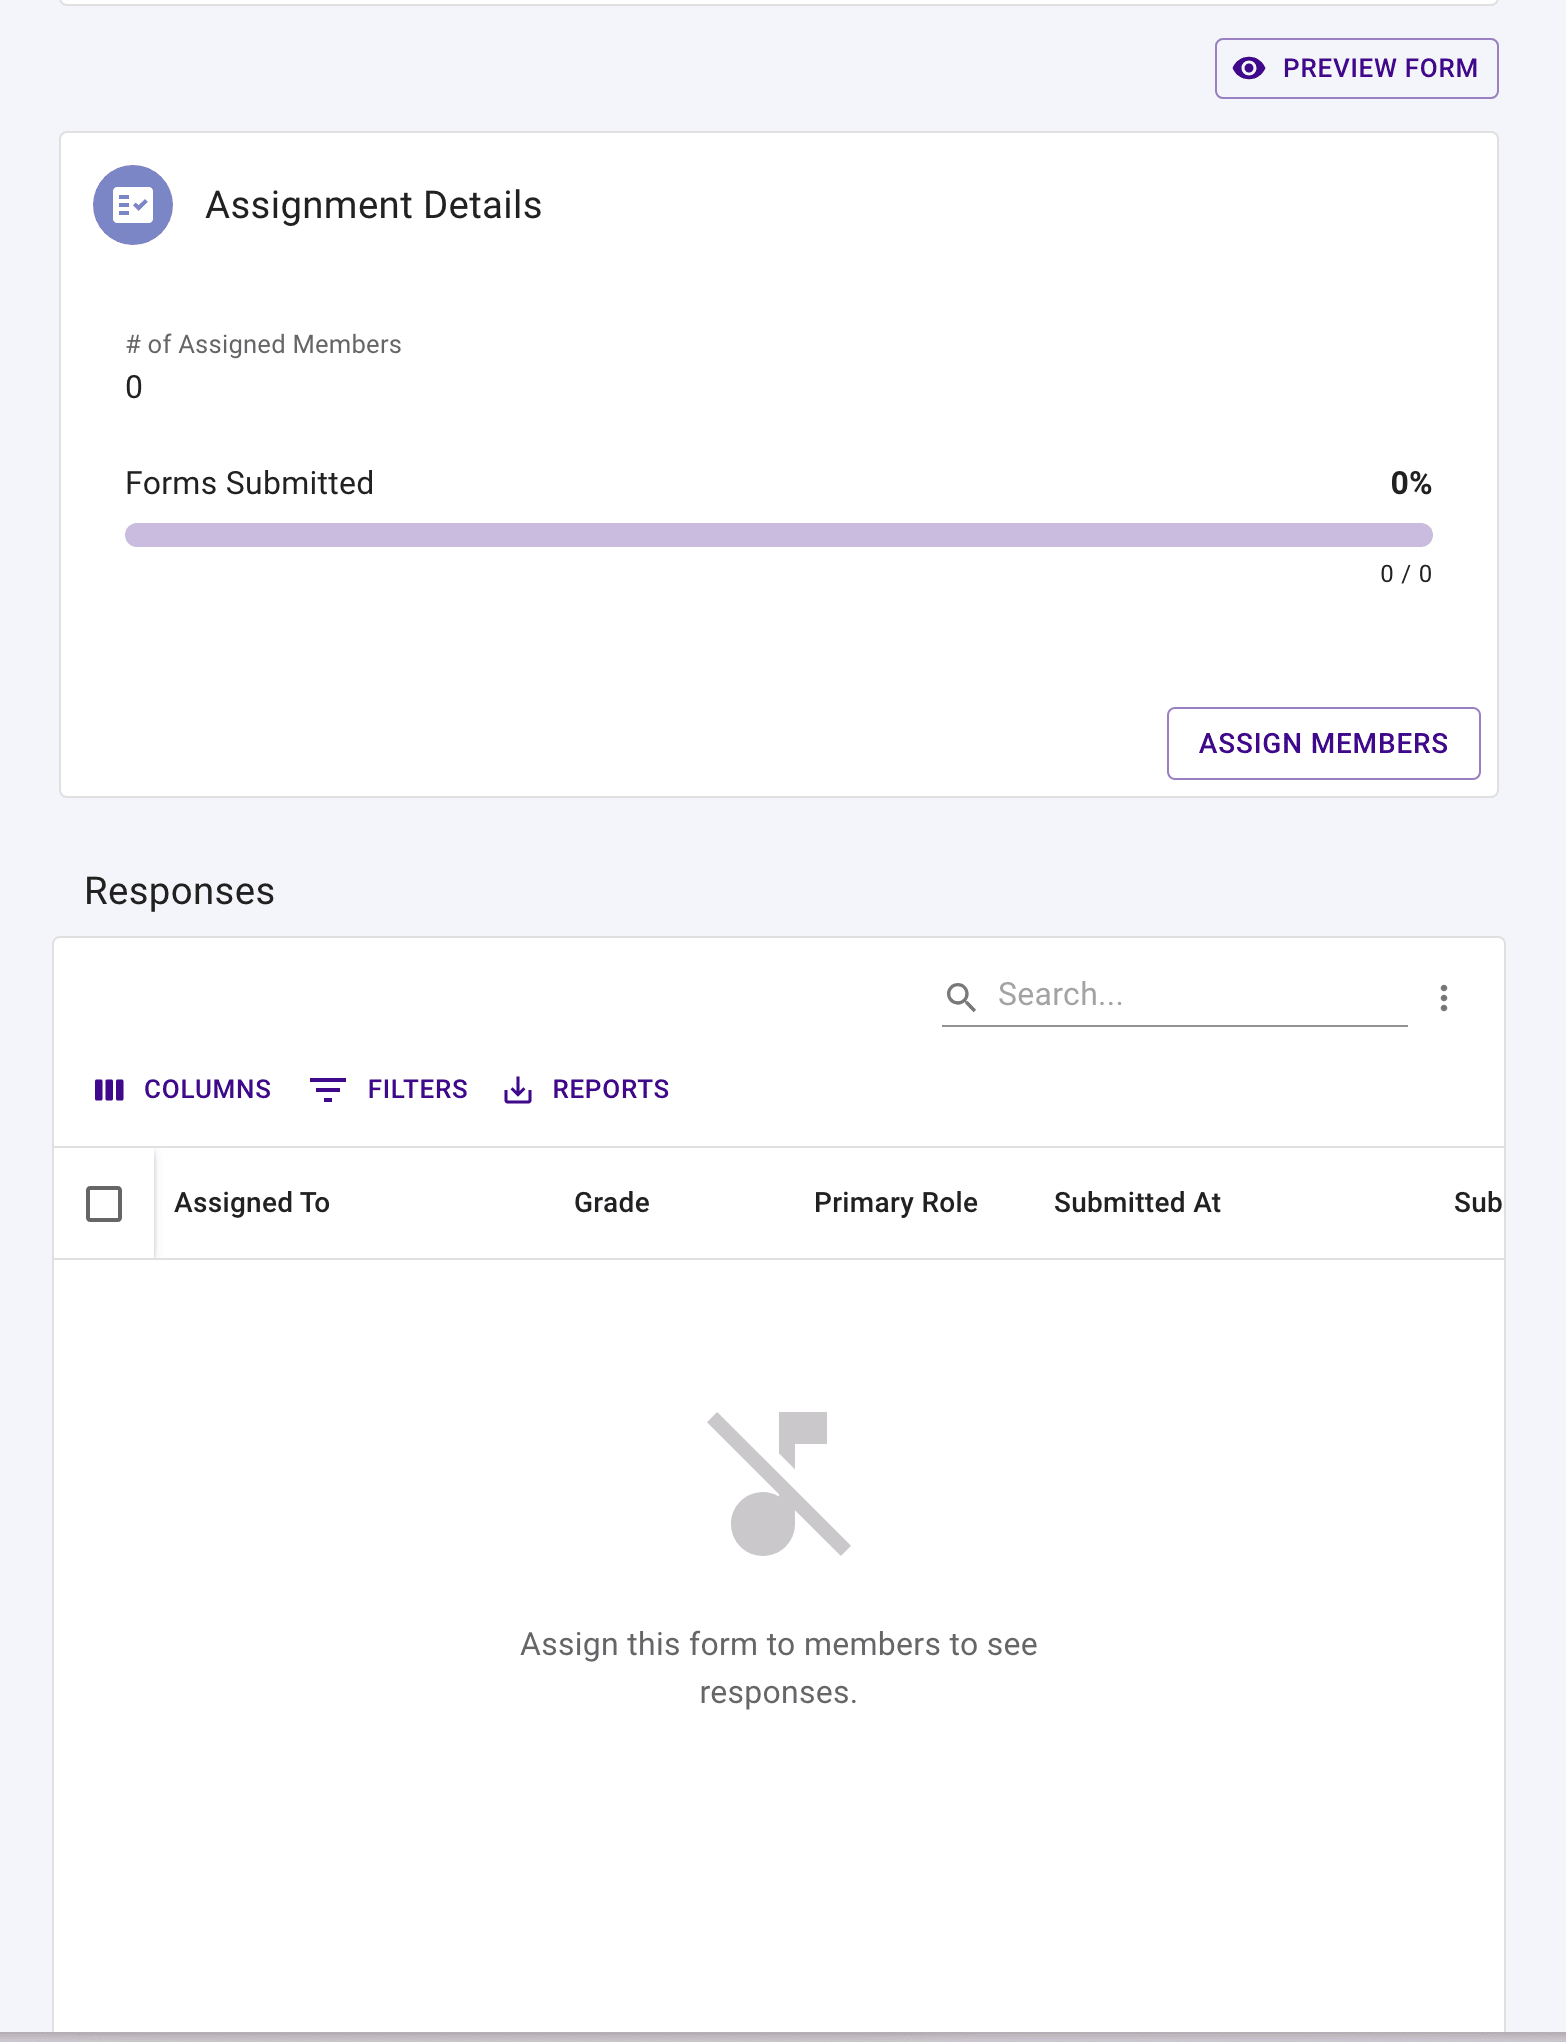
Use the People Picker to find the proper members who should complete the form. You can assign the form to any member in your organization: students, parents, or directors.
Tip
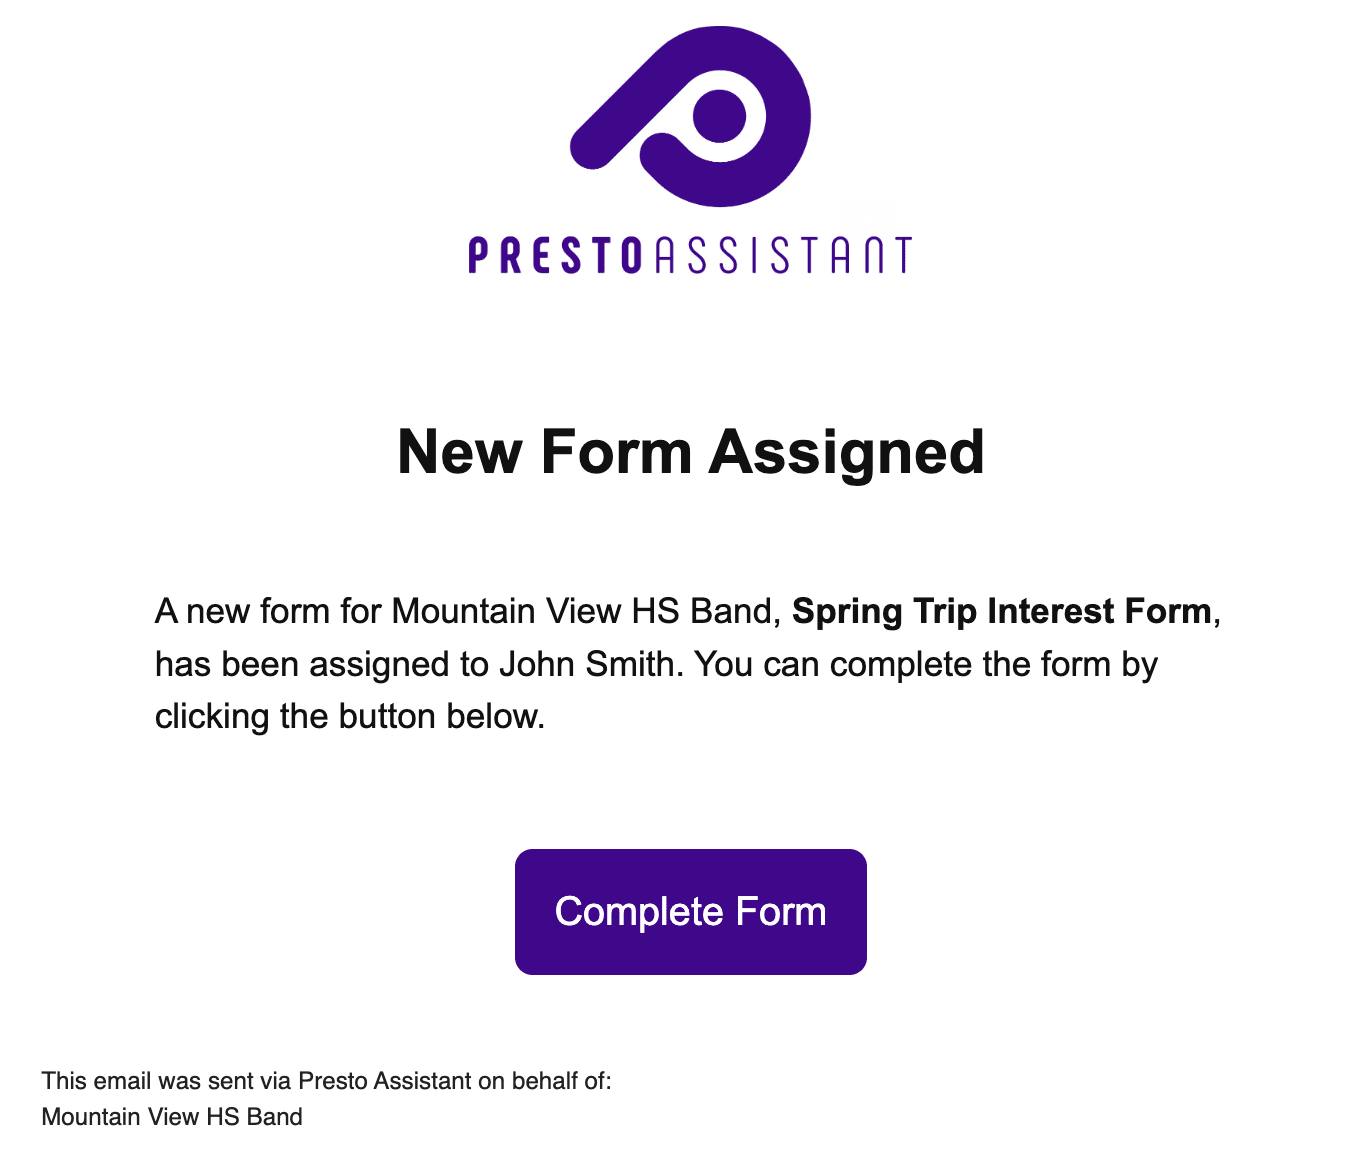
When you assign a form to a member, they will receive an email with a direct link to the form.
Any member assigned a form will receive an email with a direct link to the form. The member will need to be able to sign in to Presto to view the form.
If needed, review this article for steps on sending the Welcome Email to members so they can set up their own custom password.
View Responses #
Once members complete the form, you can view their responses in table at the bottom of the Details page for the form. Like other tables in Presto Assistant, you can sort, search, and filter to create a report of the exact data you need.
Unpublish Form #
If needed, you can unpublish the form. You can only update form blocks on a form that is not published. If you need to make changes to a published form, unpublish it first.
If you unpublish a form, Presto will delete all form responses so you can start over with gathering information.
Tip
If you unpublish a form, all form responses will be deleted. Any data that you have already collected will be erased from our system.
Delete Form #
Any unpublished form can be deleted. If you have a published form that you need to delete, unpublish the form, then delete the form.