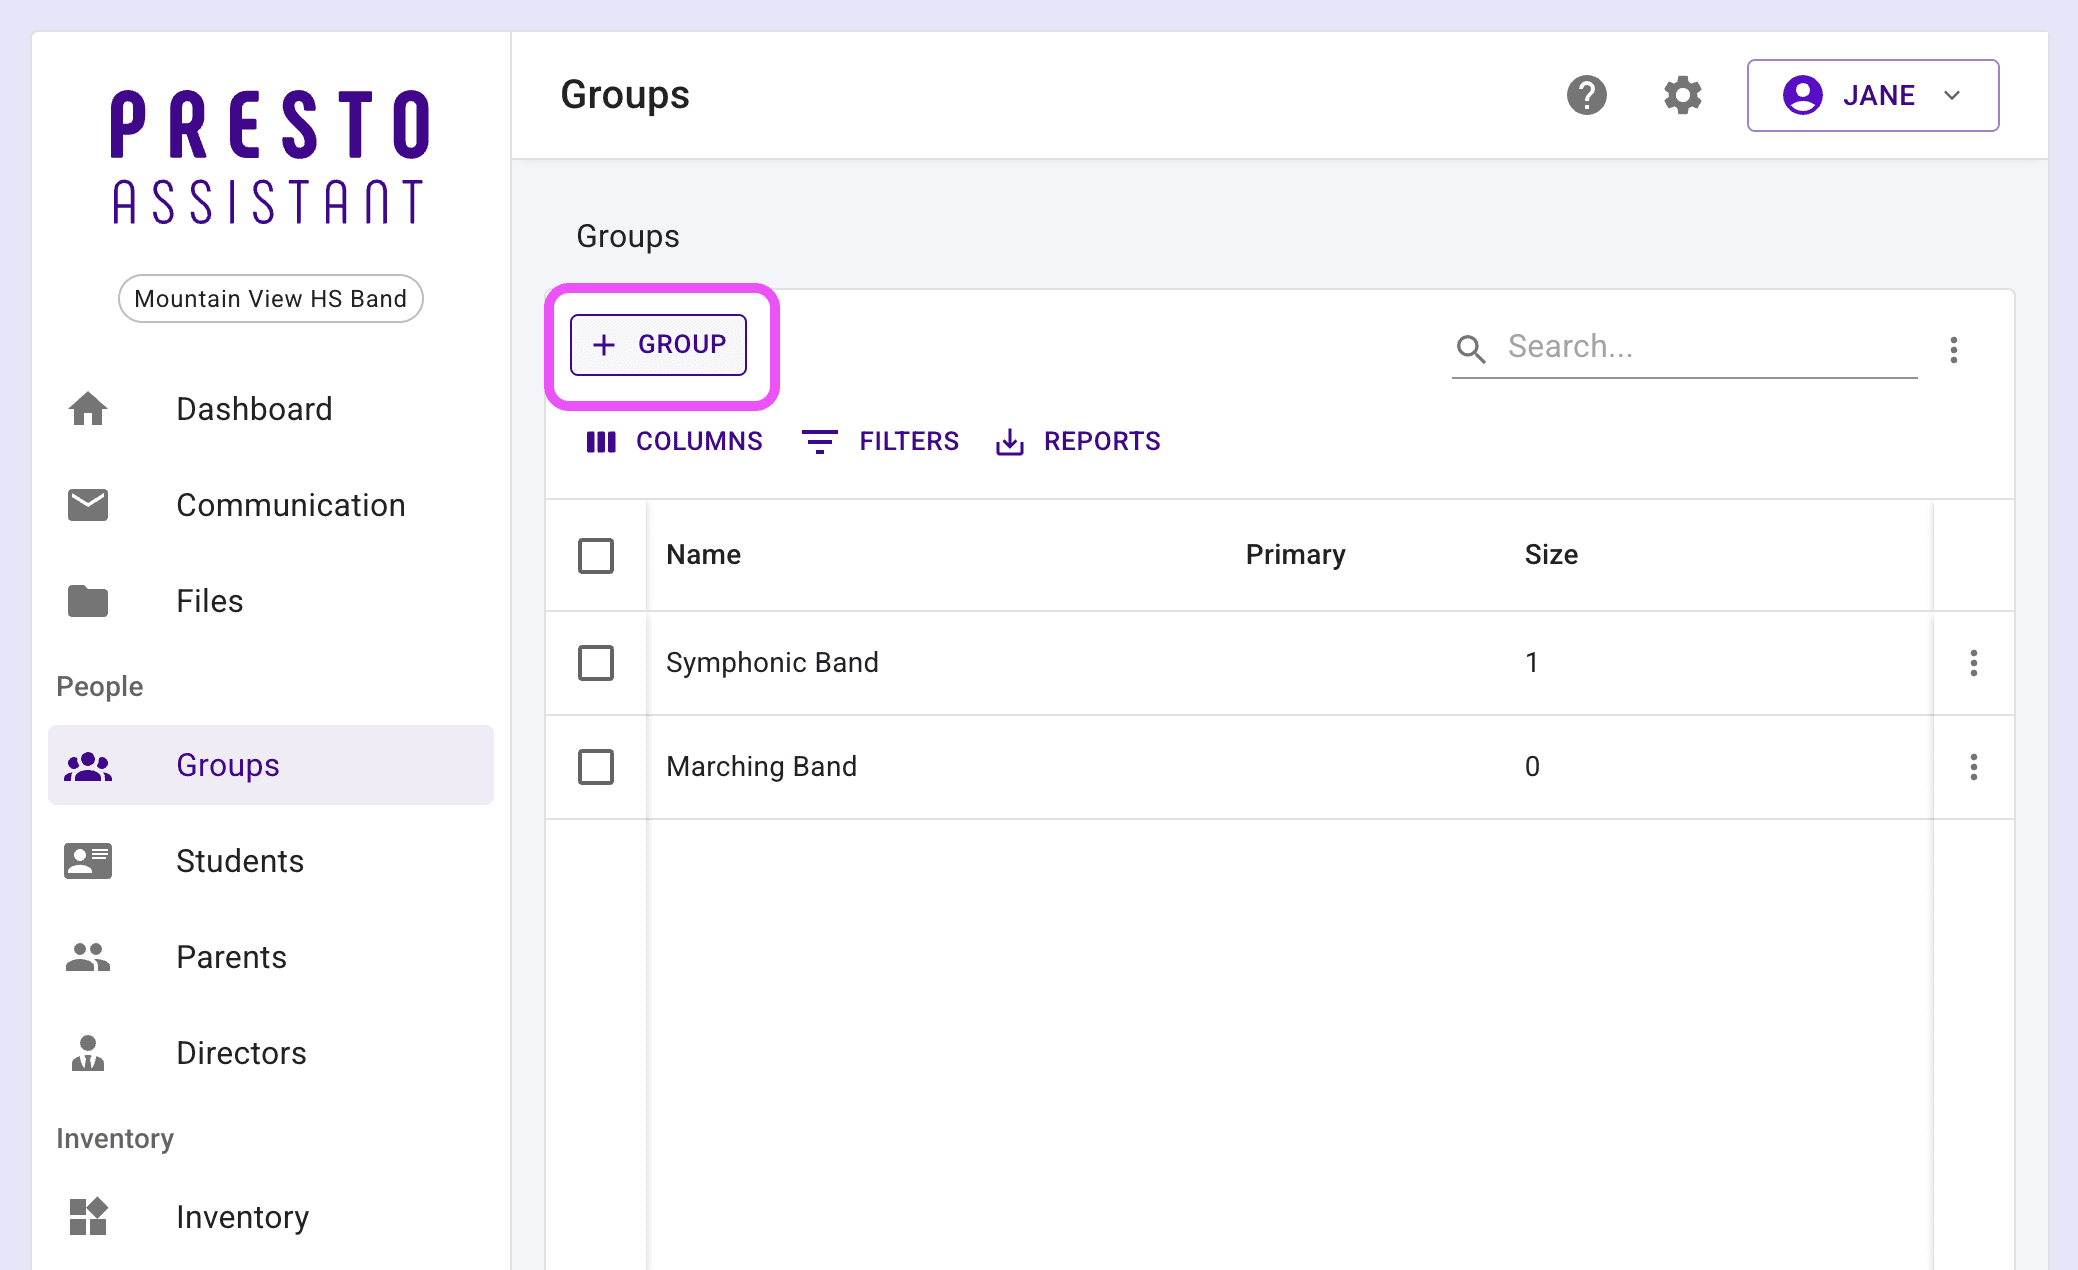
Detailed steps #
- From the left navigation menu click "Groups".

- Press the "Add Group" button to see the form to add a new group.
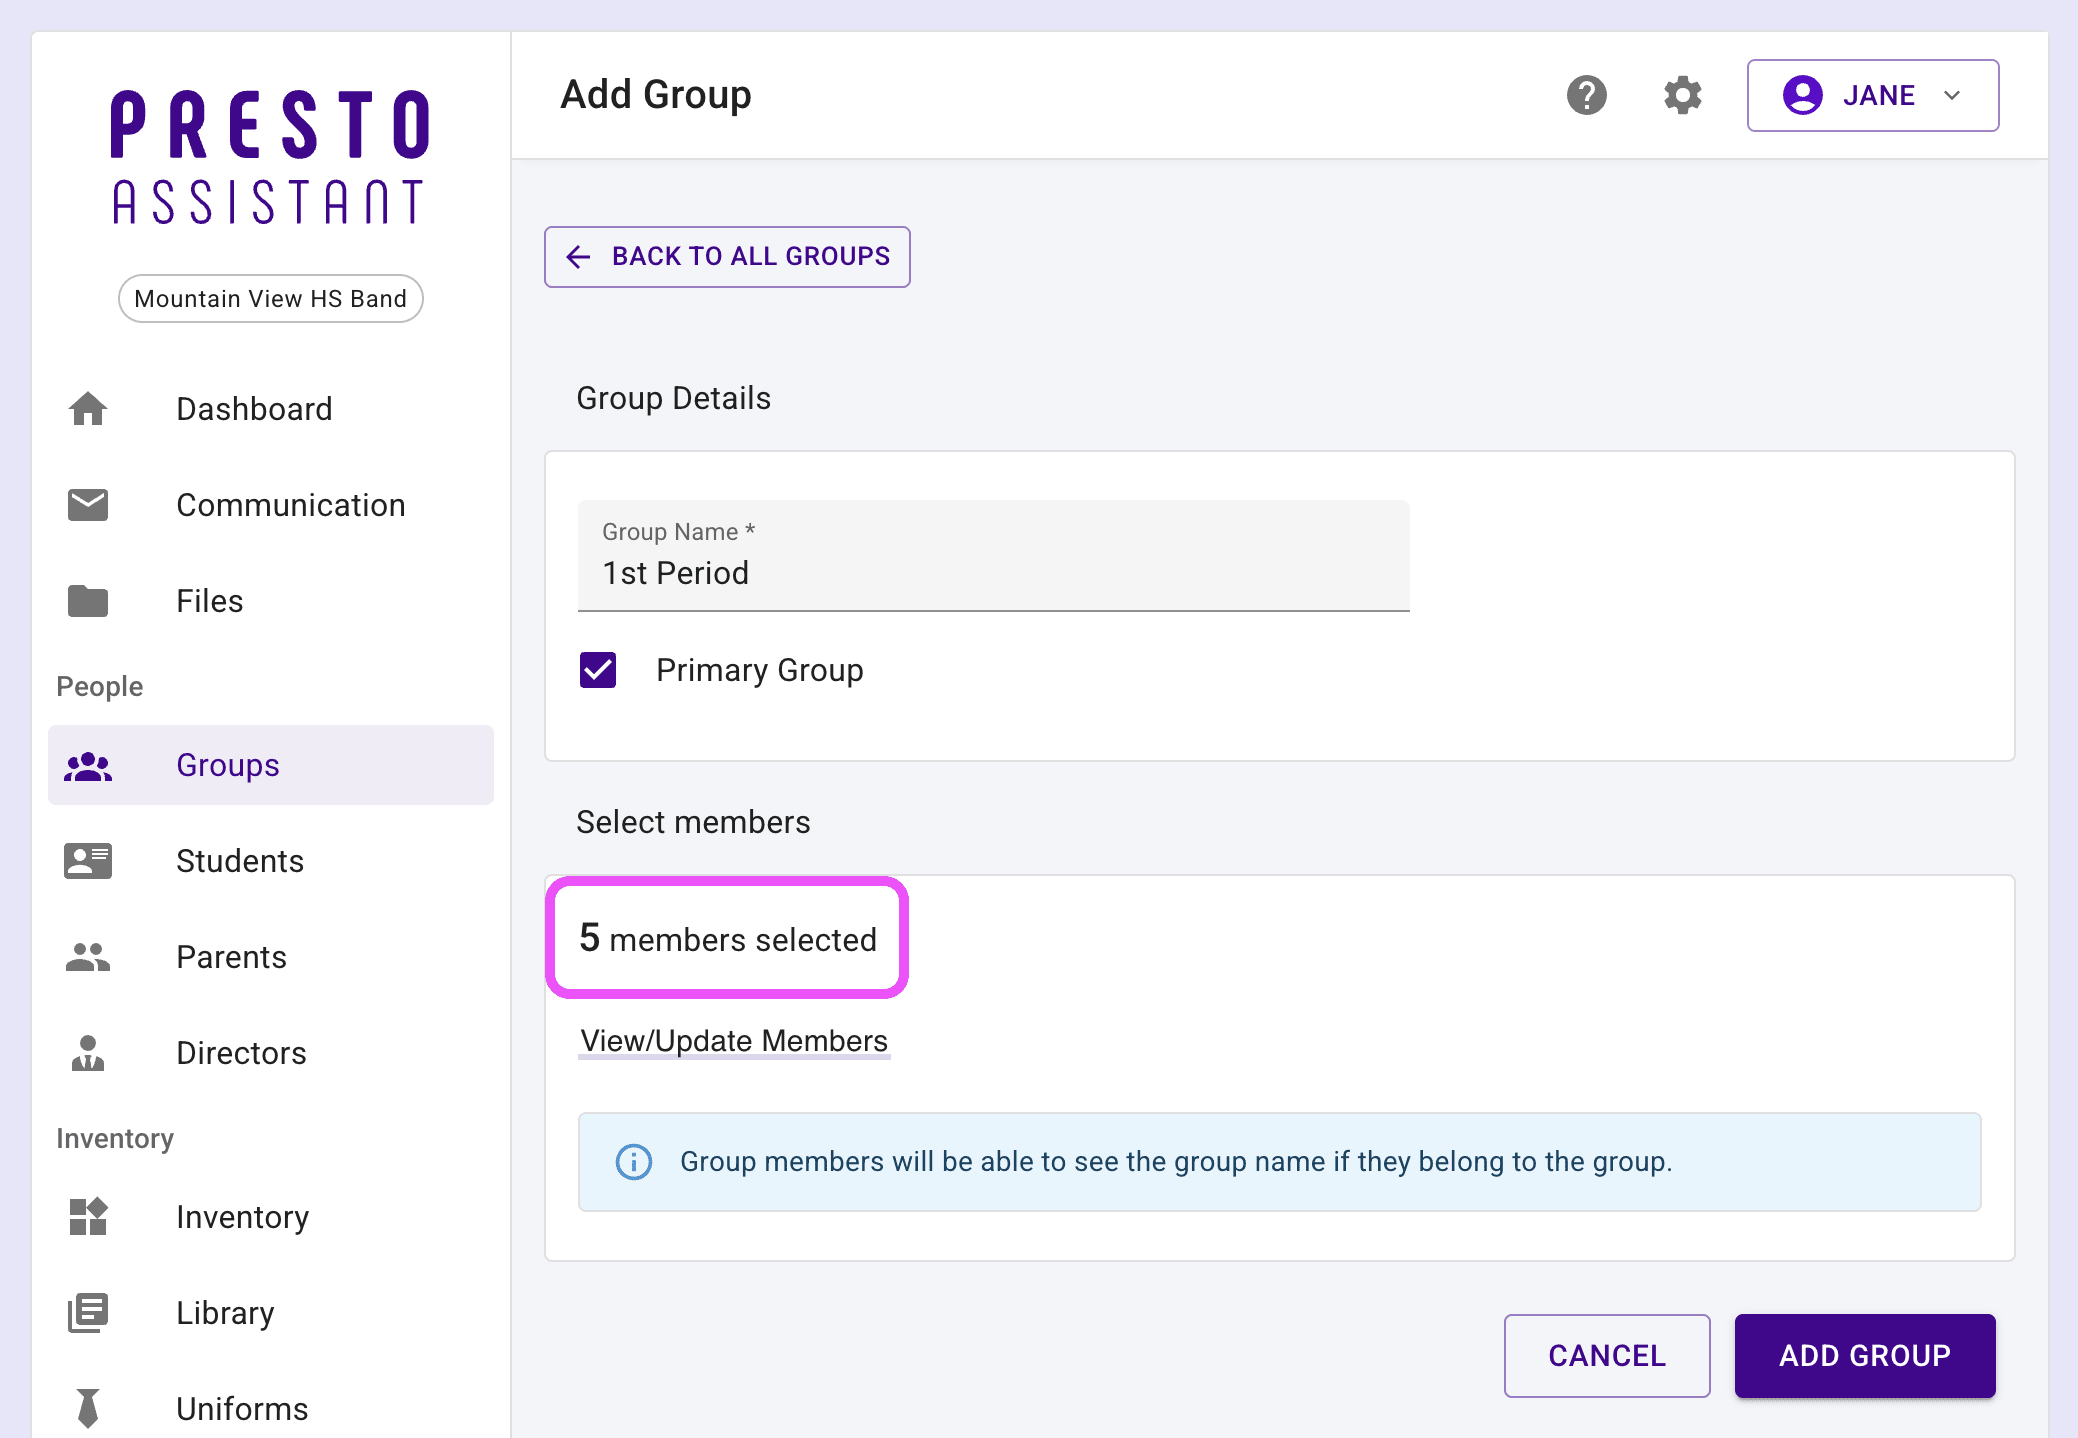
- Enter the name of the group (required).
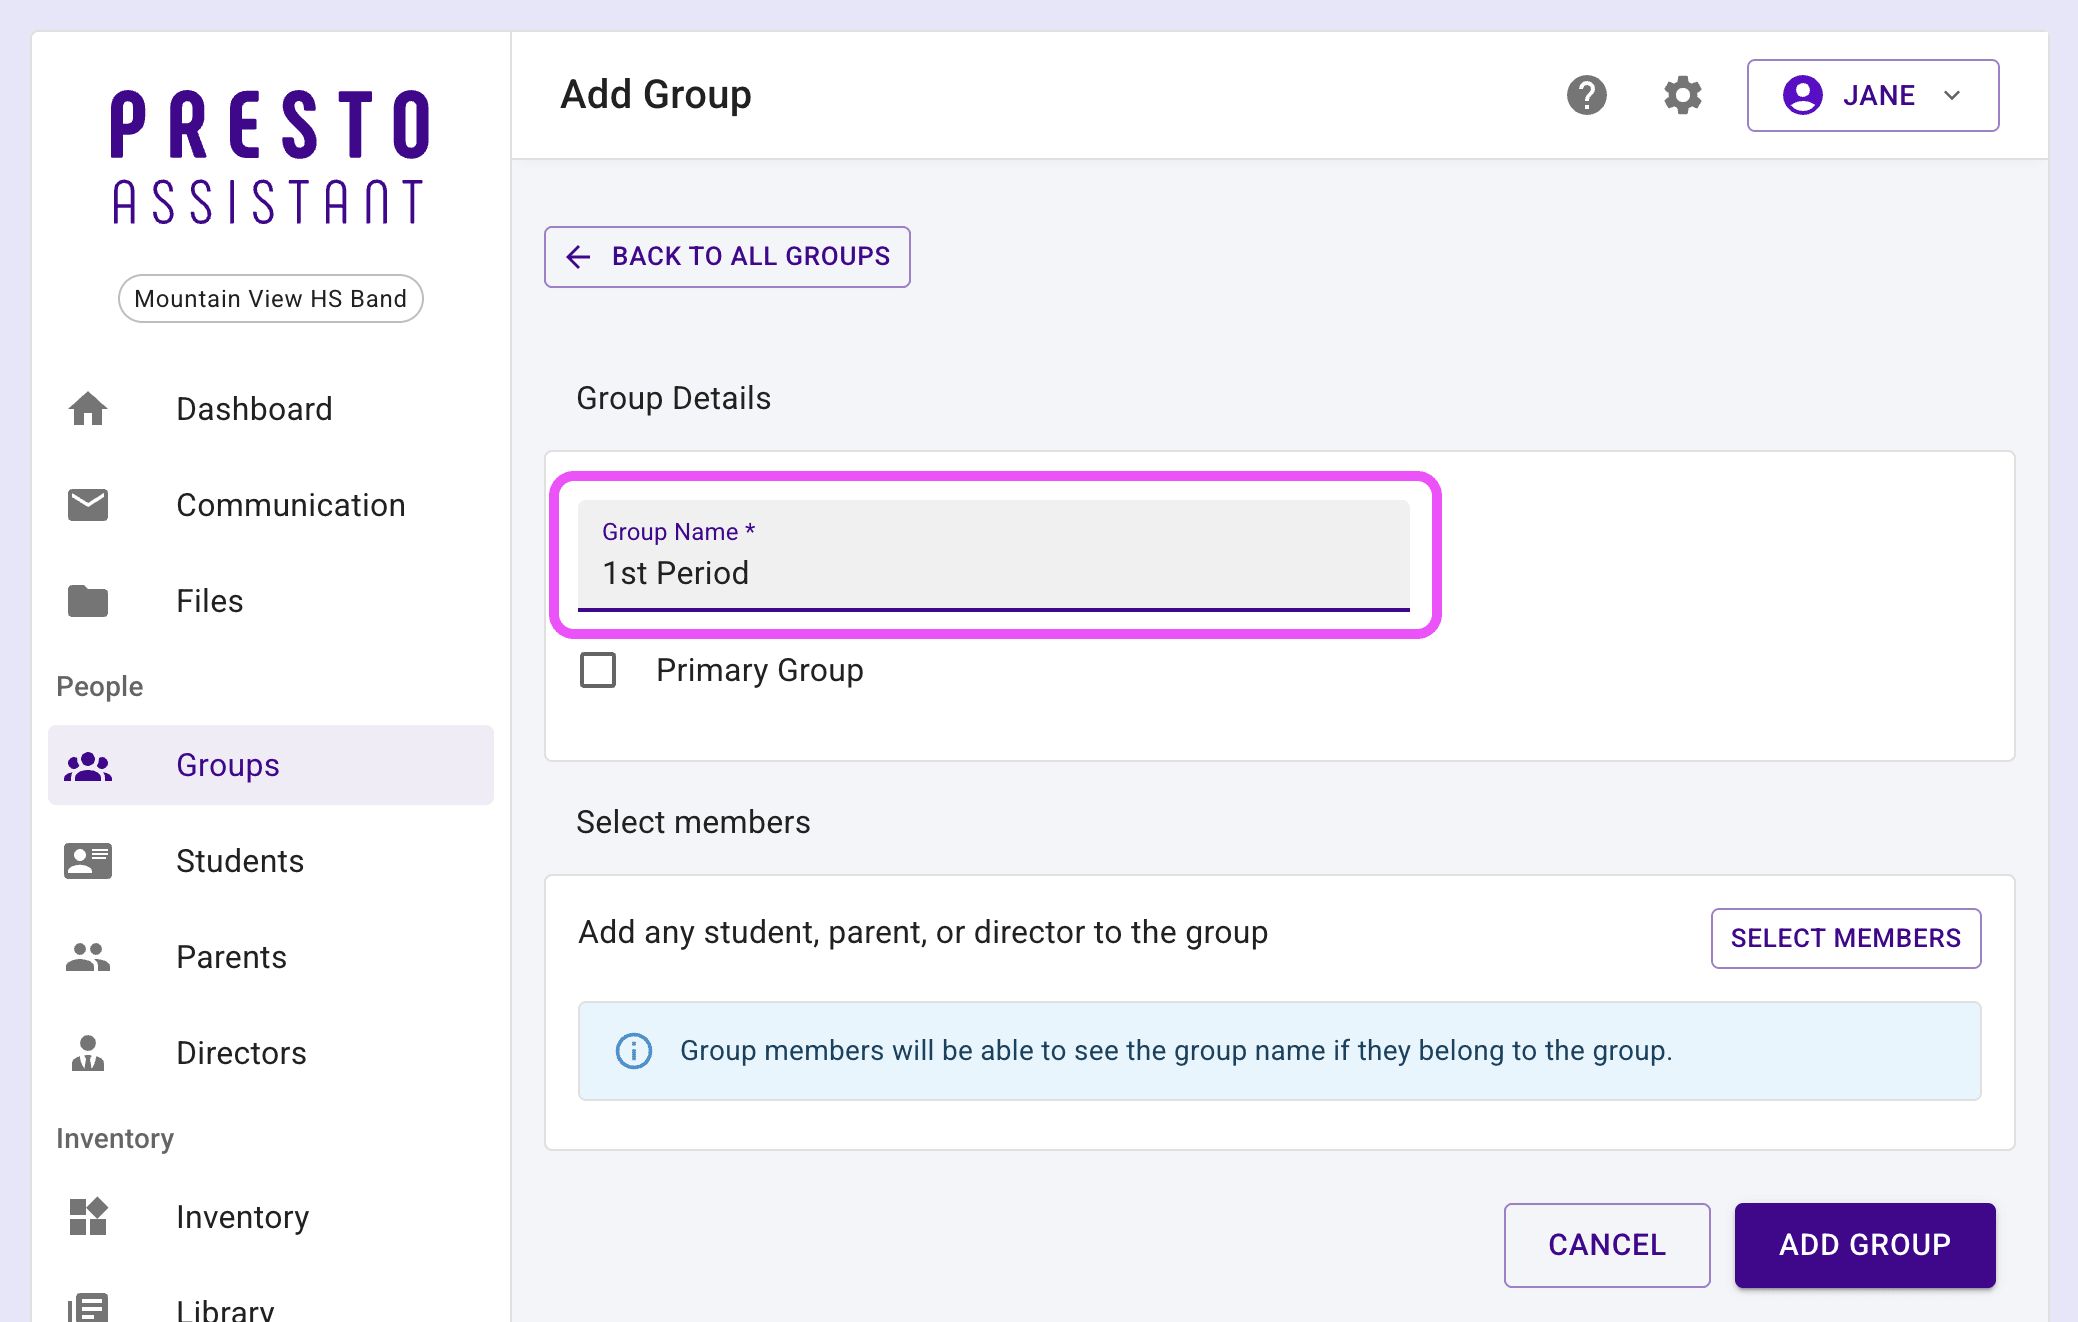
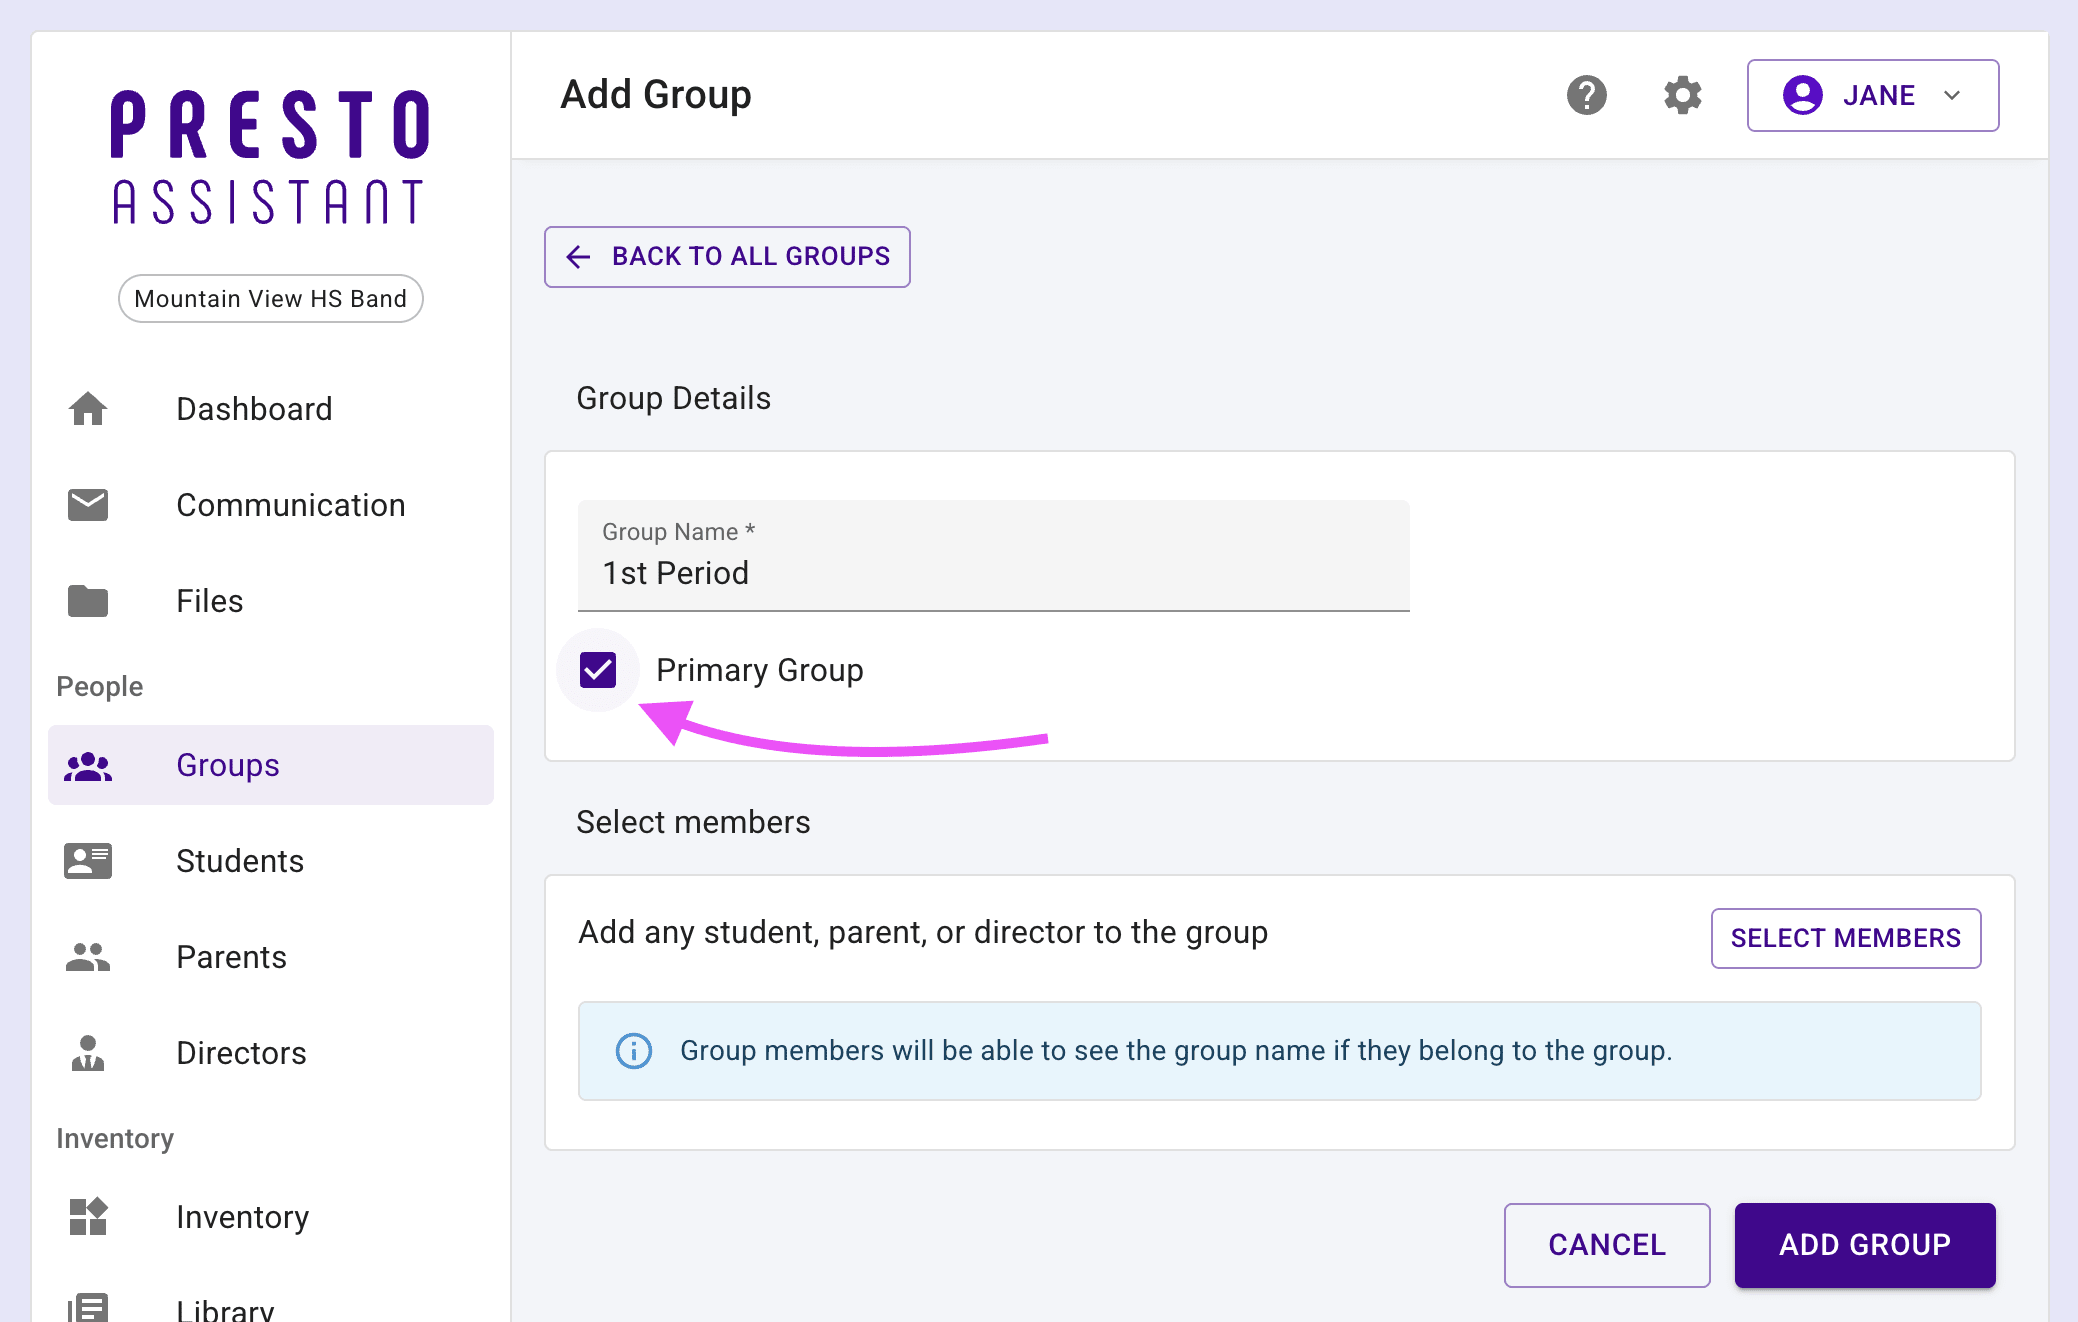
- Mark the group as a primary group (optional).
Tip
Any group that is not marked as a primary group will be considered a secondary group.
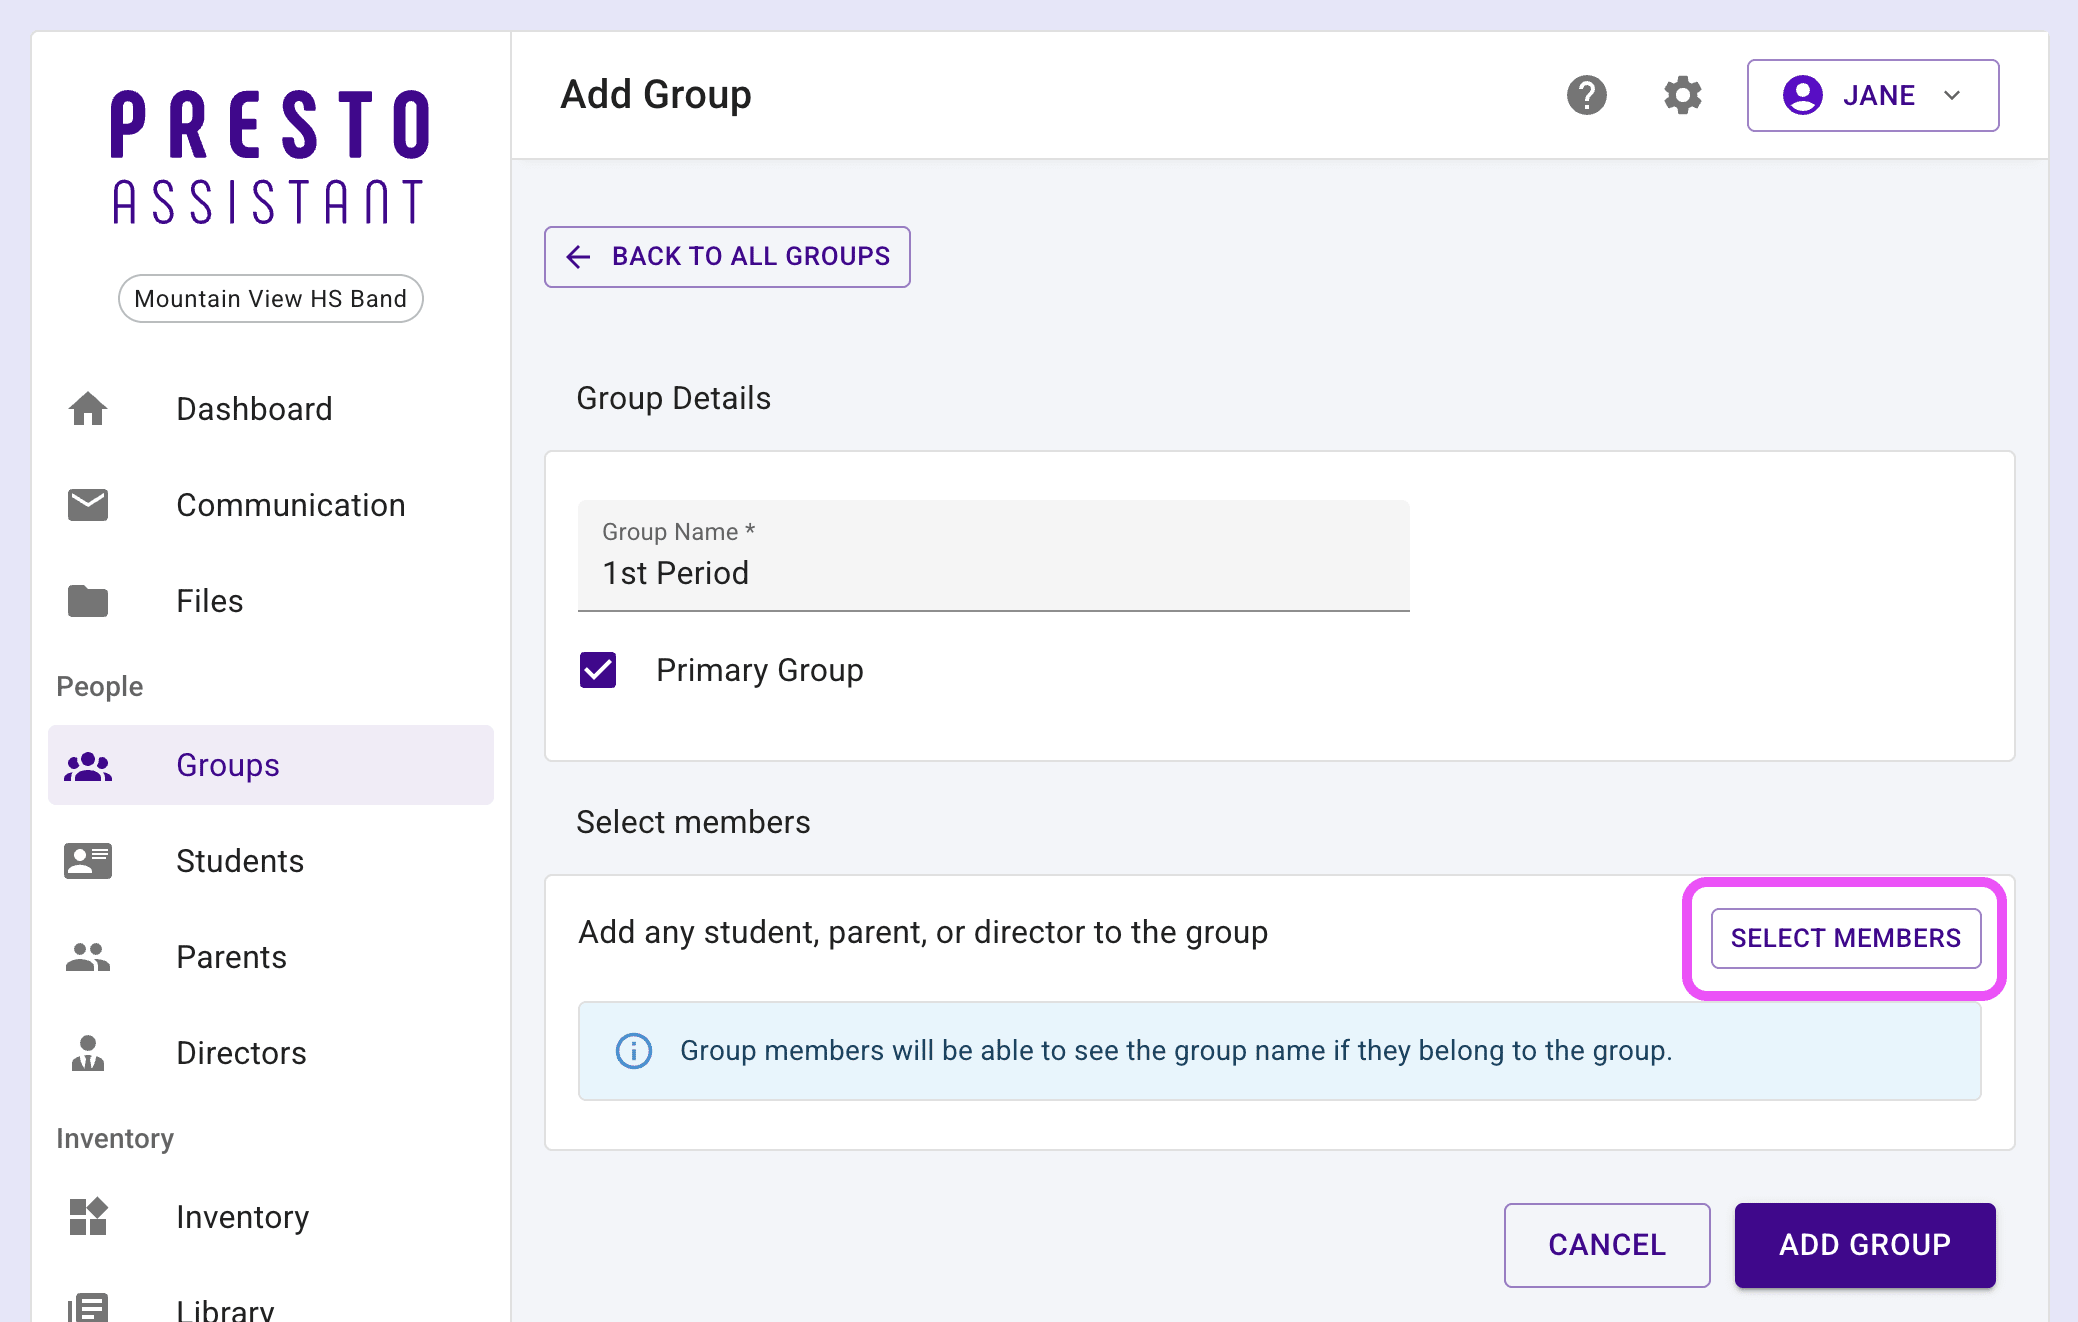
- Add members to the group (optional).
- Press the "Select Members" button
- Select members to add to the group
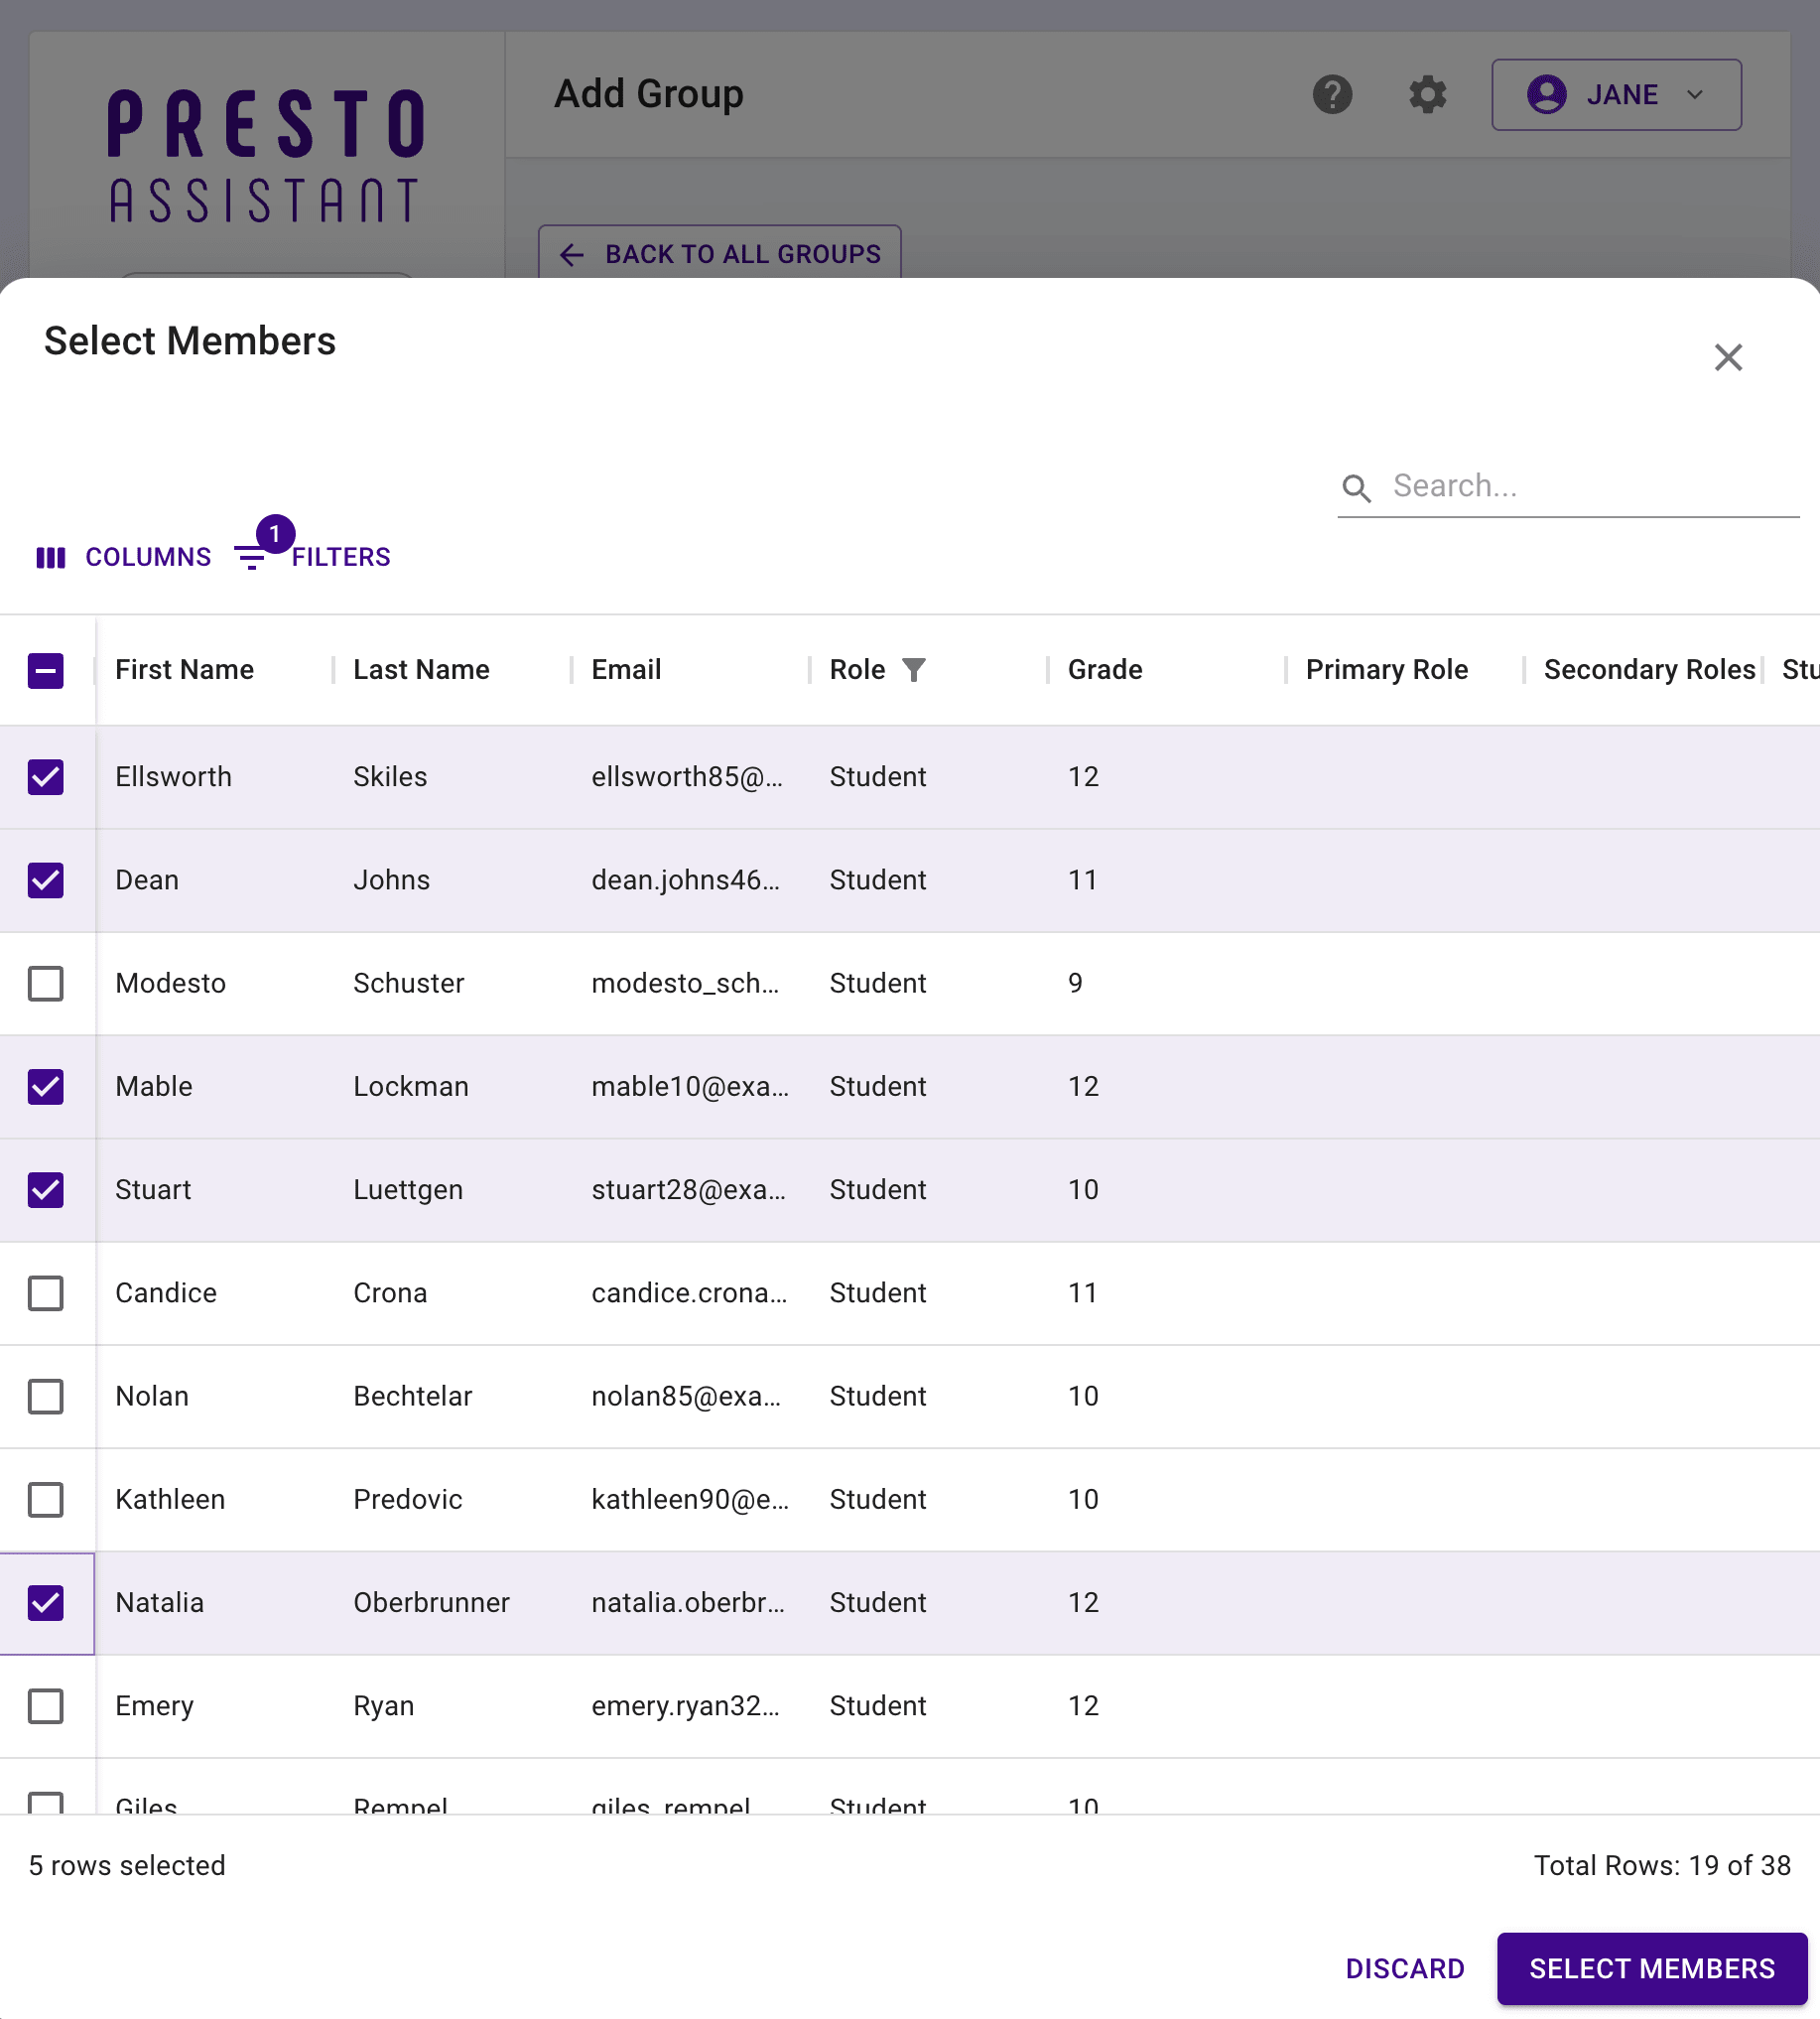
- Confirm the number of members is correct
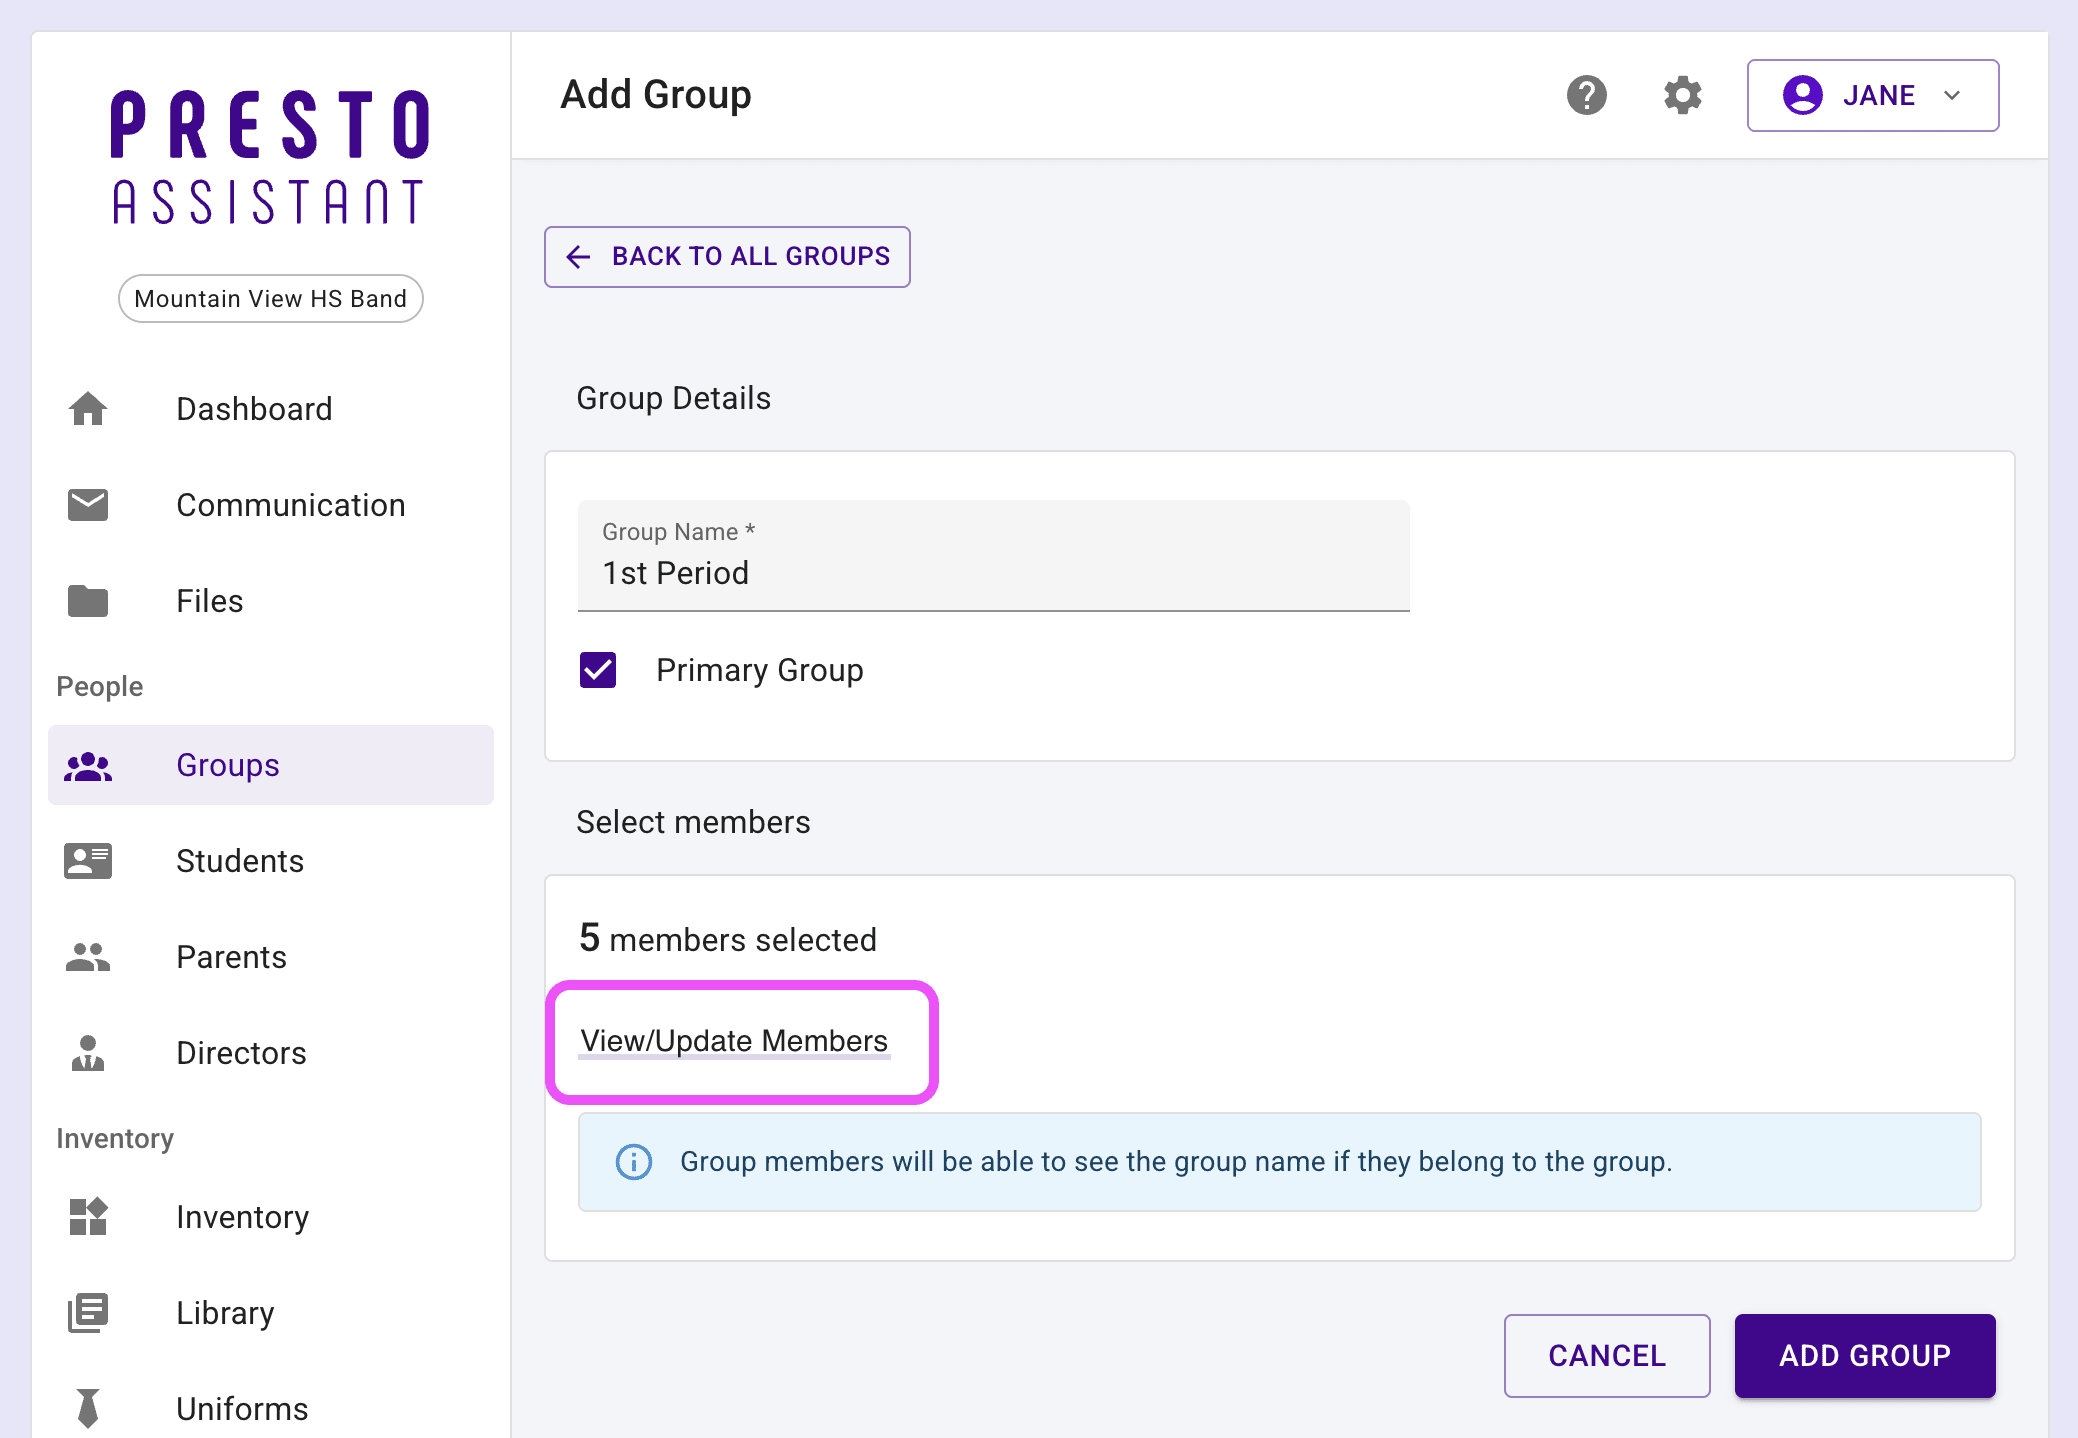
- Optional: click the "View/Update Members" link to change the members
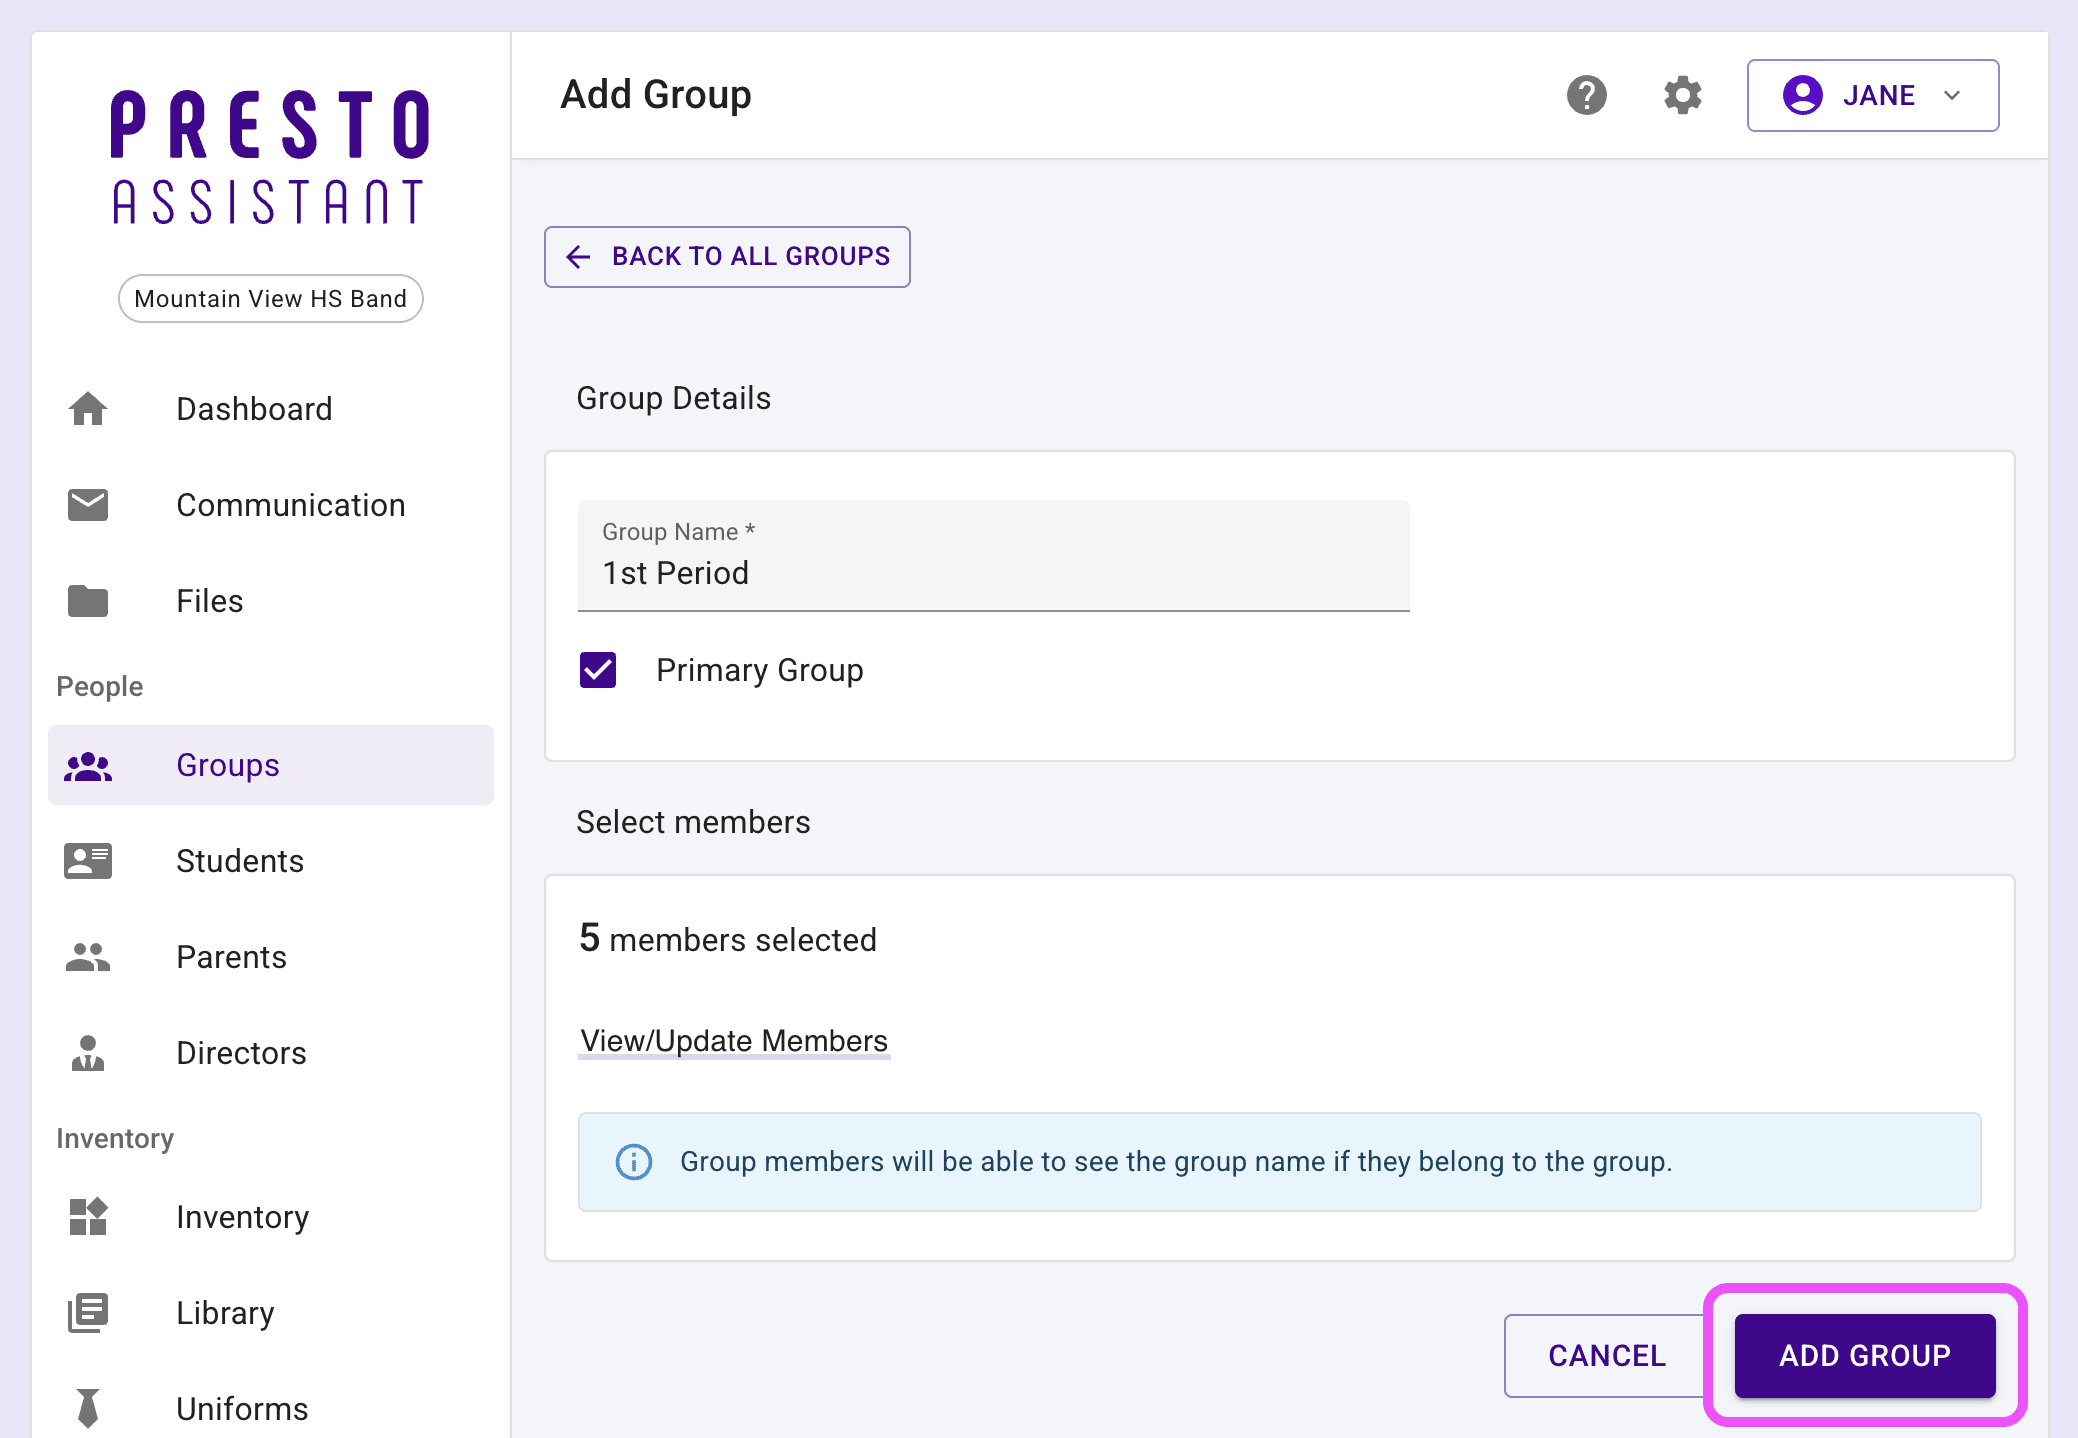
- Press the purple "Add Group" button to finish.
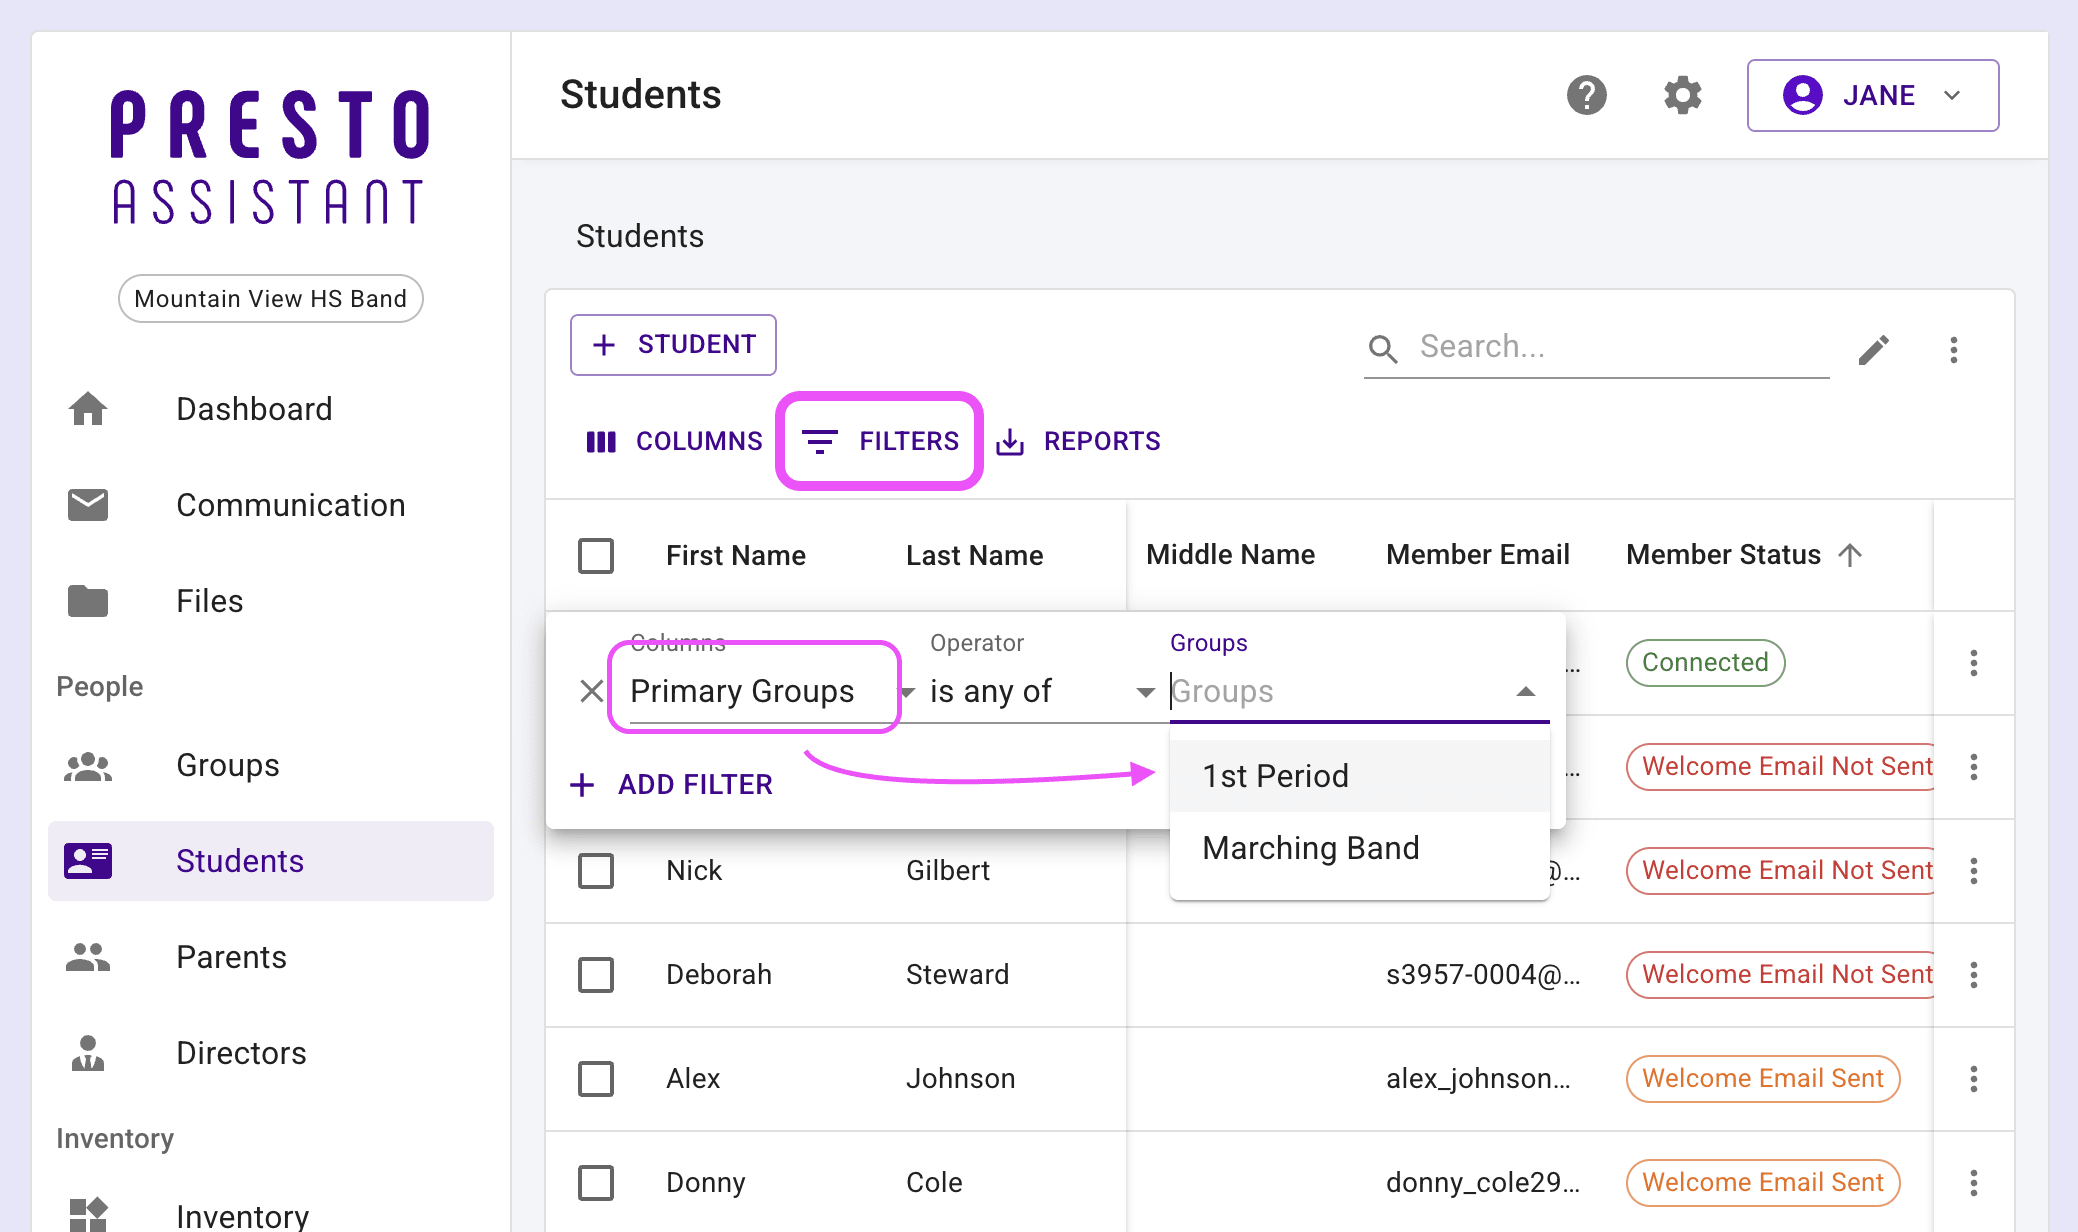
The new group will immediately be available in the Groups table as well as any table that provides a filter for Groups.

Examples of groups in the Presto Assistant system
- First Period
- Second Period
- Spring Trip
- Booster Officers
- All-Region
- All-State
Next steps #
- Use the Groups table selection checkboxes to send an email to an entire group, send a financial statement, or add to other groups.
- In any place where you can select members from the People Picker, filter by group to select your members more quickly.
Tip
Since you can add any student, parent, or director to a group, you can make any combination you need. This will be a big time-saver if you are doing the same actions for a consistent group of members.